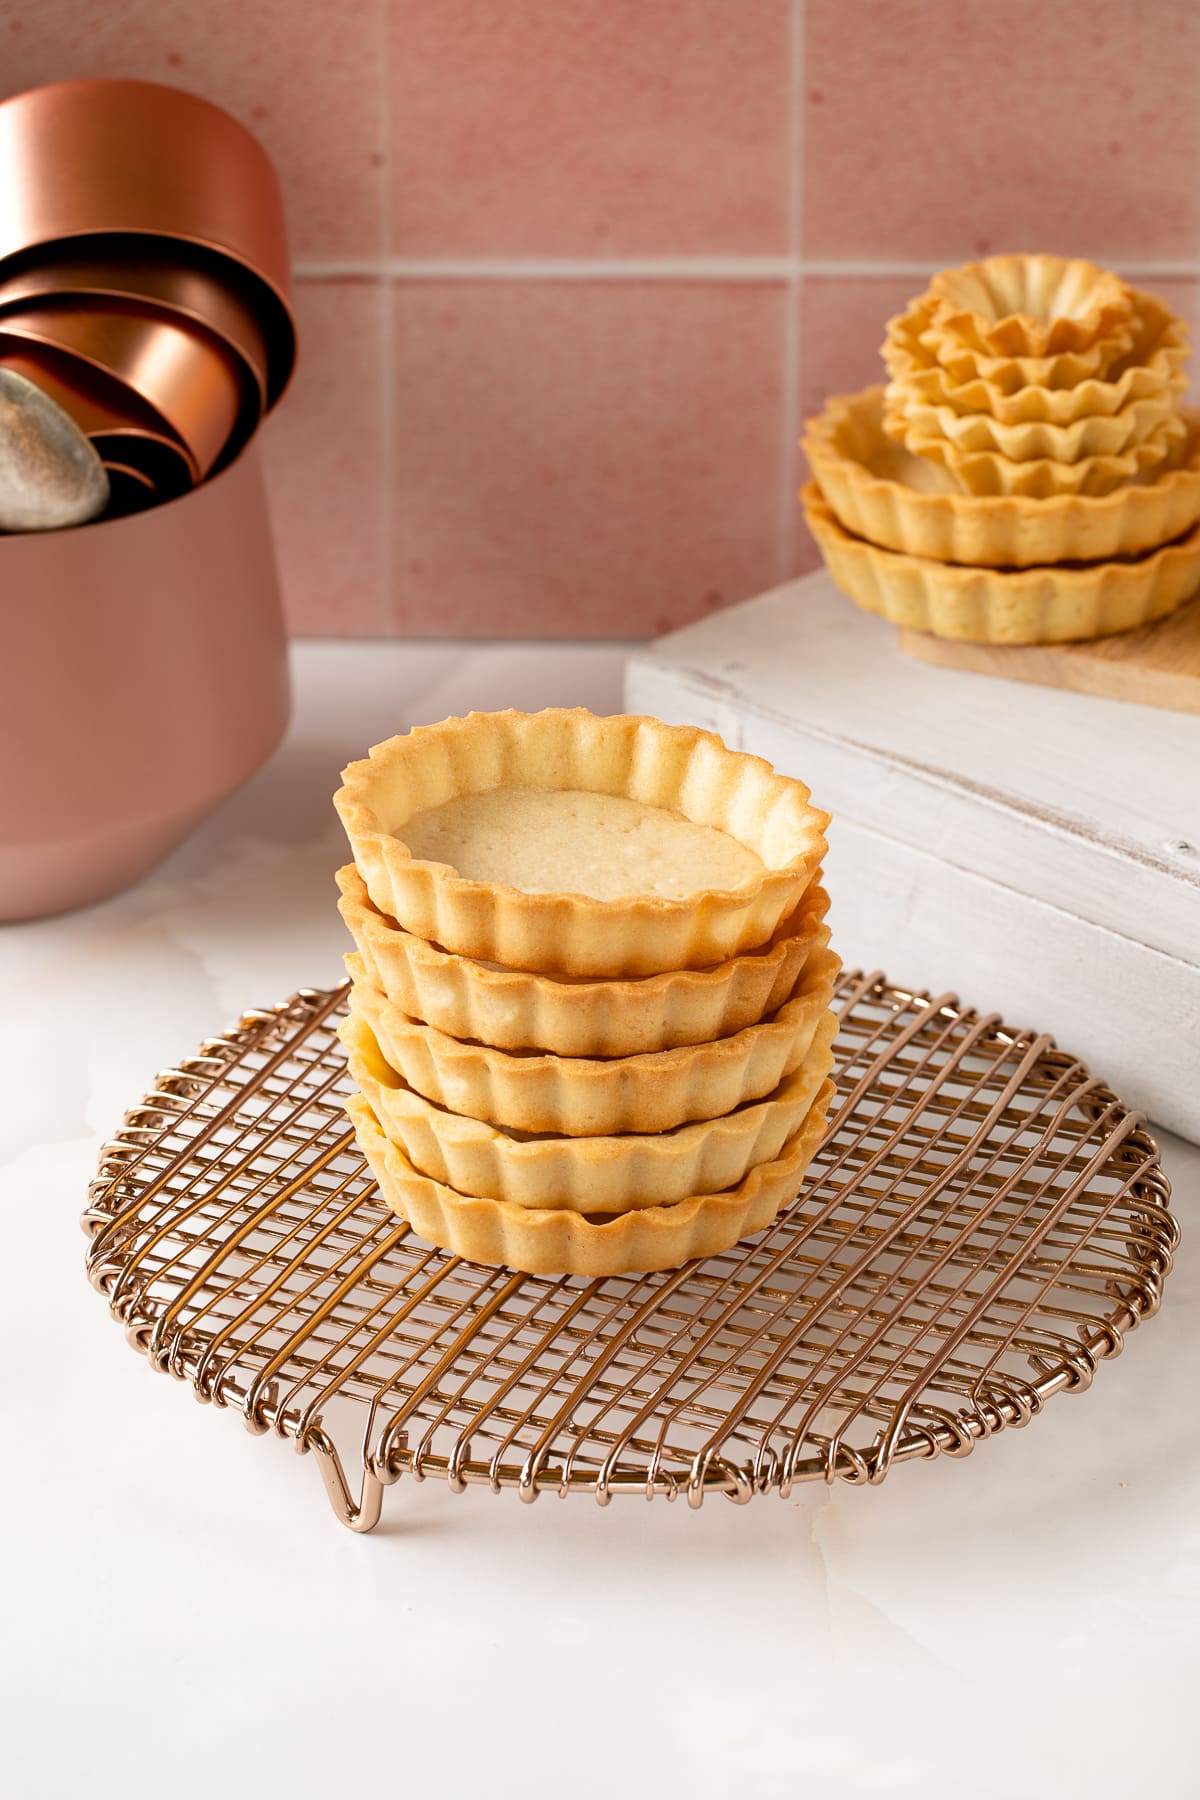
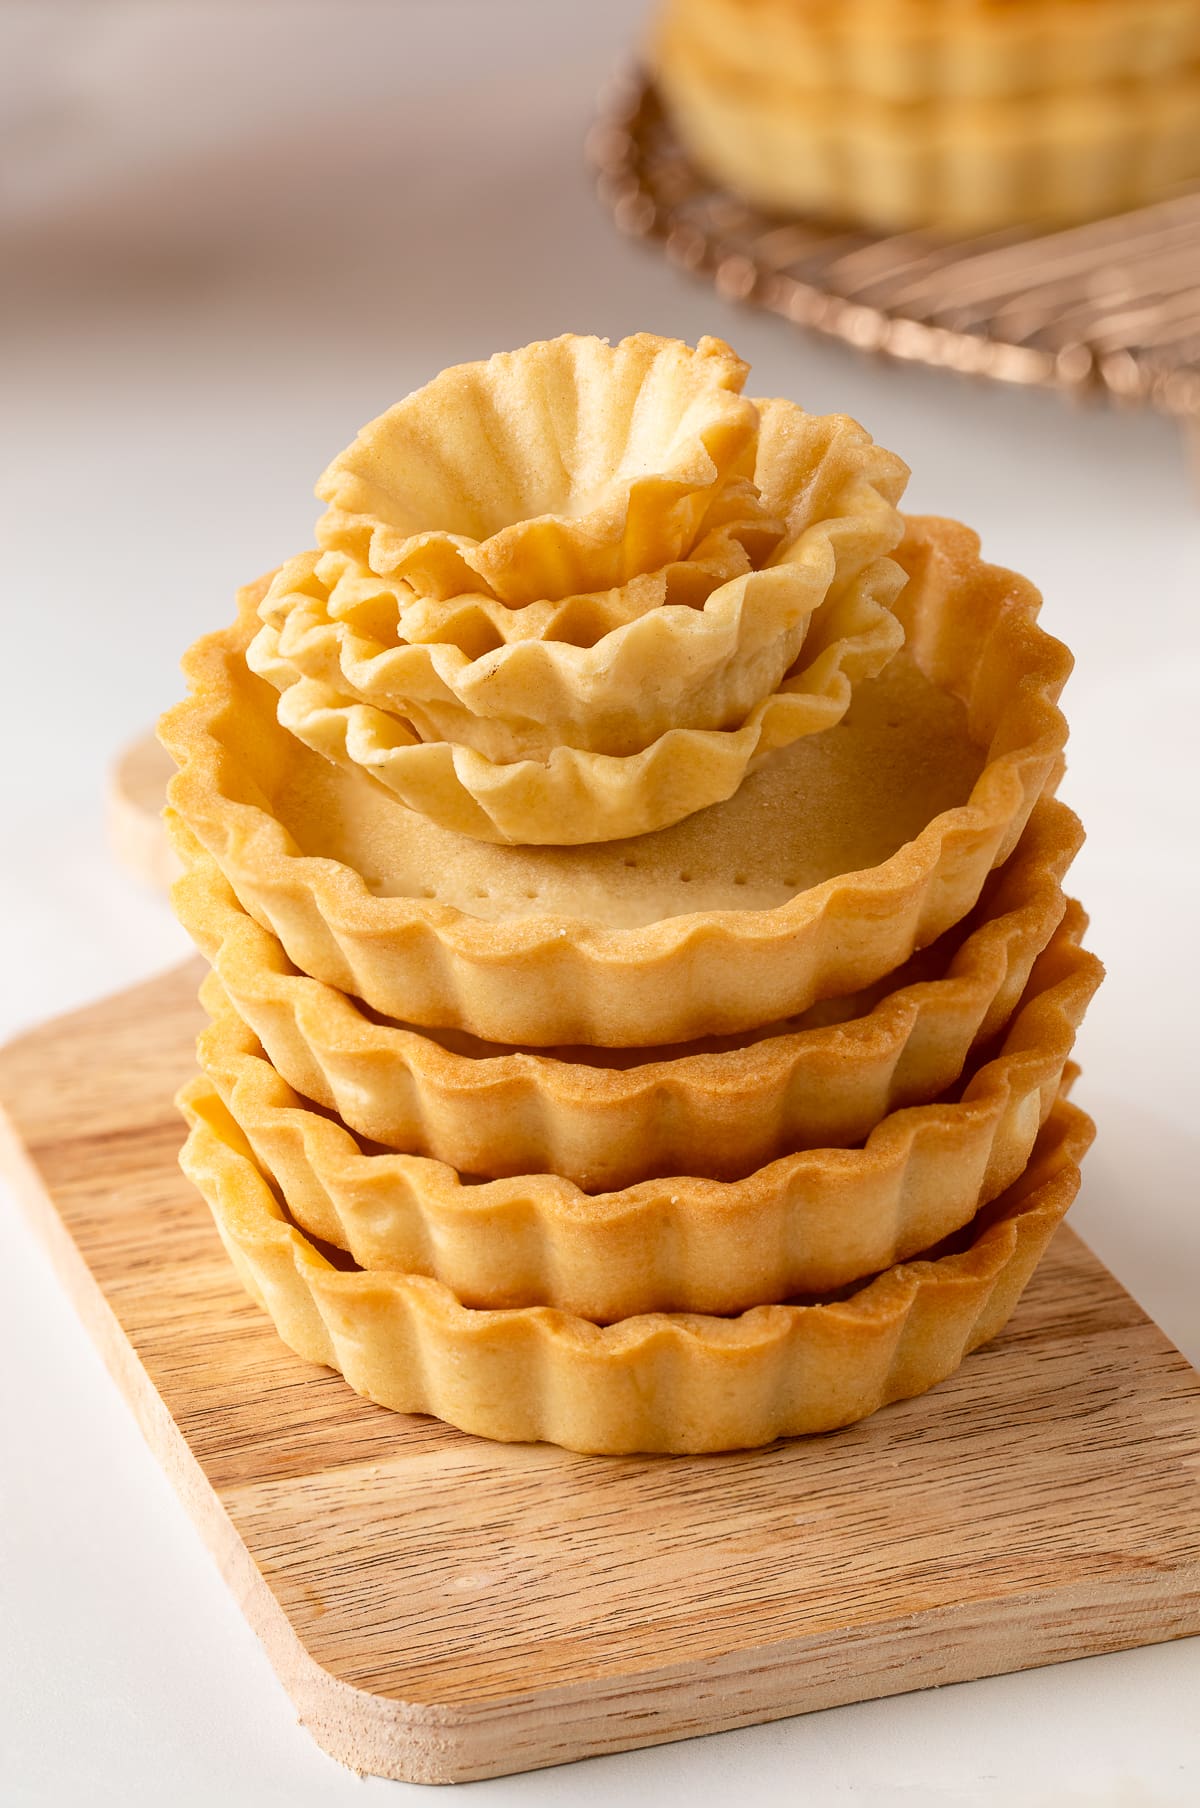
These tartlet mini tart shells are the perfect base for mini tarts of all kinds. From fruit tarts to lemon meringue mini tarts, this easy five ingredient tartlet recipe walks you through how to make crisp, buttery tartlet shells that hold their shape beautifully without blind baking, saving time while still delivering bakery-style results.
 Quick Look: Tartlet Shells
- ⏱️ Prep Time: 1 Hour
- ❄️ Chill Time: 2 hours
- 🔥 Bake Time: 20 minutes
- 🕒 Total Time: 3 hours 20 minutes (including chilling)
- 🧁 Yield: About 8-10 four inch tarts or 18-24 smaller tarts
- 🥧 Tools: Rolling Pin, Parchment Paper, Mini Tart Pans, or Muffin Tins
- ⭐ Difficulty: Easy to Moderate (great for beginner bakers!)
Summarize and Save This Content On:
A tartlet is simply a mini version of a classic tart! Many tartlet recipes call for blind baking the dough, just like you would blind bake a pie crust, to prevent shrinking and soggy bottoms, but that extra step also adds time and equipment.
This recipe uses a pâte sablée dough, a type of shortcrust pastry that's sturdier than pâte sucrée tart dough, allowing the tartlet shells to bake up buttery and crisp without blind baking. The dough holds its shape well in mini tart pans, tartlet molds, or even muffin tins, creating a reliable base for all your favorite tartlet fillings.
Whether you're planning a dessert board, hosting a party, or prepping make-ahead pastries, this recipe shows you exactly how to make mini tart shells that don't shrink, don't puff, and don't require complicated steps, just reliable, delicious mini tart shells every time.
Why You'll Love This Recipe
- No blind baking required, saving time and extra steps
- Just five simple ingredients you probably already have at home
- Sturdy, buttery tartlet shells that hold fillings well
- Perfect for parties and make-ahead desserts!
Jump to:
- Quick Look: Tartlet Shells
- Why You'll Love This Recipe
- Key Ingredients
- How To Make Tartlet Dough
- How to Bake Tartlets
- Pro Tip on Keeping The Tartlet Dough Chilled
- Unmolding Mini Tart Shells
- Tips for Perfect Tartlets
- Mini Tart Shell FAQs
- 3 Quick Tartlet Recipes Using These Shells
- Making Ahead and Storing
- Looking for more bakery-style dessert recipes?
- Tartlet Shells
Key Ingredients
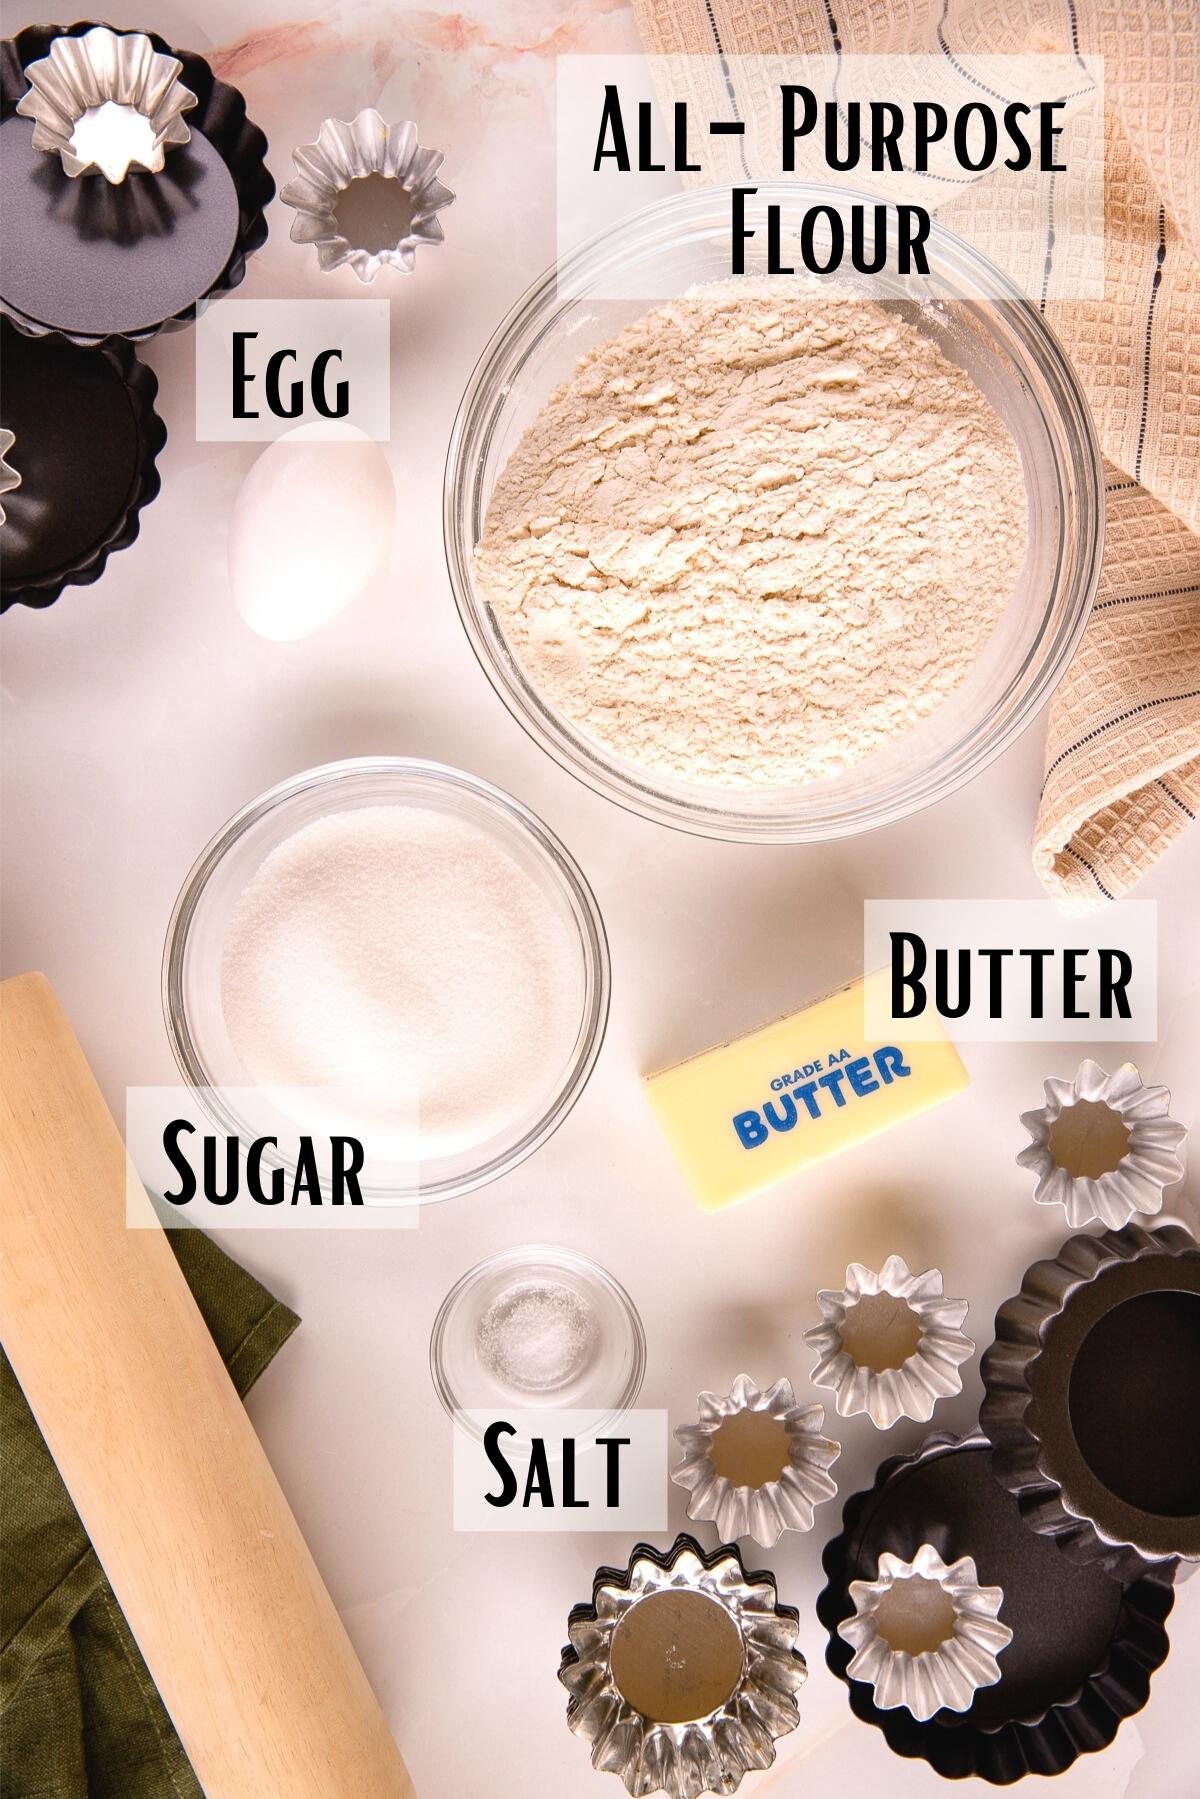
See the recipe card for a full list of ingredients and quantities.
- Butter: This recipe calls for unsalted butter. You can substitute salted butter, just reduce the added salt to just a pinch.
- Sugar: This recipe calls for granulated sugar but some recipes use powdered or confectioners sugar. You can use that in the recipe if you wish.
- Flour: Use all-purpose flour. I do not recommend substituting any other types of flour in its place.
How To Make Tartlet Dough
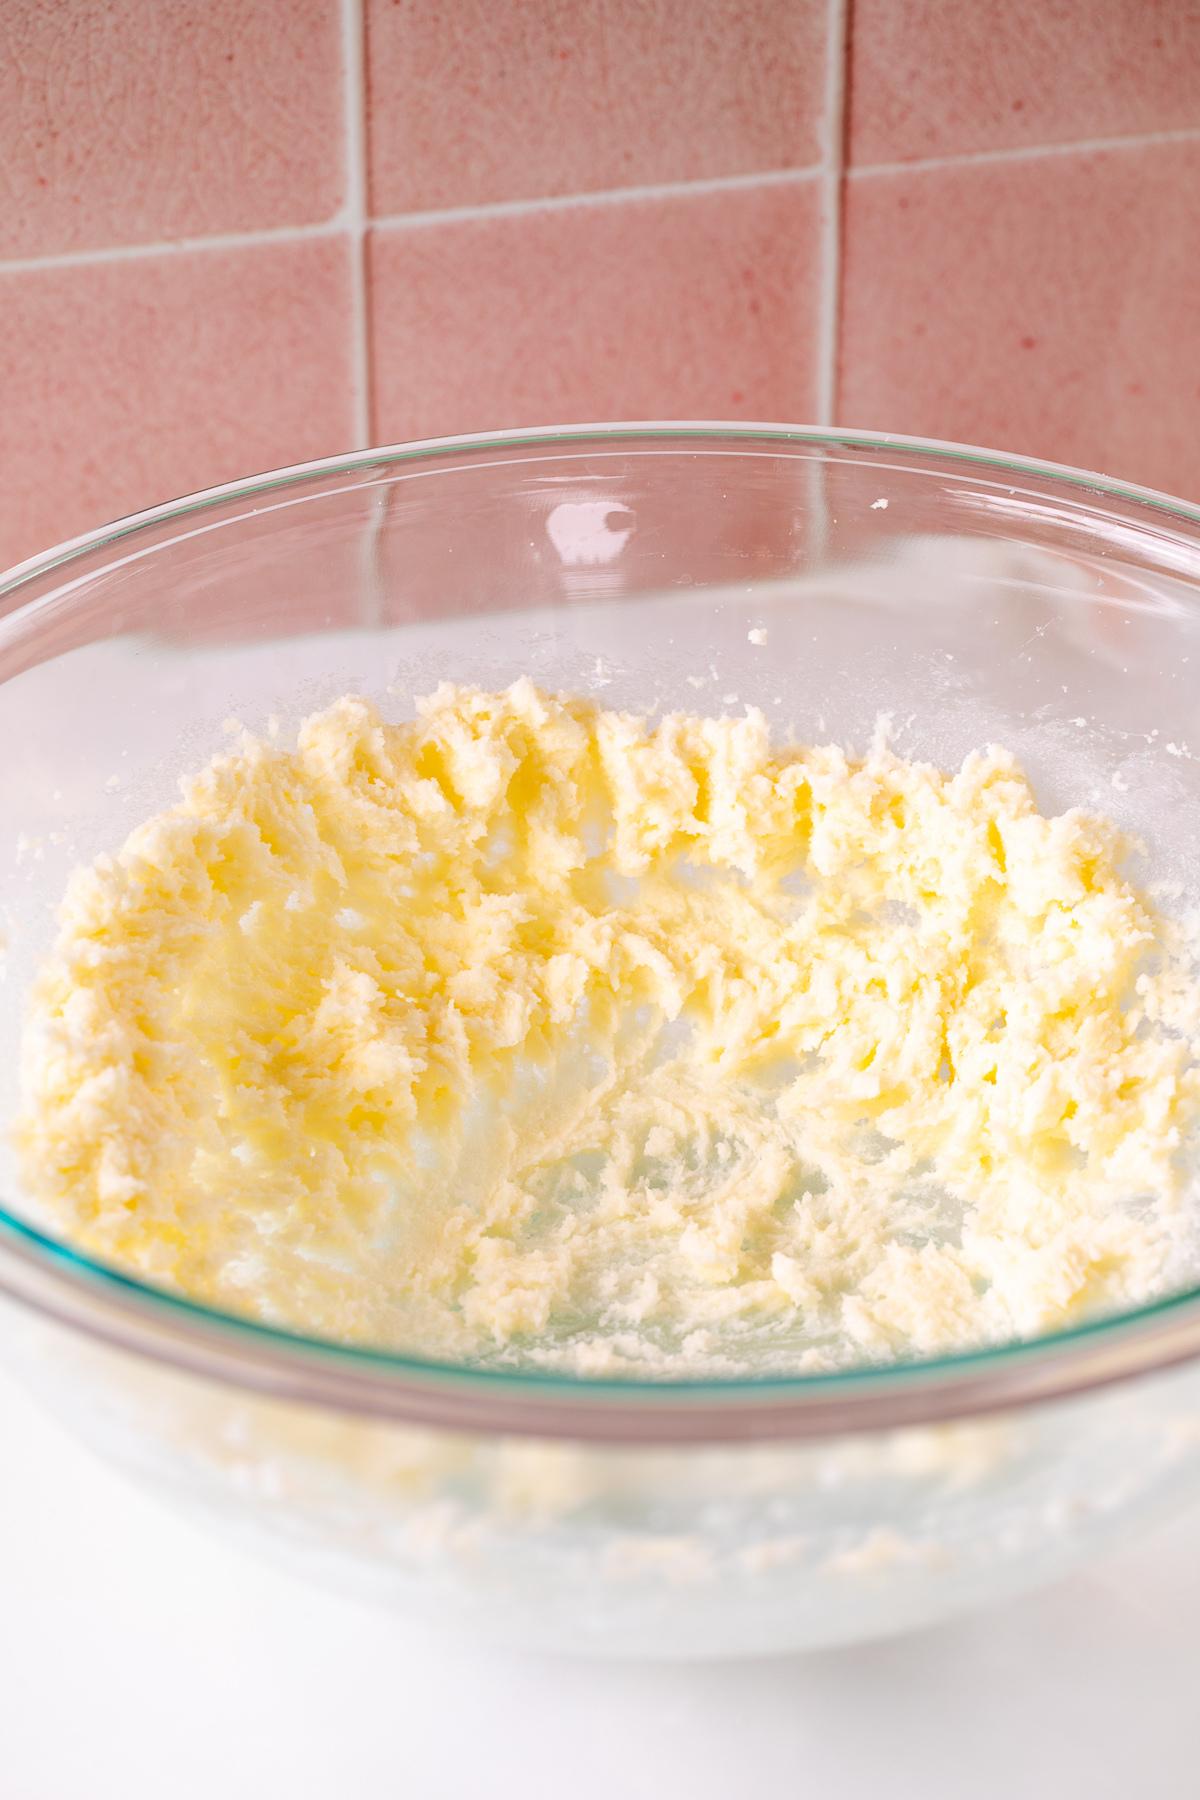
Step 1: Cream together the softened butter and granulated sugar.
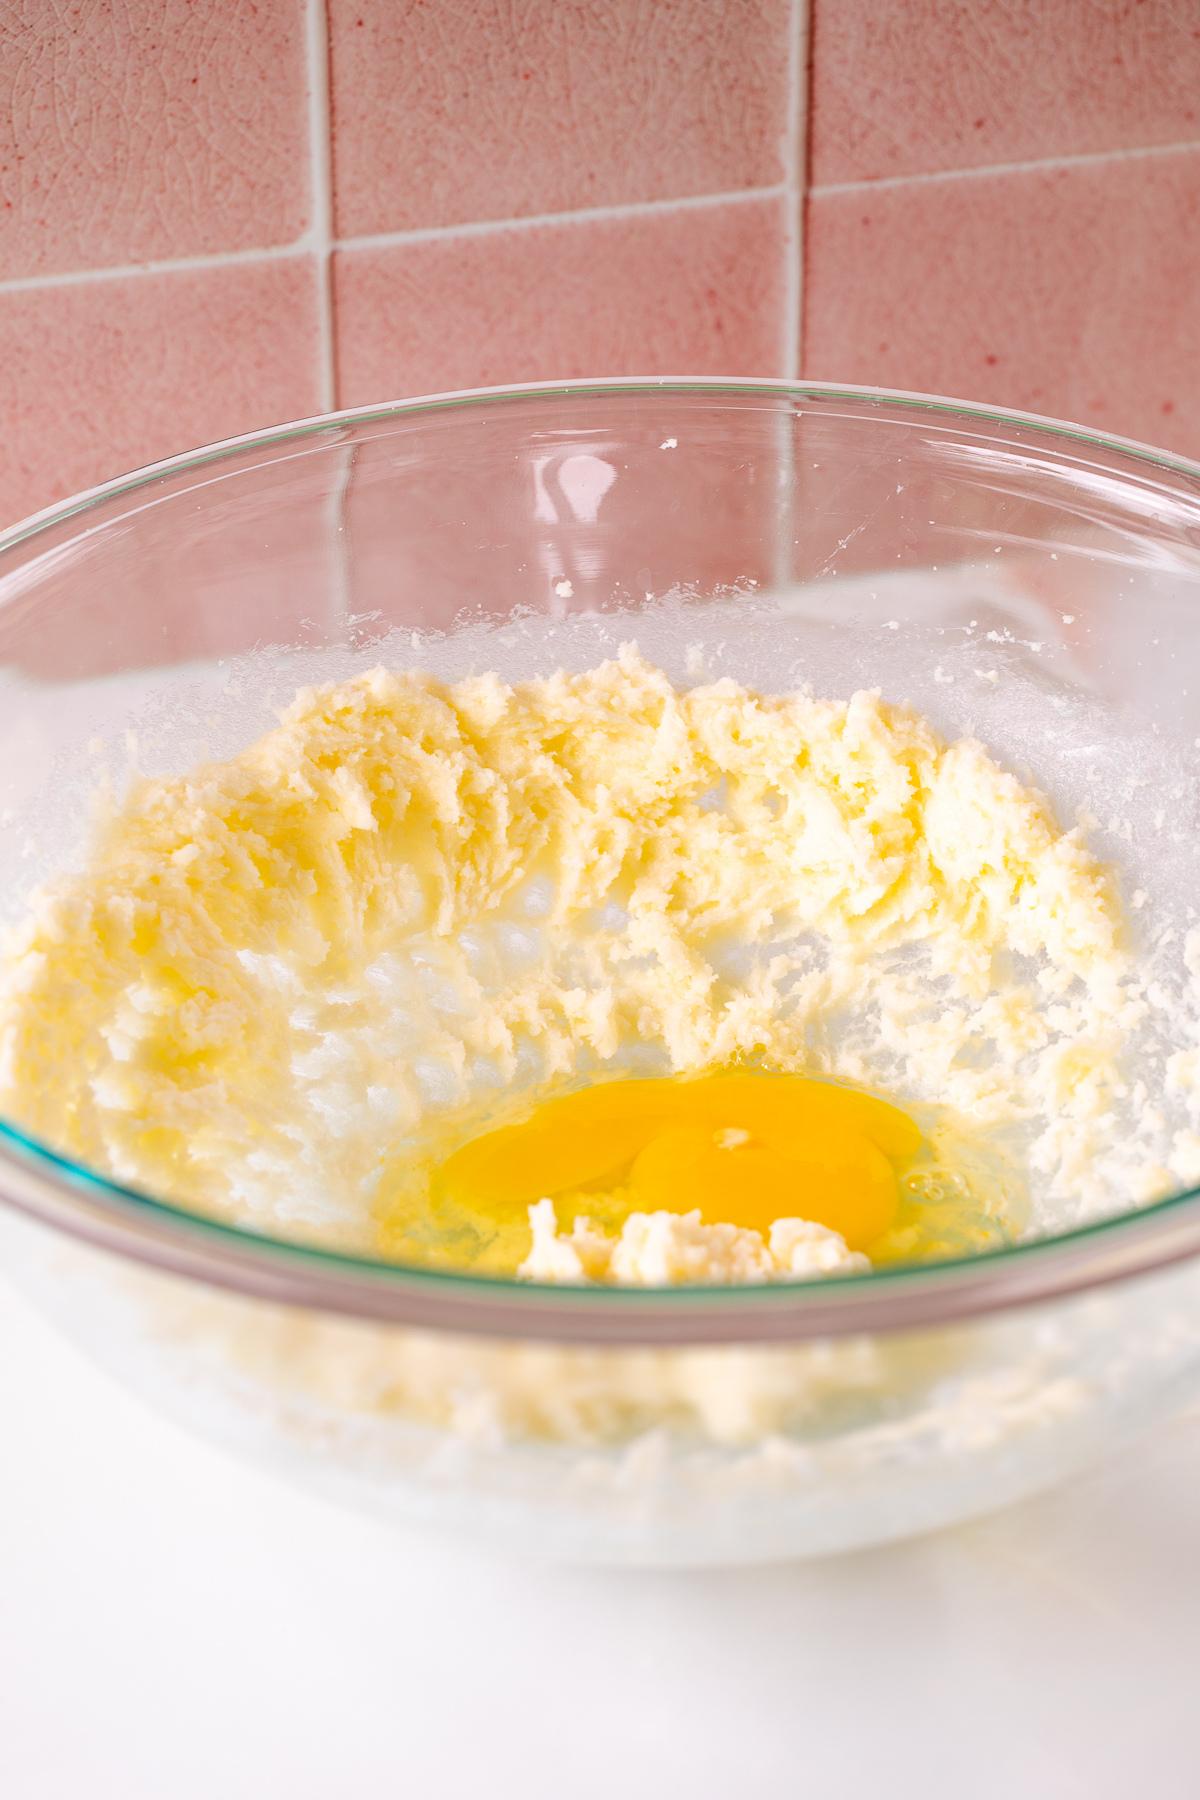
Step 2: Scrape down the sides of the bowl using a rubber spatula and then mix in the egg.
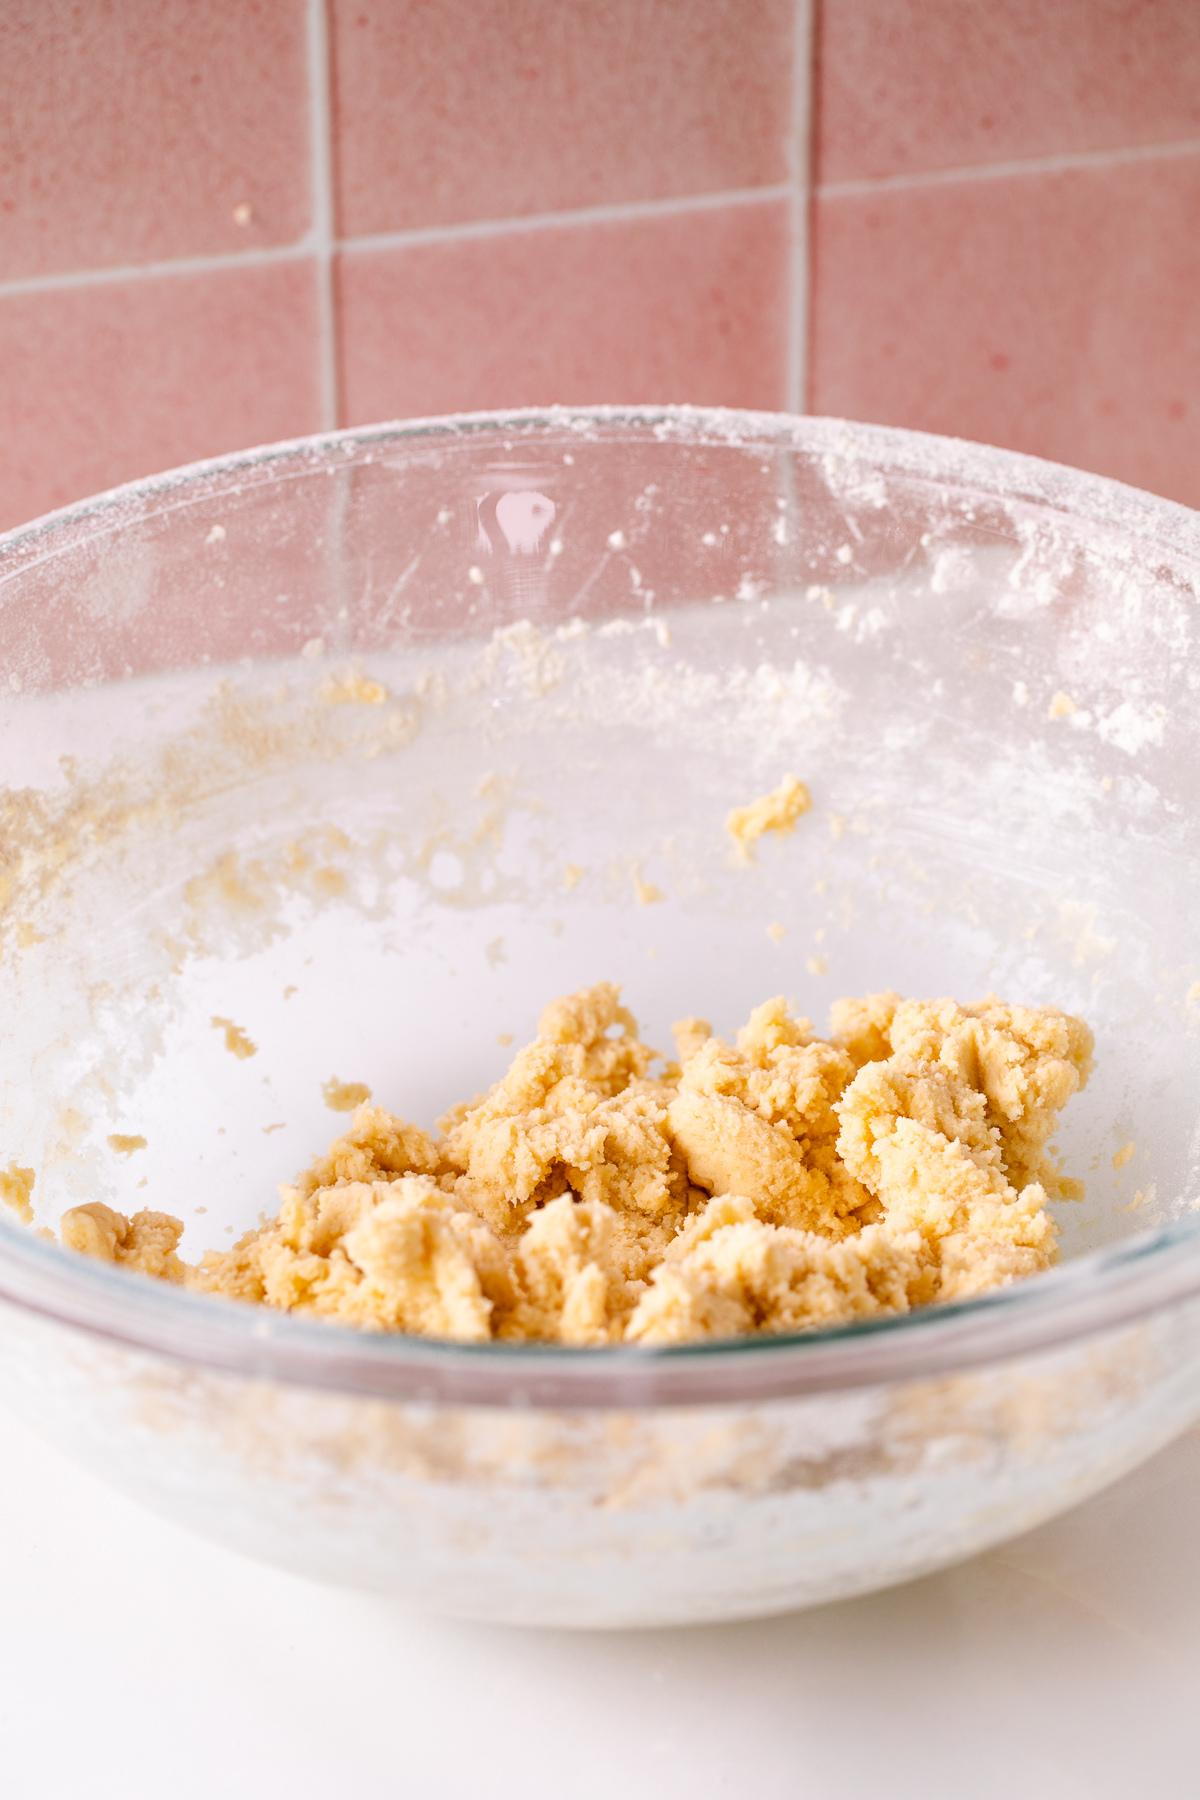
Step 3: Mix in the flour and mix until just combined, being careful to not over-mix the dough.
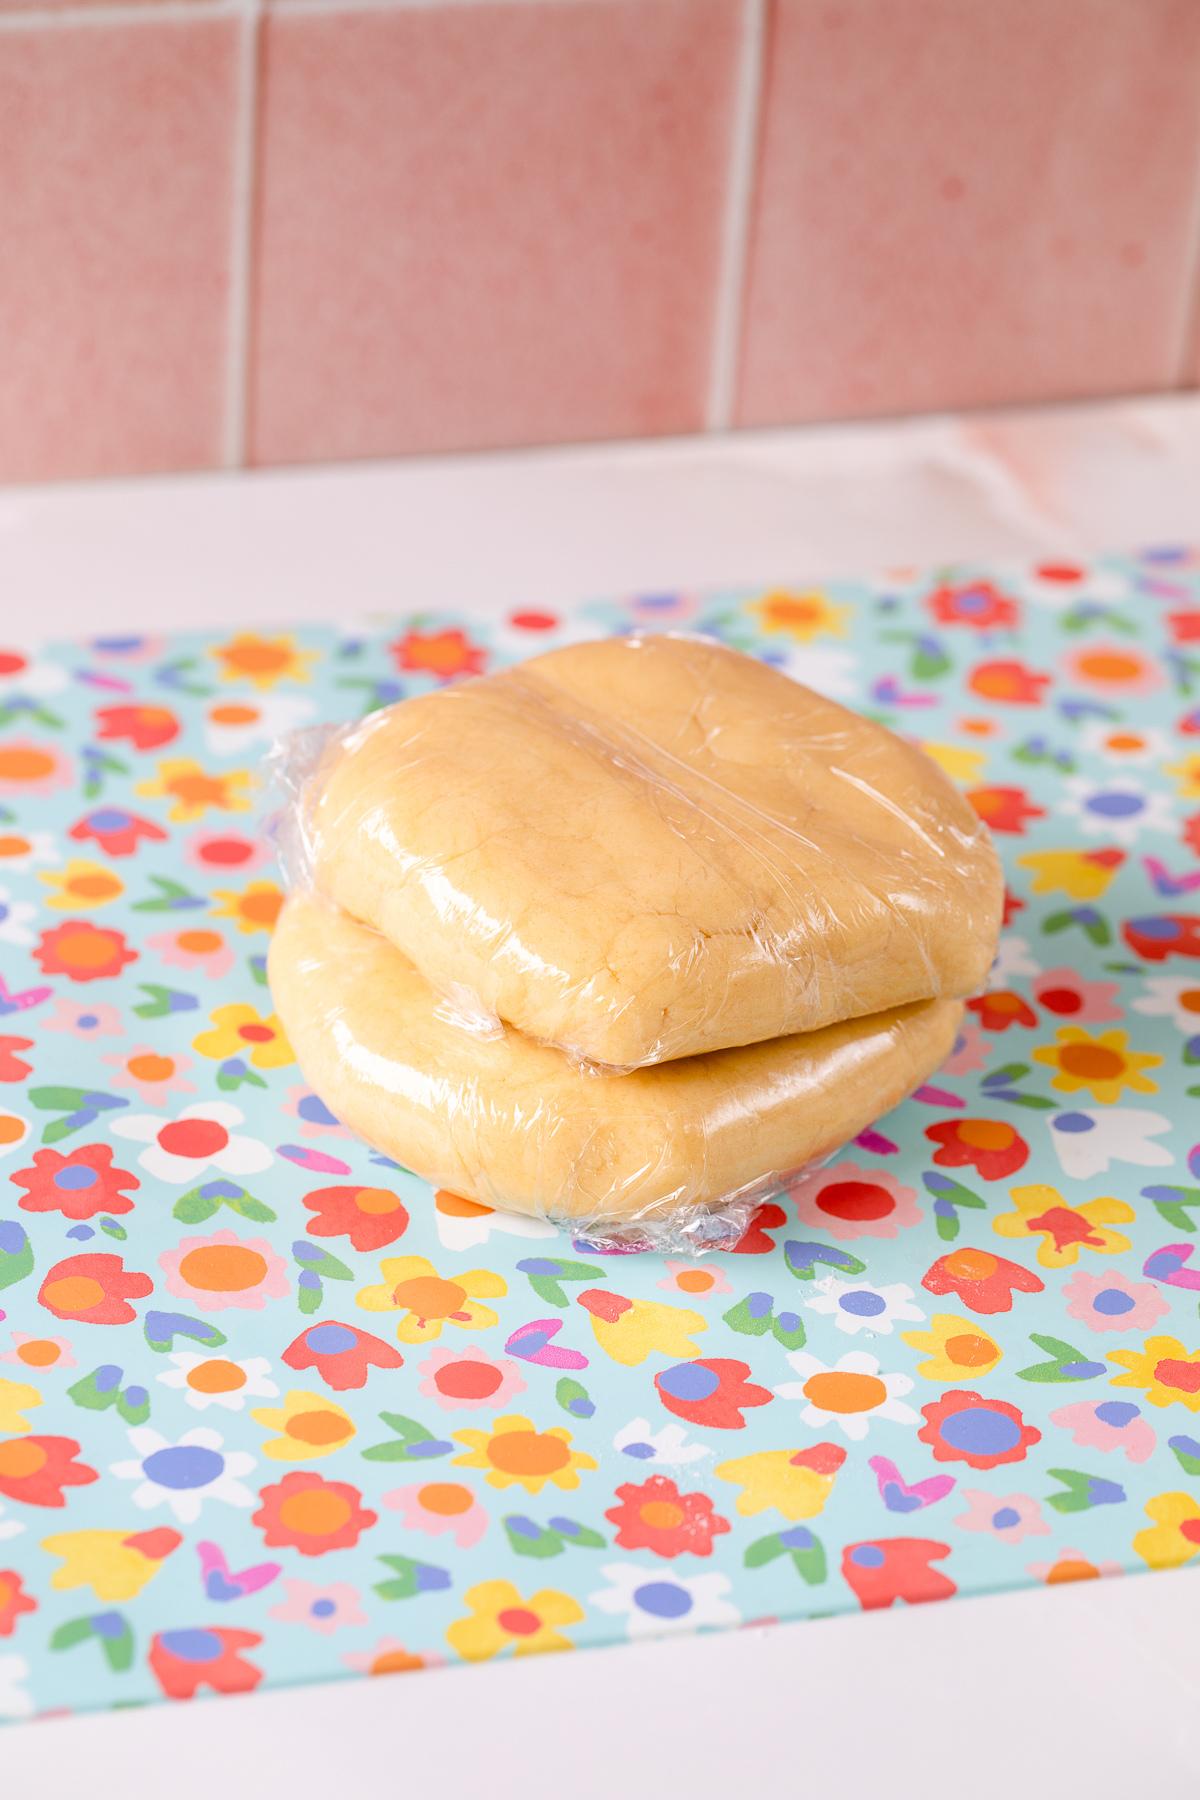
Step 4: On a lightly floured surface, divide the dough into 2 round balls and shape each into a disc ½ inch thick and about 4-5 inches wide. Wrap tightly in plastic wrap and place in the refrigerator for at least two hours or up to overnight. At this point the dough can also be frozen for up to a month.
How to Bake Tartlets
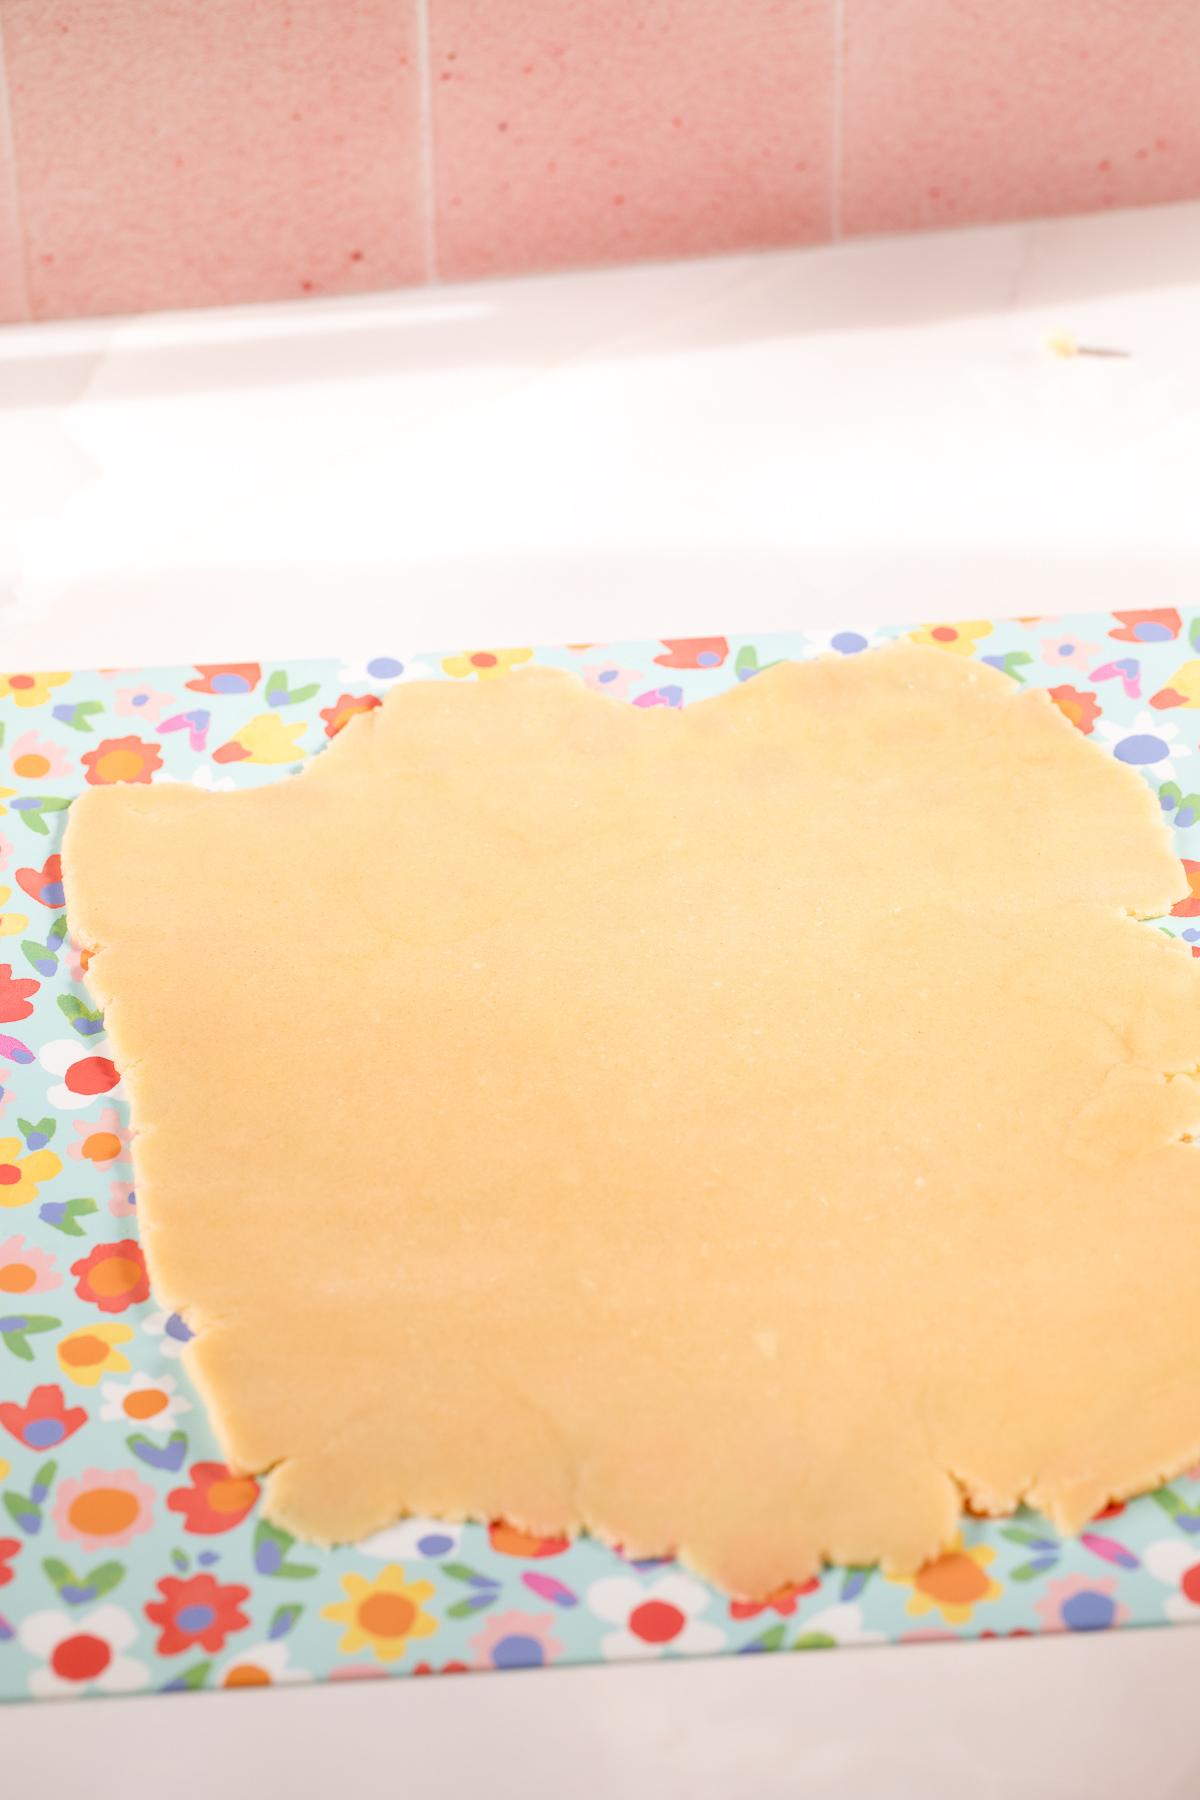
Step 5: When ready to bake, remove the dough from the fridge and, using a rolling pin on a piece of parchment paper or silicone baking mat, roll out the dough to ⅛ inch thick. It sounds thin, but in the mini tart pans it fits well while leaving room for the filling.
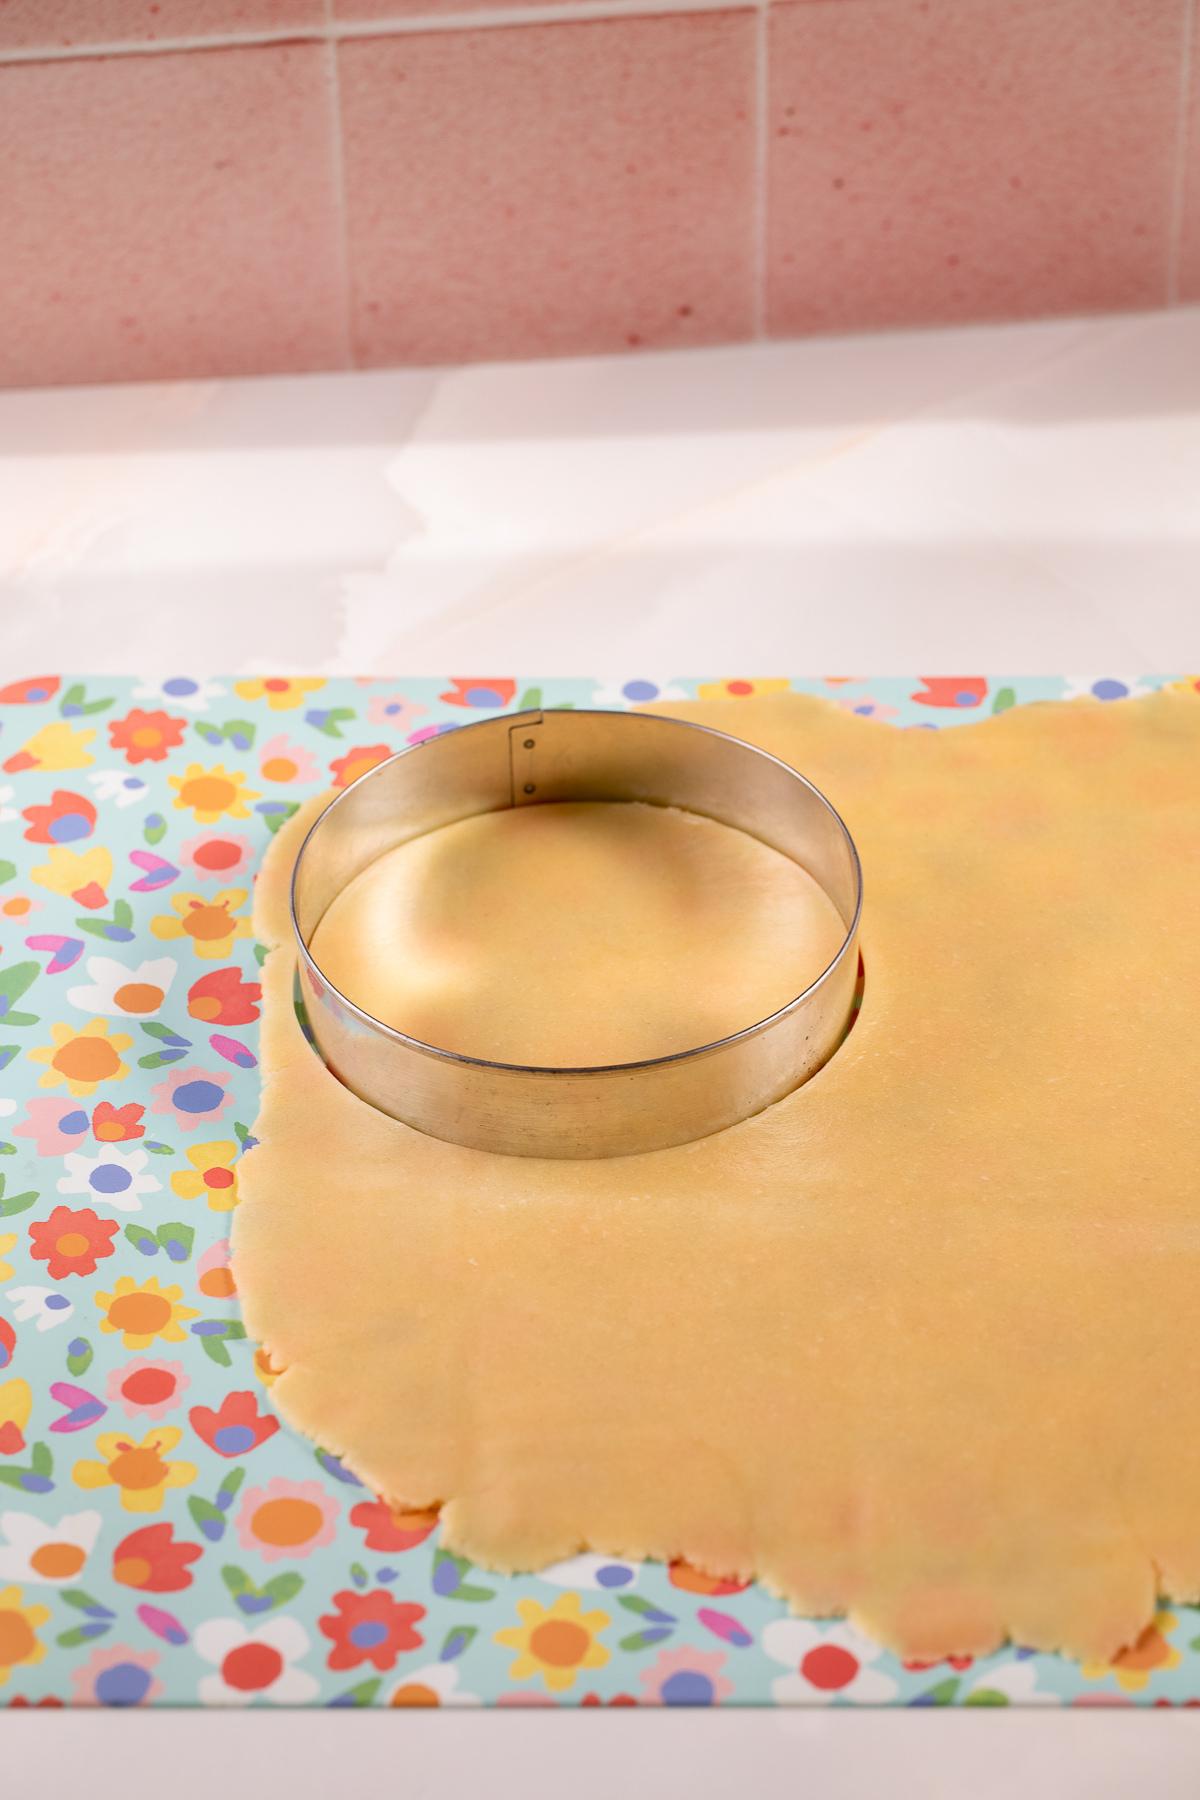
Step 6: Cut out circles 1/2 inch to 1 inch larger than your tart pan so that you don’t need to stretch the dough in order for it to fit into the pan. Again, stretching the dough will cause the tarts to shrink when baking. The bigger and deeper the mini tart pan the more room you’ll need around it.
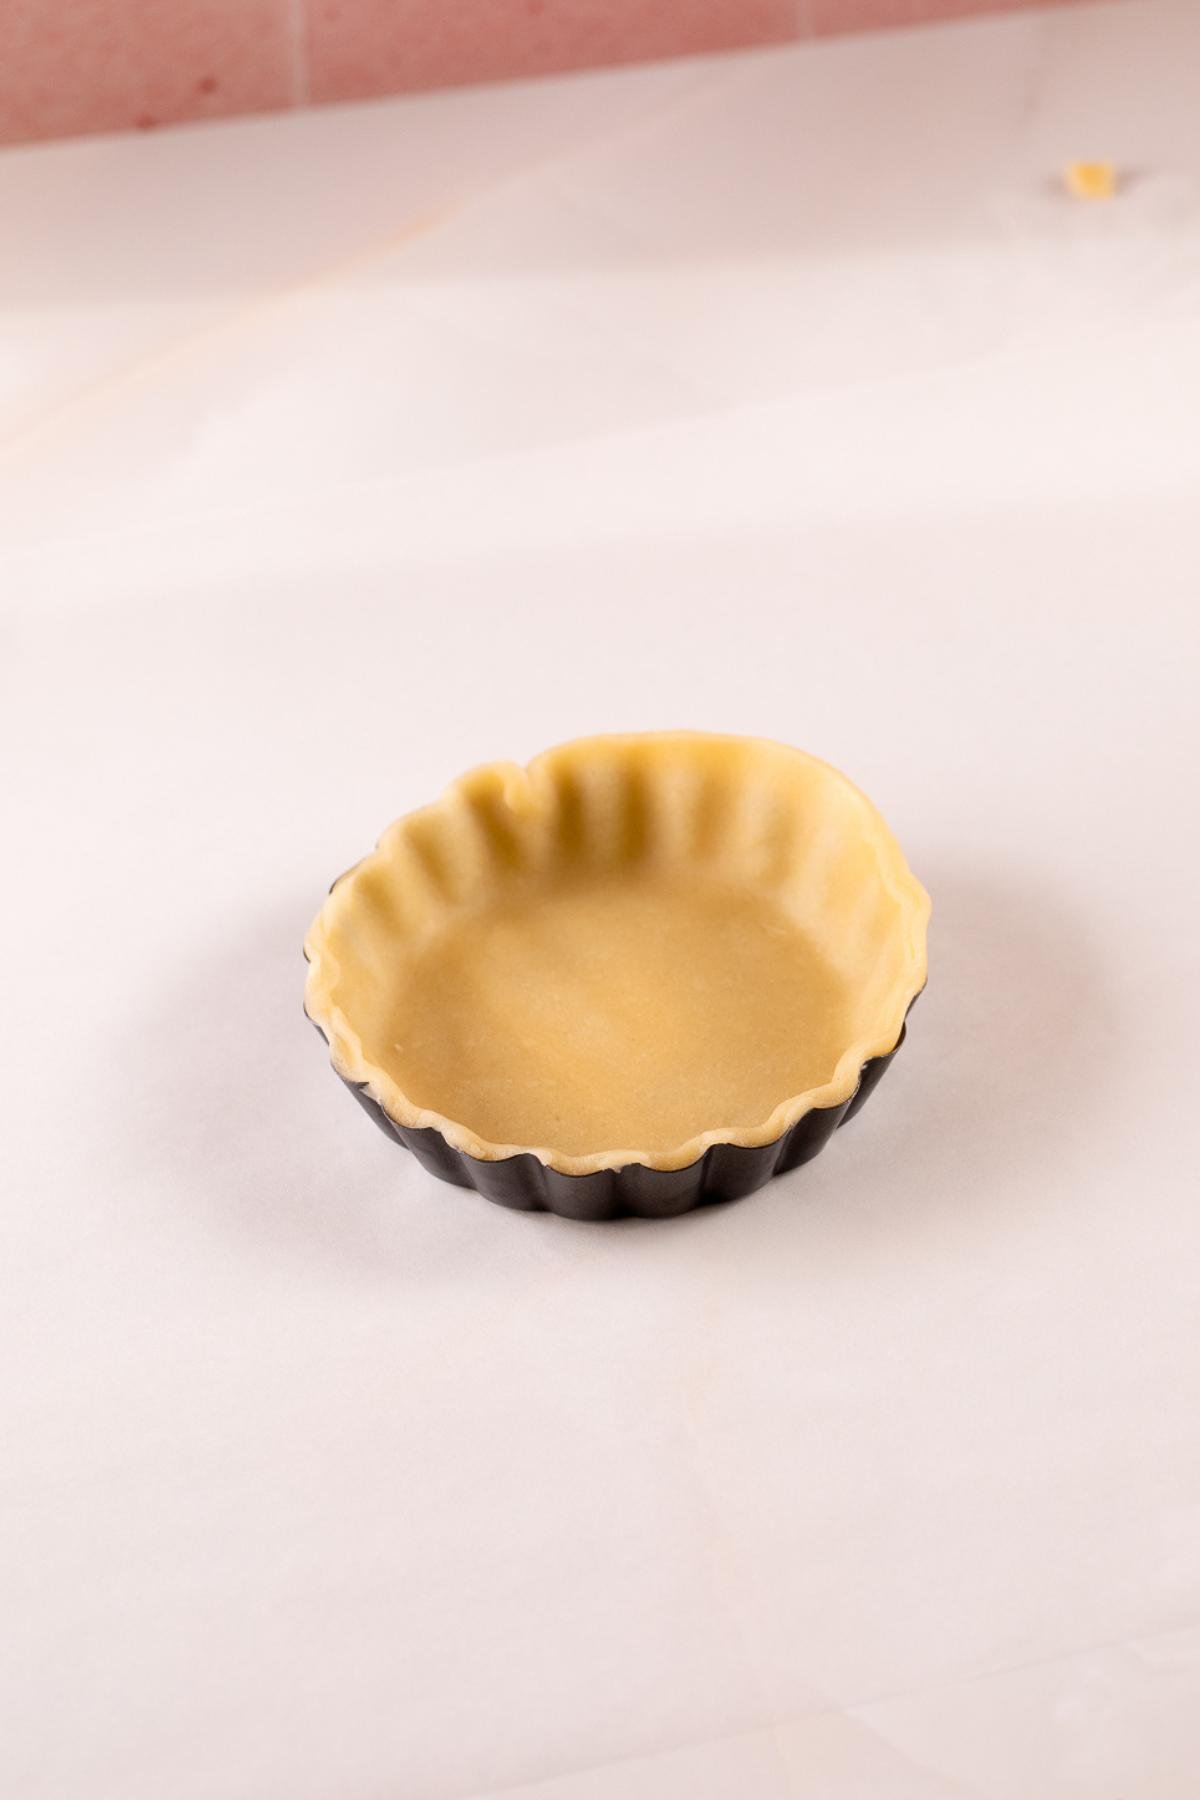
Step 7: Once you’ve cut the circles, gently push the tart dough into the pan. It helps if the tart dough is very cold. Trim the edges with a sharp knife and place extra dough onto any sparse spots rather than trying to stretch the dough to make it fit.
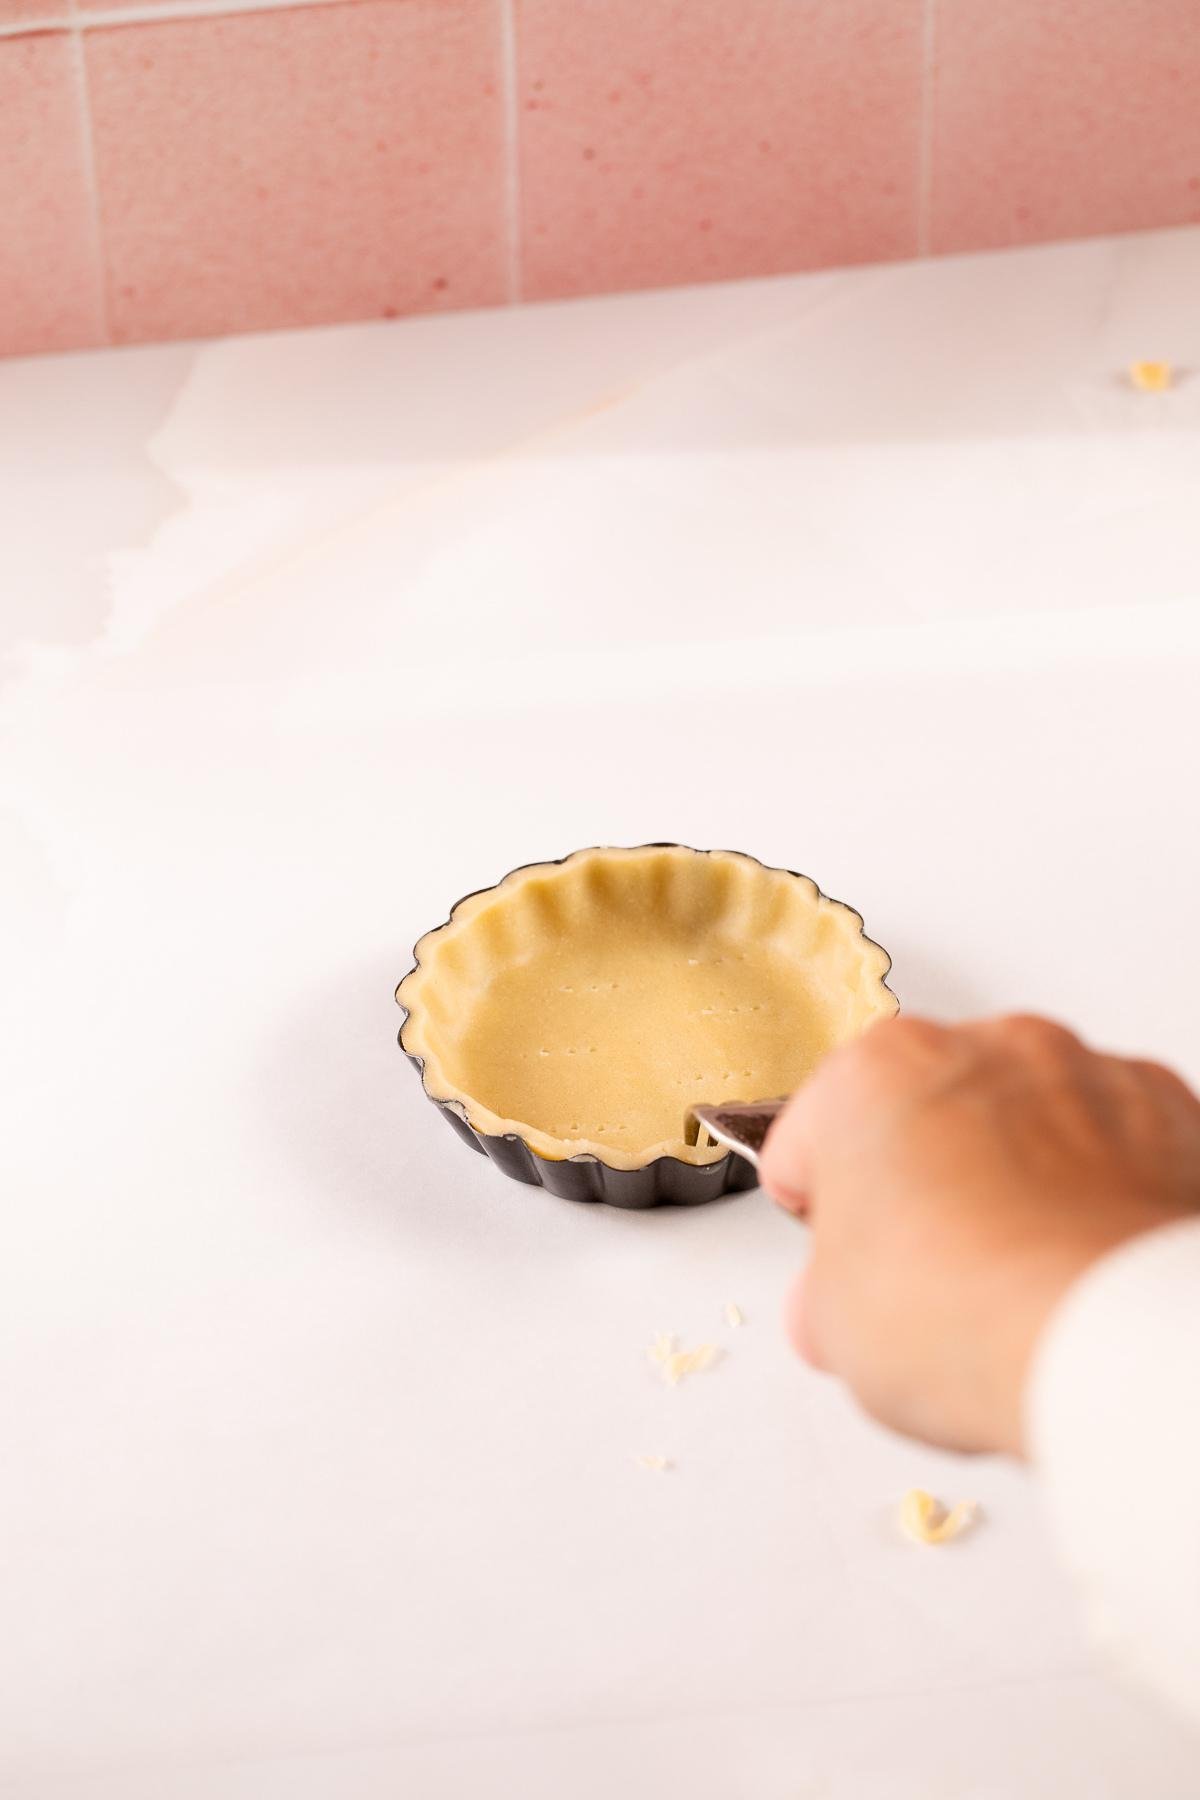
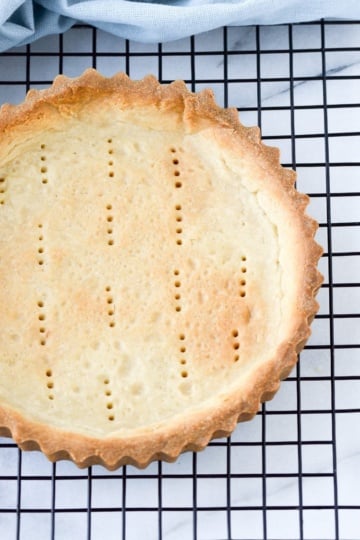
Step 8: Gently score the bottoms of the tarts with a fork about 3-6 times, depending on the size of your tartlet pans. Then, chill the dough in the fridge or freezer for about 10 minutes before baking. Similar to cut-out sugar cookies this helps keep the dough from shrinking or changing shape when baking.
Pro Tip on Keeping The Tartlet Dough Chilled
After rolling out the tartlet dough and cutting out the circles for the tart shells, leave them in place on the parchment paper or silicone mat. Once all the circles are cut, place the entire sheet in the freezer for 5 to 7 minutes.
Chilling the dough at this stage firms it up, making the mini tart shell rounds much easier to lift off the parchment and transfer into the tartlet pans without sticking, tearing, or stretching.
Keeping the dough cold throughout the process also helps the tartlet shells hold their shape as they bake. When the dough becomes too soft, it is easy to stretch it while shaping, which can lead to misshapen tartlets. While they will still bake and taste fine, working with well-chilled dough results in cleaner edges and more evenly shaped mini tart shells.

Step 9: Place the mini tarts on a baking sheet and bake in the preheated oven at 325℉ until golden brown. Baking times will vary depending on the size of the tarts. See FAQ for more details.
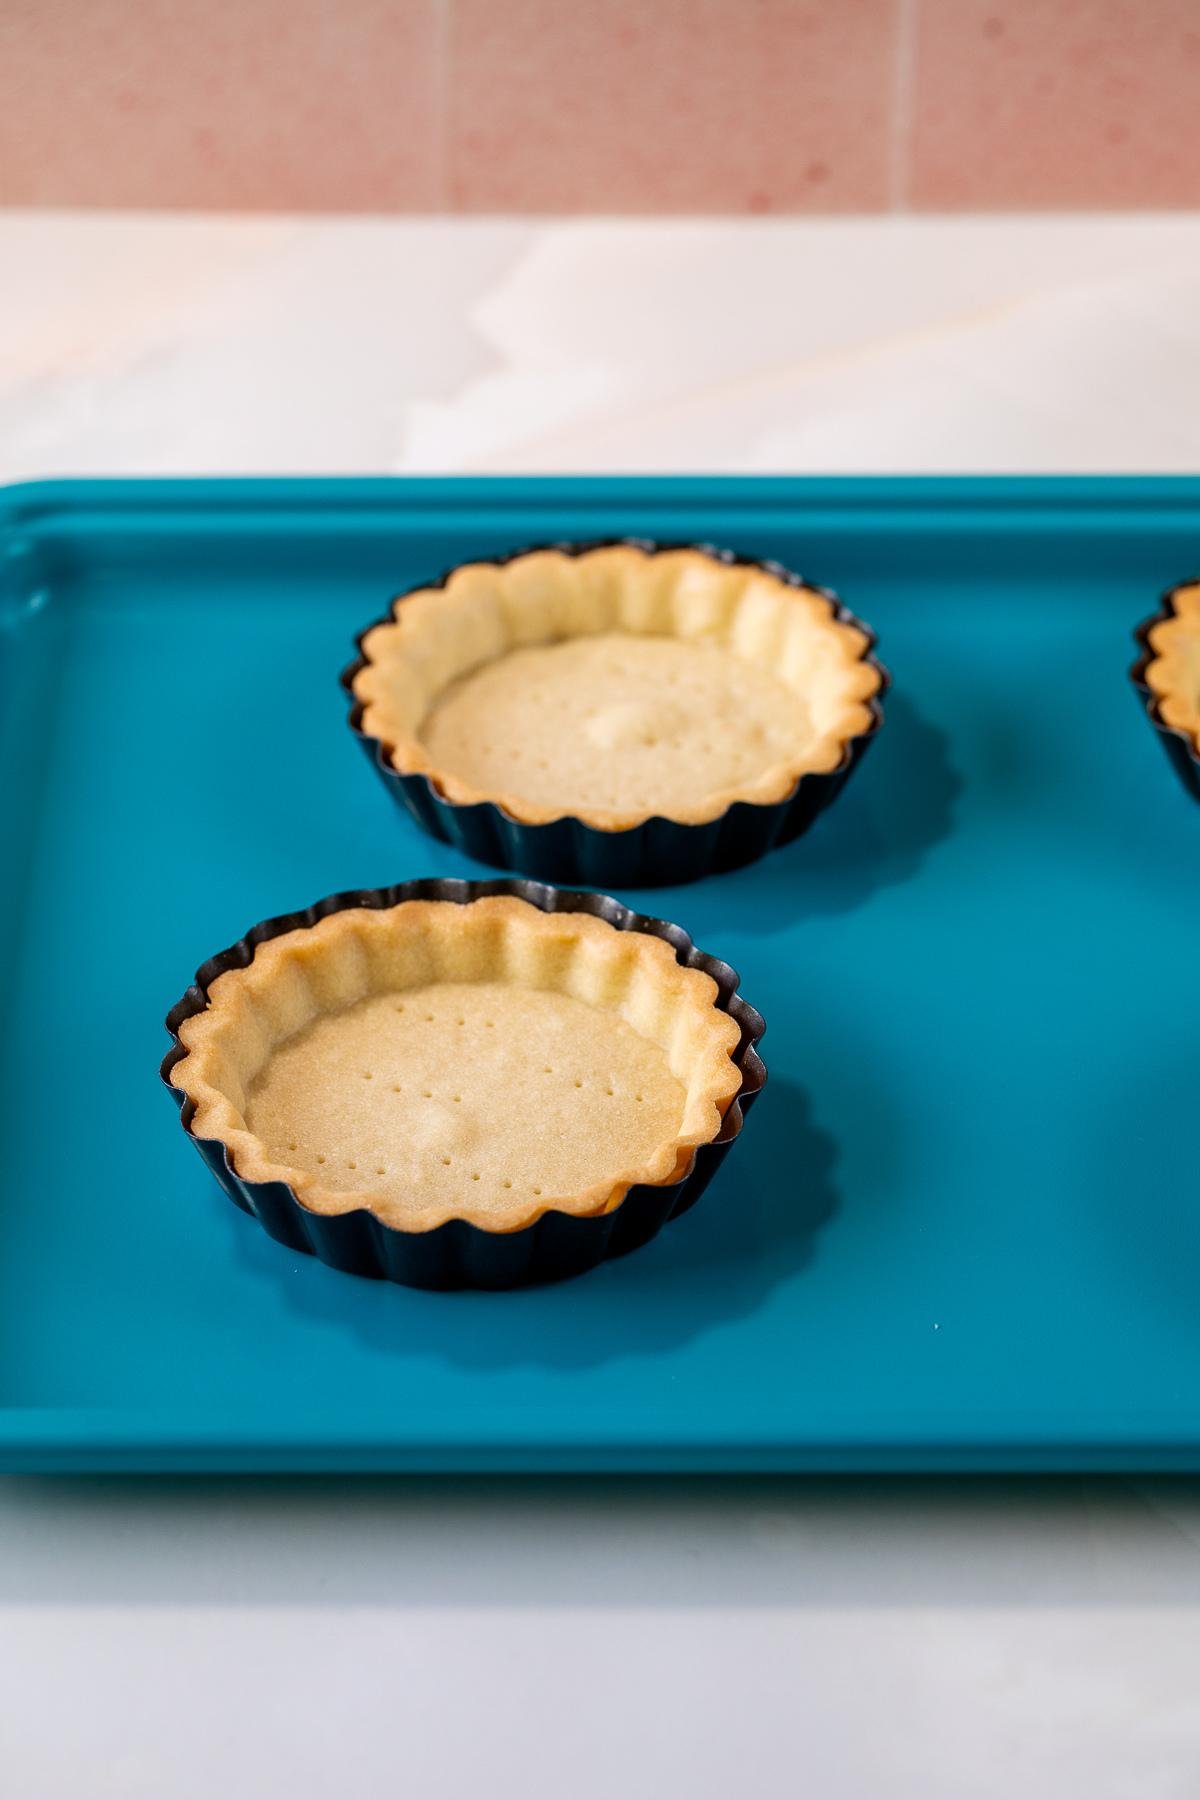
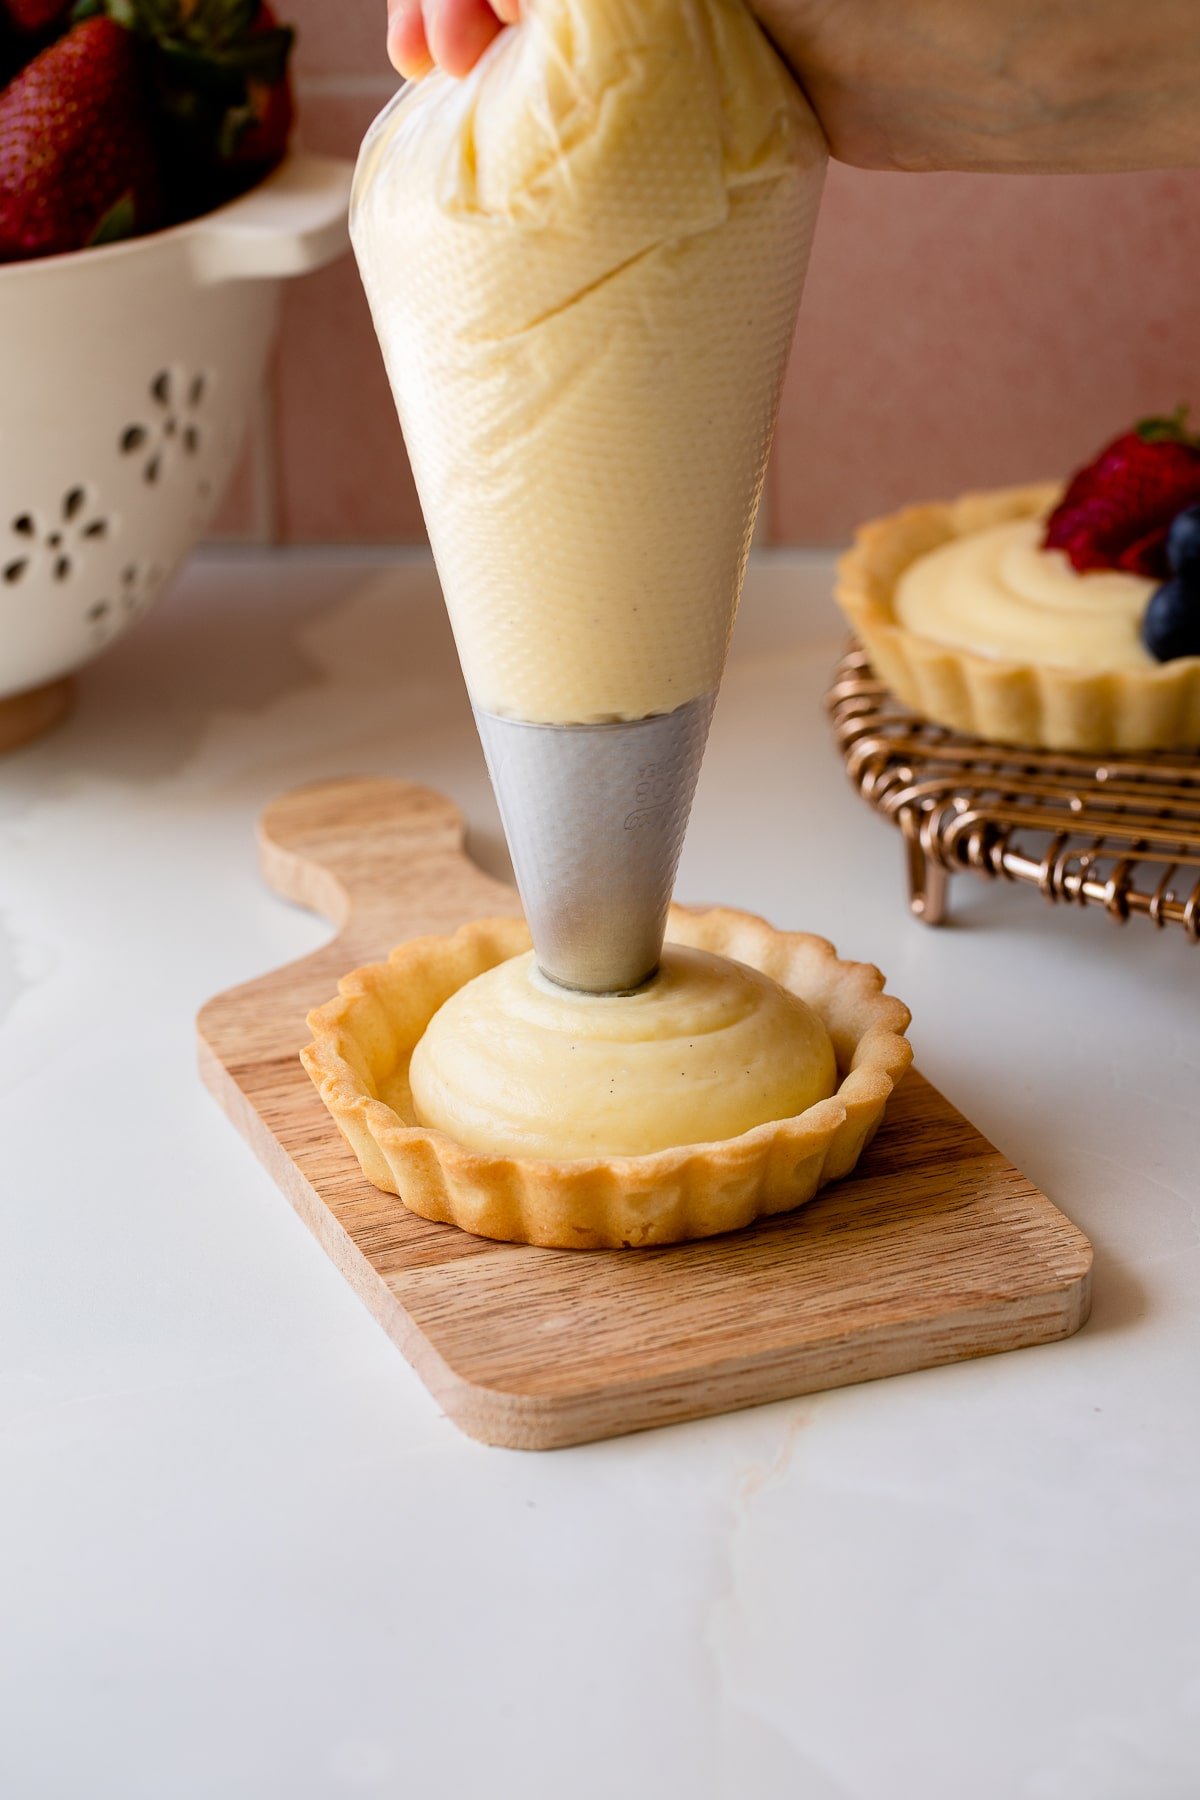
Step 10: Once the shells are done, remove from oven and let them cool in the molds. Once cooled, remove from mold, add desired filling, and enjoy!
Unmolding Mini Tart Shells
If you're using a removable bottom mold, lift the bottom from the sides. Then, gently remove the bottom of the mold from the bottom of the tart. Sometimes it sticks a bit, so you can use a knife or small tool to gently loosen the bottom of the mold from the tart.
For smaller molds, or tart pans that do not have removable bottoms, gently tap them upside down and the tarts should fall out. Just make sure they're completely cooled before you do this.
Typically there is enough butter and fat that these will fall out when you turn them over or tap them. If they do not fall out or are slightly stuck in the molds, gently tap them at a 45-90 degree angle on a hard surface. They should quickly fall out. I've found this more effective than trying to remove them with a knife.
Tips for Perfect Tartlets
- Keep the dough cold and firm. Cold dough is easier to handle and helps prevent shrinking.
- Do not add extra flour to the dough! If/when the tart dough starts to get soft, place back in the fridge or freezer to firm up.
- In order to not have to blind bake these shells, it’s important not to stretch out the dough. That is what causes the shells to shrink as they bake (the same goes for regular-sized tarts and for pie crust like vodka pie crust).
Mini Tart Shell FAQs
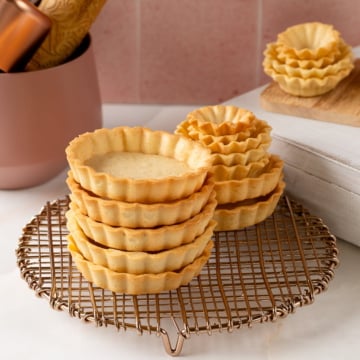
Mini tartlet shells are easiest to make using tartlet pans with removable bottoms, which help the shells release cleanly after baking and hold their shape.
You can also use small fluted tartlet pans, sometimes labeled as egg tart molds. These pans are typically smaller and give the shells a decorative, fluted edge, making them a great option for bite-sized tartlets or dessert platters.
If you don't have tartlet pans, a standard muffin tin works as an alternative. Press the dough evenly into the wells, keeping the sides as uniform as possible. While the shape will be slightly less defined, the tartlet shells will still bake up sturdy and work well with most fillings.
I've found this recipe yields about 8-10 four-inch mini tarts using these 4-inch tart pans and this 6-inch cookie cutter, and about 18-24 mini tarts using these smaller fluted molds (about 2-3 inches in diameter).
But, keep in mind the number of tarts you get from the recipe will vary depending on the size, shape, and depth of your mini tart molds.
Baking times can vary depending on the size, depth, and even color or material of your mini tartlet pans. Here is a general guide but be sure to check the tartlets often to ensure they don’t over bake:
4-inch mini tarts: 14-18 minutes
2-3 inch mini tarts: 8-12 minutes
1-2 inch mini tarts: 6-10 minutes
Puffing usually happens when steam gets trapped in the dough. Lightly poking the bottom of each shell with a fork (also known as docking) allows steam to escape and helps keep the base flat during baking.
First, make sure the shells are fully baked before filling. For very moist fillings, brushing the inside of the cooled shells with a thin layer of melted chocolate can help create a barrier that keeps them crisp longer.
Yes! Tartlet shells are very freezer-friendly. The baked mini tart shells and unbaked tartlet dough can both be frozen, but they freeze best at different stages.
Fully baked and completely cooled mini tart shells can be frozen in an airtight container for up to one month. Place parchment paper between layers to prevent breakage. Thaw the shells at room temperature, then fill shortly before serving for the best texture.
You can also freeze the tartlet dough before baking. Wrap the dough tightly and freeze for up to one month. When ready to use, thaw the dough in the refrigerator, then roll, shape, and bake as directed.
Freezing filled tartlets is not recommended, as creamy or moist fillings can become watery and soften the shells once thawed.
3 Quick Tartlet Recipes Using These Shells
- Mini Fruit Tarts: Vanilla Pastry Cream (or Diplomat Cream) + Fresh Berries
- Mini Chocolate Tarts: Chocolate Ganache + Chocolate Whipped Cream
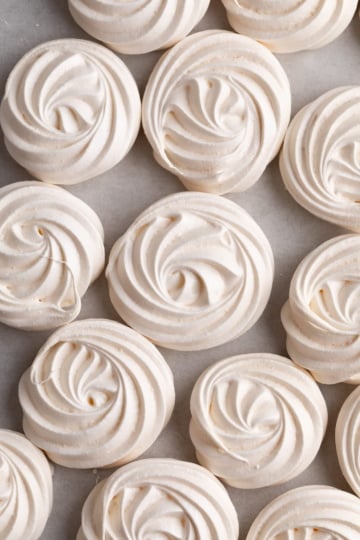
- Lemon Meringue Tartlets: Homemade Lemon Curd + Toasted Marshmallow Meringue Frosting
Other Filling and Topping Ideas: Stabilized Whipped Cream, Homemade Caramel Sauce, Strawberry Coulis, Blueberry Coulis, Raspberry Coulis, or Mascarpone Whipped Cream
Making Ahead and Storing
- The tart dough can be made up to 24 hours in advance and stored in the fridge until ready to bake.
- The tartlet dough can also be made and frozen for up to a month. Make sure it is tightly wrapped and in an airtight container. When ready to use, defrost in the fridge and roll out and bake as normal.
- The baked and unfilled shells can be stored at room temperature or in the fridge for up to 5 days.
- The baked and cooled tartlet shells can also be frozen up to a month, see FAQ for more details.
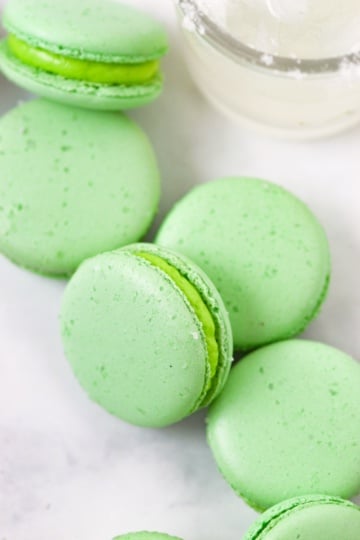
Love all things French Pastry? Try Choux Pastry, Canelés de Bordeaux, and French Macarons next!
Looking for more bakery-style dessert recipes?


WANT TO JOIN THE PARTY? Subscribe to my newsletter and follow on Pinterest, Instagram, and Facebook for all the latest recipes!
Tartlet Shells
Equipment
- Mixer
- Tartlet Pans or Muffin Tins
- Parchment Paper or Silicone Baking Mat
INGREDIENTS
- 8 tbsp unsalted butter see notes for using salted
- ½ cup granulated sugar
- ⅛ tsp salt
- 1 egg
- 250 g all-purpose flour 2 cups flour, spooned and leveled
Instructions
Making Tartlet Dough
- Using a stand mixer with a paddle attachment, or a hand-held mixer with a large bowl, cream the butter, sugar, and salt on medium speed until combined.
- Mix in the egg, scraping down the bowl to ensure it is fully incorporated.
- Add the flour and mix on low until just incorporated, scraping down the bowl as necessary. Do not overmix.
- On a lightly floured surface, divide the dough into 2 balls and shape each into a disc ½ inch thick.
- Wrap tightly in plastic wrap and refrigerate for at least 2 hours or overnight.
Baking Tartlets
- When ready to bake, preheat oven to 325 ℉.
- Remove the dough from the fridge and roll out to about ⅛ inch thick.
- Working quickly so the dough stays cold, cut out circles about ½-1 inch larger than the tart pans and gently place into the tart pans, being careful to not stretch out the dough as you want it to stay in place and not shrink back to its original size when baking. Re-roll the remaining dough and repeat.
- If mini tarts need more dough, add more dough and press into place. If dough gets too soft, put it back in the fridge or freezer for 10-15 minutes.
- Once you've filled the tart shells, cut off any excess using a knife. You can also roll the rolling pin across the top to remove any excess. Then, score the bottoms of the tarts by gently poking the bottom of the tart shells with a fork about 2-5 times, depending on the size of your shells.
- Before baking, chill or freeze the tart shells for 15 minutes.
- Then, place the chilled tarts on a baking sheet and bake in the preheated oven for 14-18 minutes (for 4 inch tarts), turning pan half way in between. Baking times will vary depending on size of tart shells. See post for more info.
- When tarts are golden brown, remove from the oven and let cool.
- Once cooled, remove from mold, add desired filling, and enjoy!
Notes
- If using salted butter, omit added salt in recipe.
- Keep the dough cold and firm when filling the tart pans.
- Do not add extra flour to the dough. If/when it starts to get soft, place back in the fridge or freezer to firm up.
- In order to not have to blind bake these shells, it's important to not stretch out the dough. That is what causes the shells to shrink as they bake (the same goes for regular sized tart and for pie crust).
- Baking times will vary depending on size and depth of tart pan. See post for more details.
- These tarts will last 3-5 days unfilled in an airtight container at room temperature or in the fridge.
- The tart dough or baked and unfilled tarts can be frozen up to a month.
- This recipe makes about 8-10 four inch mini tarts. I've found these 4 inch tart pans with this cookie cutter fit really well.

DEbbie says
I have been looking for the perfect tartlet shell and I think I have found it. Your recipe is so wasy to follow, Thanks .
Amanda says
These little tartlet shells came out perfectly! They had the perfect flaky texture, and your tips made the process so easy.
Adriana says
This was my first time making homemade tartlet shells, and came out perfect, thanks to all your detailed instructions. Thank you!
Amanda Mason says
Super helpful info! Made my life so much easier to make tart shells using your tips and techniques. This recipe is a keeper and they were way easier to make than the recipe and way I was making them before!
Sharon says
These tart shells are great to make ahead so that you can quickly assemble them before eating.
Amy Liu Dong says
Oh my gosh, I don’t have any idea how easy to make this. Thank you for sharing this recipe, I will def make this at home.
Jessica says
This dough held up so well for my tarts, no shrinking!! I love that I didn’t need to use weights in baking either, that’s always tricky with the mini ones because there are so many. This was perfect!
Helene says
How simple tartlet shells can be so cute. That’s definitely a good idea to serve them for parties. I already imagine a buffet with this tartlets filled with pastry cream and berries.
Cathleen says
Okay wow!! I never knew I needed a recipe as much as I needed this one! It is absolutely perfect. Thank you so much for sharing 🙂
Marta says
I filled these tartlet shells with my homemade lemon curd and topped them whipped cream and fresh berries and they were a hit.