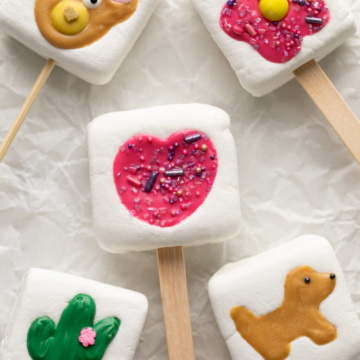
These marshmallow pops are an easy, no-bake party treat made with soft marshmallows, melted chocolate, and festive sprinkles. If you're looking for a simple recipe for marshmallow pops or want to learn how to make marshmallow pops for parties, holidays, or bake sales, this step-by-step guide makes it quick and beginner-friendly.
🔍 Quick Look: Homemade Marshmallow Pops
⏱️ Prep Time: 30 minutes
❄️ Setting Time: 1 hour
🕒 Total Time: 1 hour 30 minutes
🍡 Yield: About 12 marshmallow pops (varies based on cookie cutter size)
🛠️ Tools: Microwave-safe bowl, mini cookie cutters, piping bag or spoon, toothpicks or lollipop sticks, parchment paper
🎉 Perfect For: Birthday parties, holiday treats, bake sales, baby showers, dessert boards, and edible party favors
⭐ Difficulty: Easy (perfect for beginners and kid-friendly baking)
Summarize and Save This Content On:
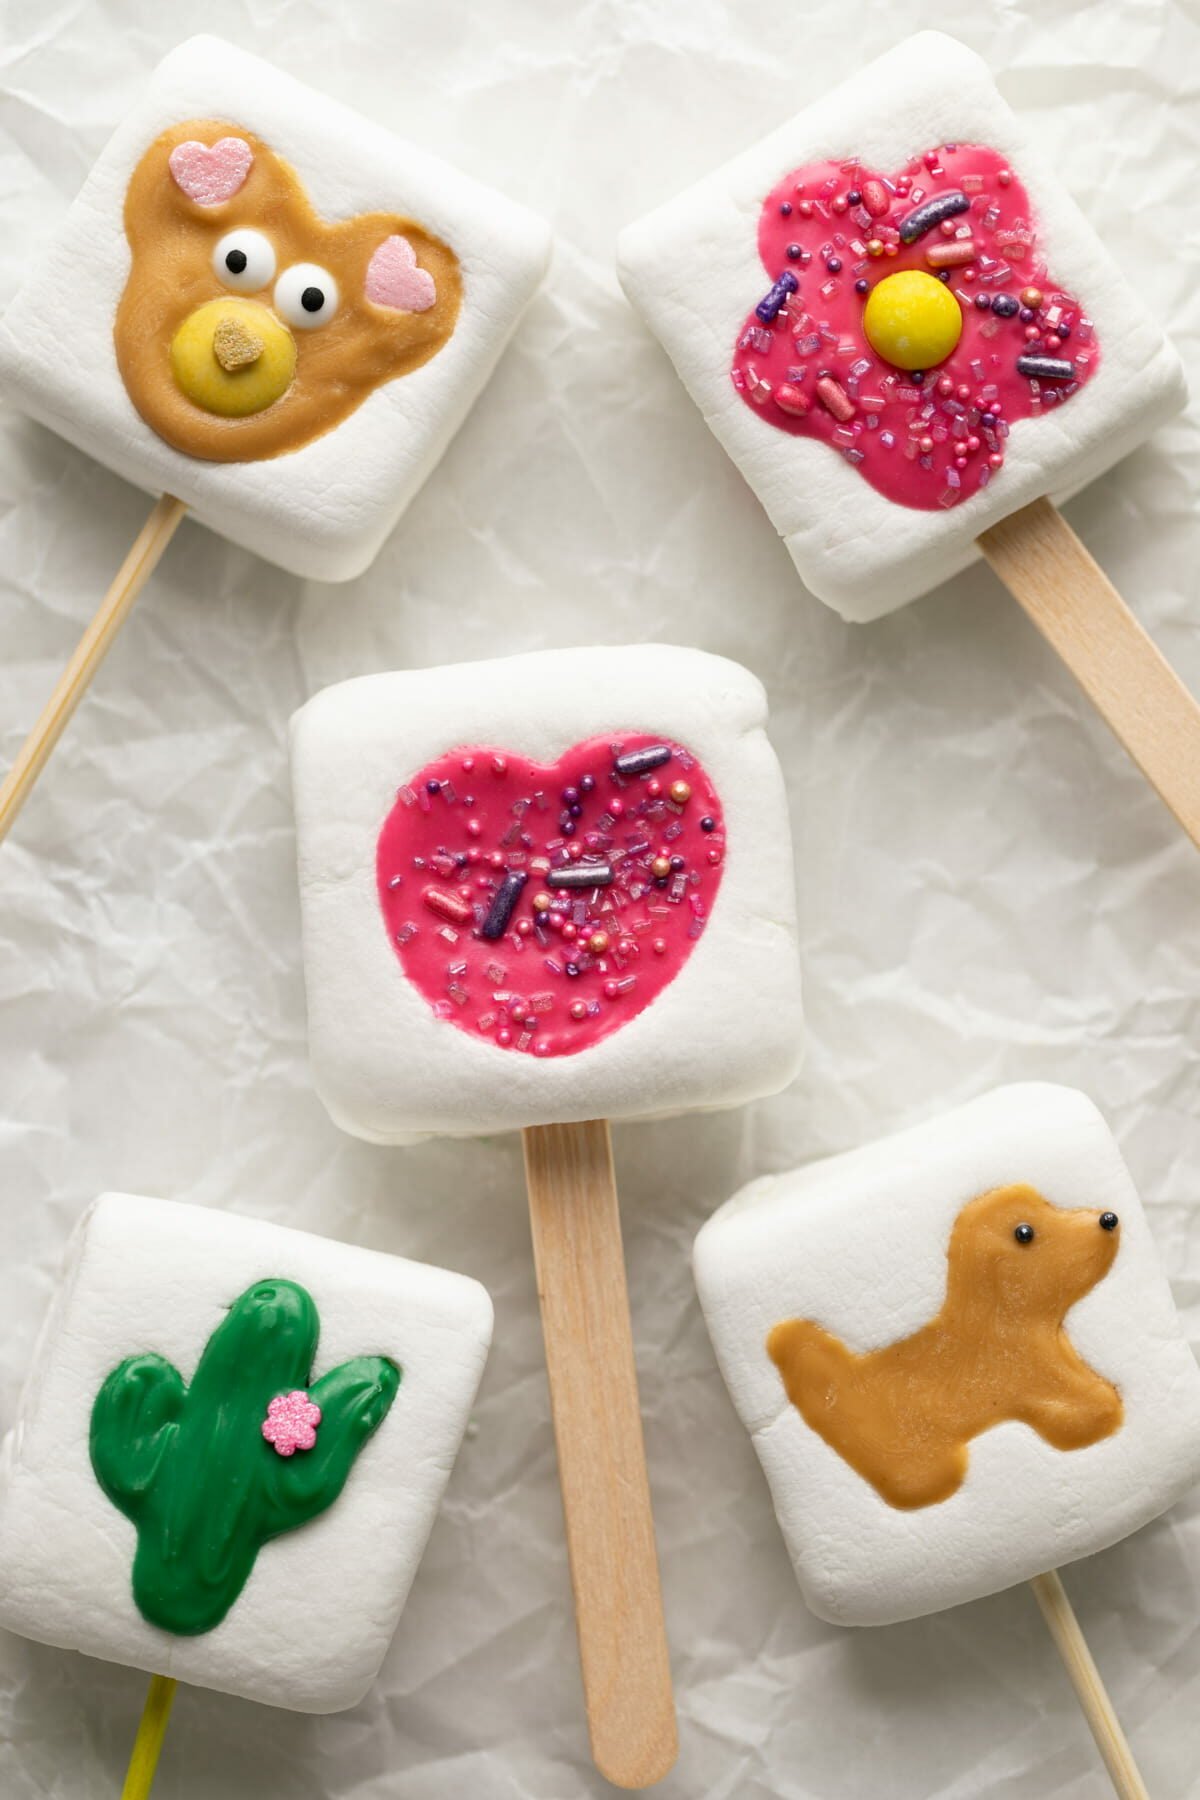
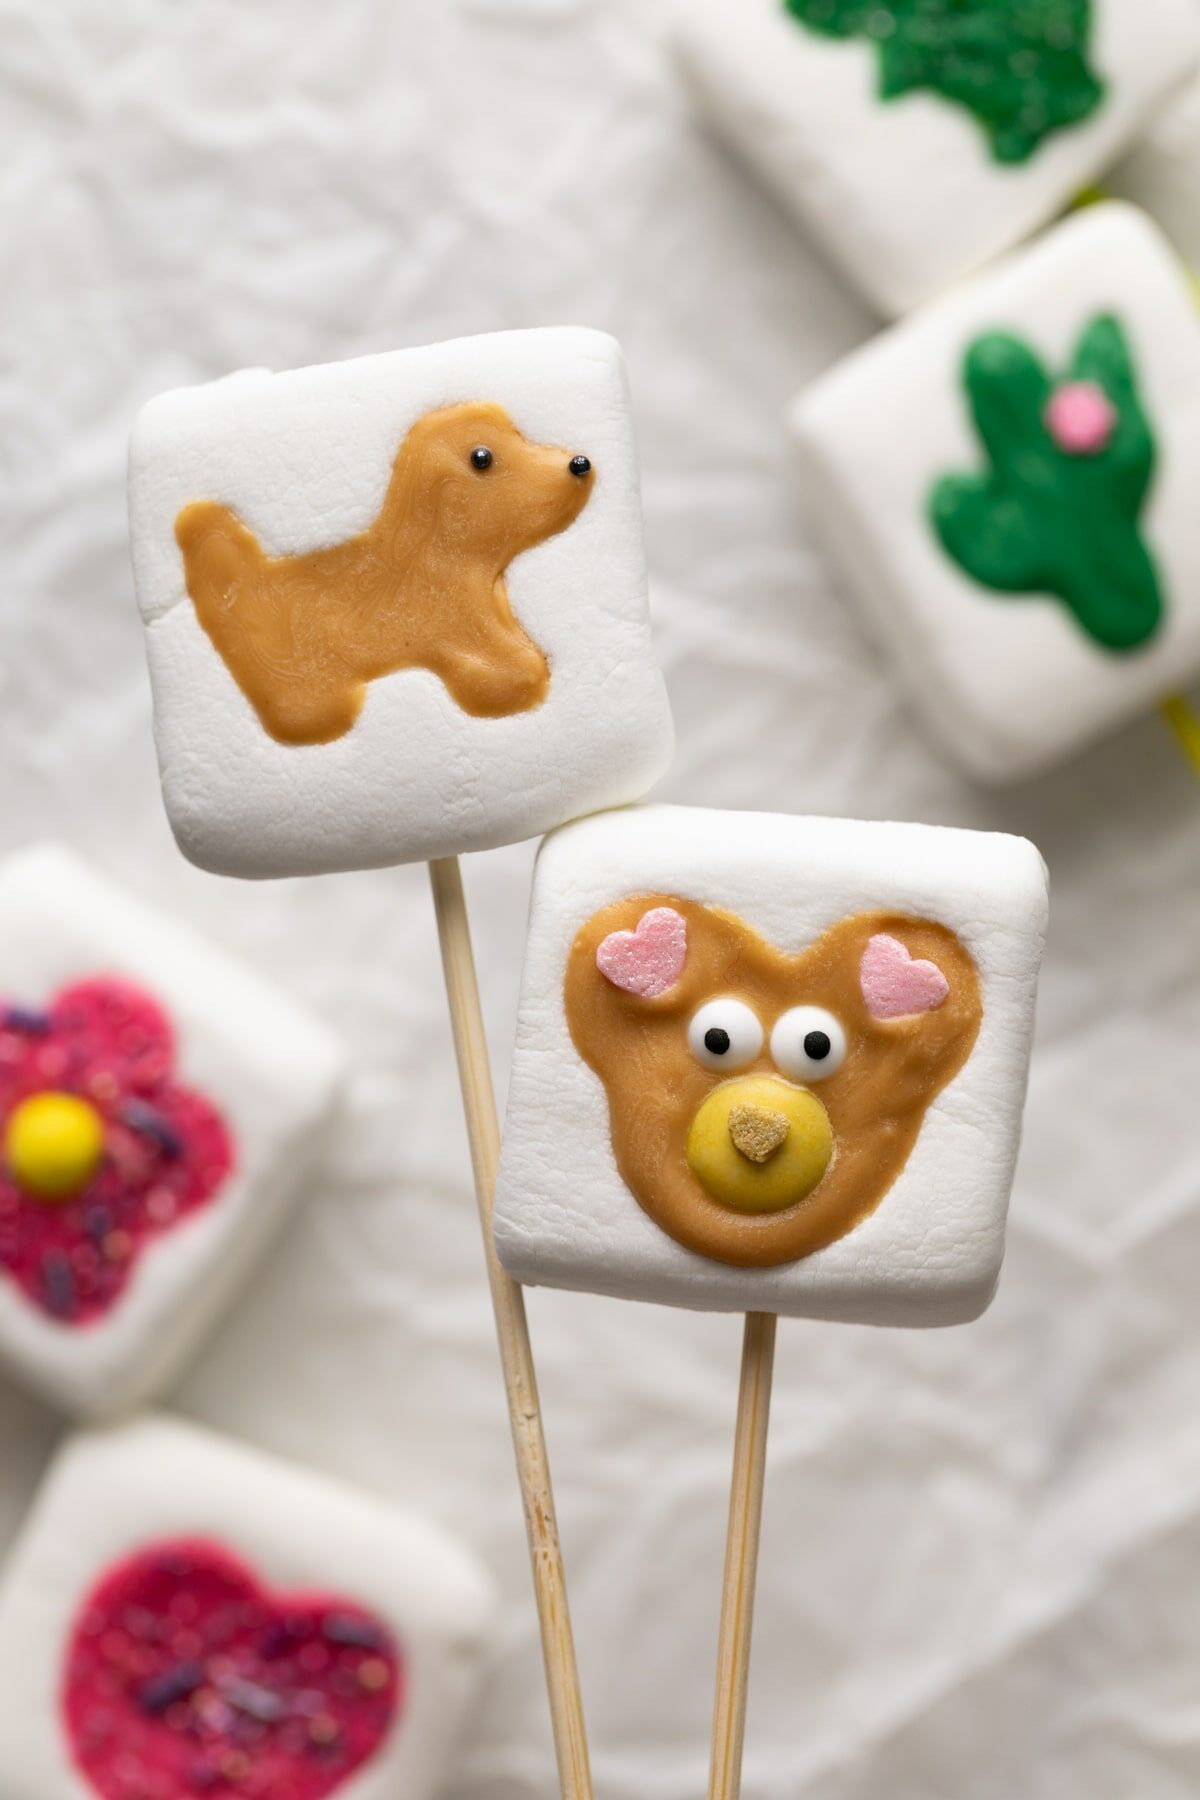
These adorable marshmallow pops are super simple and fun to make! Plus, they're very customizable, making them perfect for holidays, parties like weddings and showers, or a rainy day family activity.
Why you'll love this recipe:
- Easy: Similar to Halloween S'mores Pops or Shamrock Pretzel Treats, these are super simple to make! You only need three ingredients making them a perfect activity for the whole family to make together.
- Customizable: Need a treat for Valentine's Day? Halloween? A wedding shower? Look no further! All you need are holiday or event specific cookie cutters and you can make these for any occasion.
- Delicious: With just marshmallow, chocolate, and sprinkles, what's not to love!
Tools and Ingredients
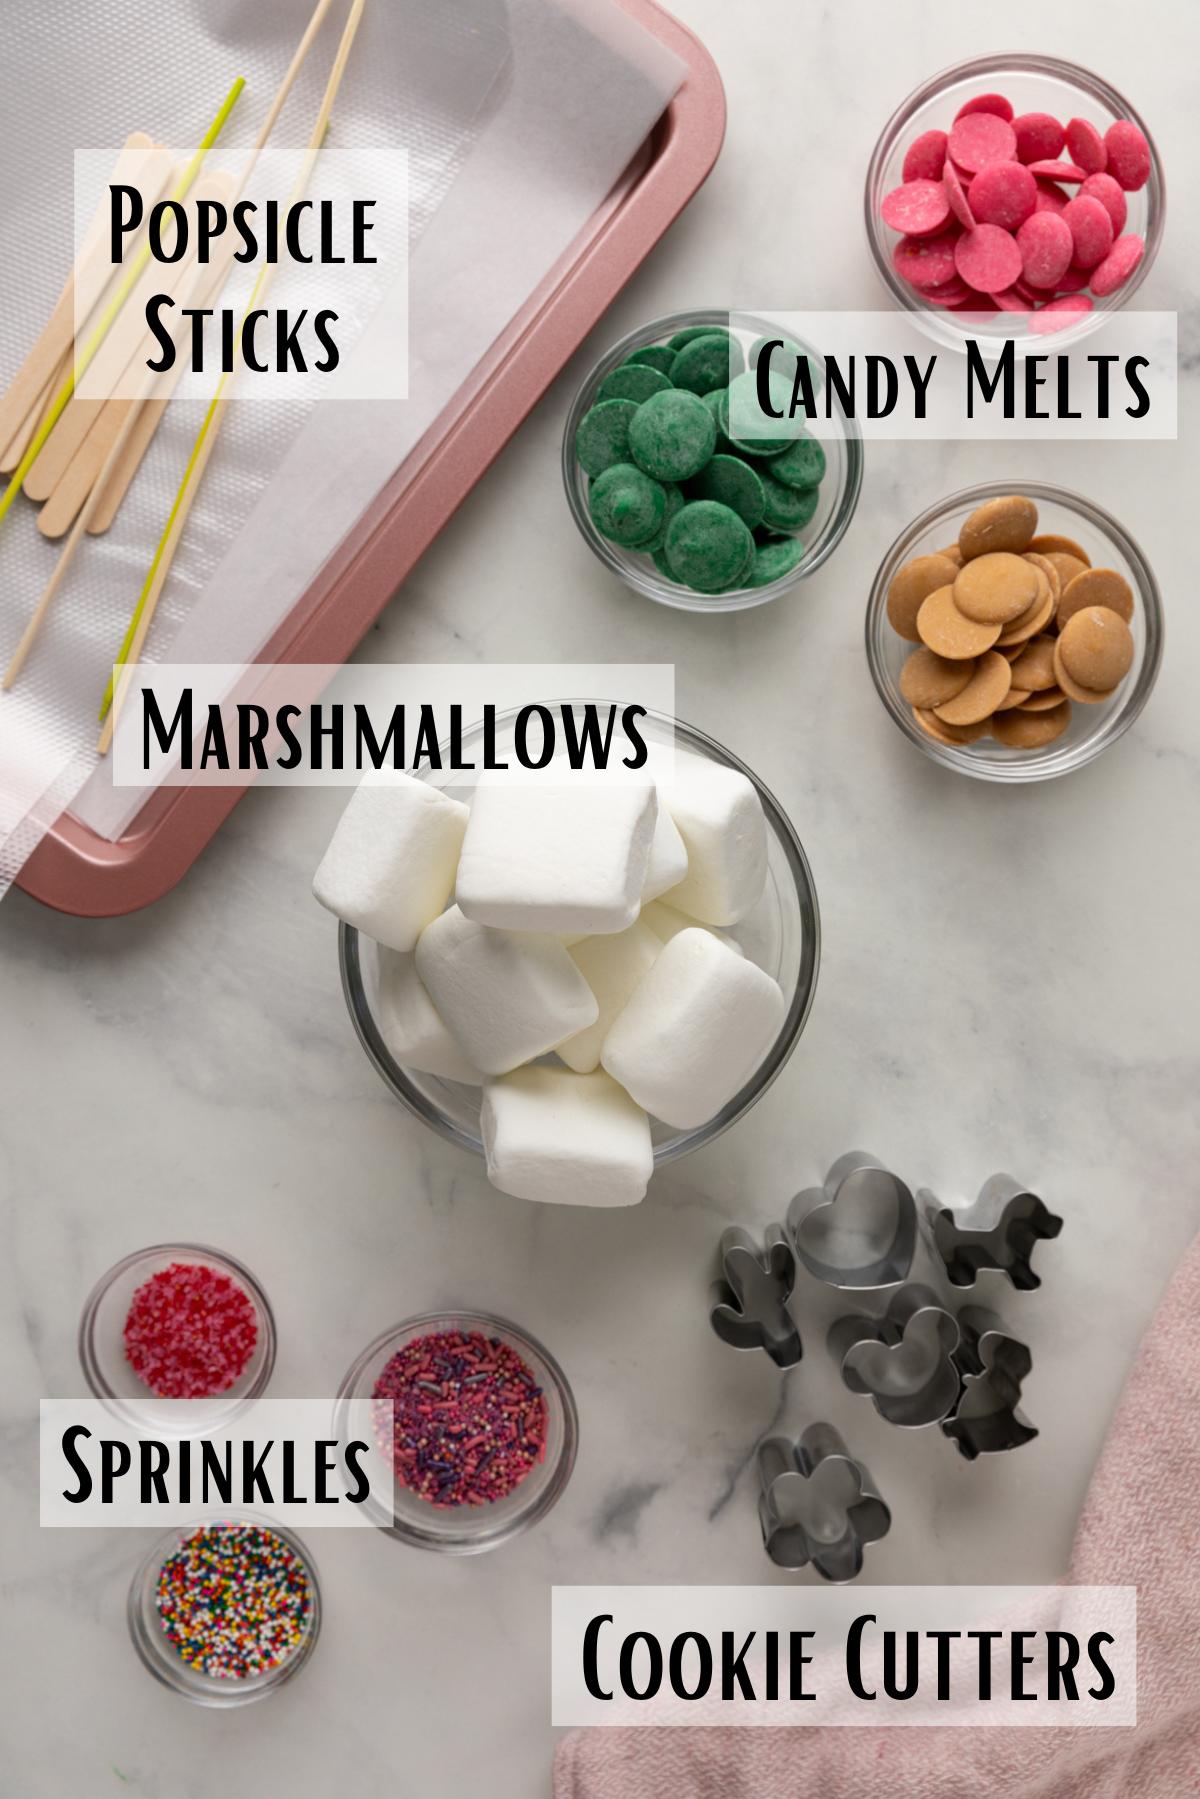
See the recipe card for a full list of ingredients and quantities.
- Stacker Marshmallows: For this marshmallow pop recipe, you need stacker or campfire marshmallows, which are flat marshmallows used for S'mores. You can get them at most grocery stores, Target, or on Amazon.
- Candy Melts: You can use your favorite chocolate, white chocolate, almond bark, or candy melts, which are colored melting chocolate.
- Sprinkles: For decorating. You can also use candy like M&Ms, crushed nuts, etc.
- Mini Cookie Cutters: Mini Cookie Cutters, ideally be between 1-1.5 inches so they fit on the marshmallow. Fruit and Vegetable Cutters work really well and have tons of shapes. I recommend these cookie cutters, as they have a large variety including basic shapes, hearts, animals, and Disney-themed cookie cutters.
- Piping Bags: for adding the chocolate to the marshmallows.
⭐ Using Candy Melts for Marshmallow Pops
Candy melts or almond bark are the best chocolate option for marshmallow pops and other chocolate-dipped treats because they're easy to use, melt smoothly, and set with a clean, glossy finish.
- No tempering required: Candy melts harden properly without tempering, so you can simply melt and decorate with consistent results.
- Smooth, even coating: They melt evenly and set firm and glossy, making marshmallow pops ideal for parties, dessert boards, gifting, and bake sales.
- Easy to find and color: Candy melts are sold at most craft stores, grocery stores, and Amazon. If you want to change colors, always use pre-colored candy melts or oil-based candy colors. Never use regular food coloring on chocolate since it will cause the chocolate to seize.
How to Make Marshmallow Pops
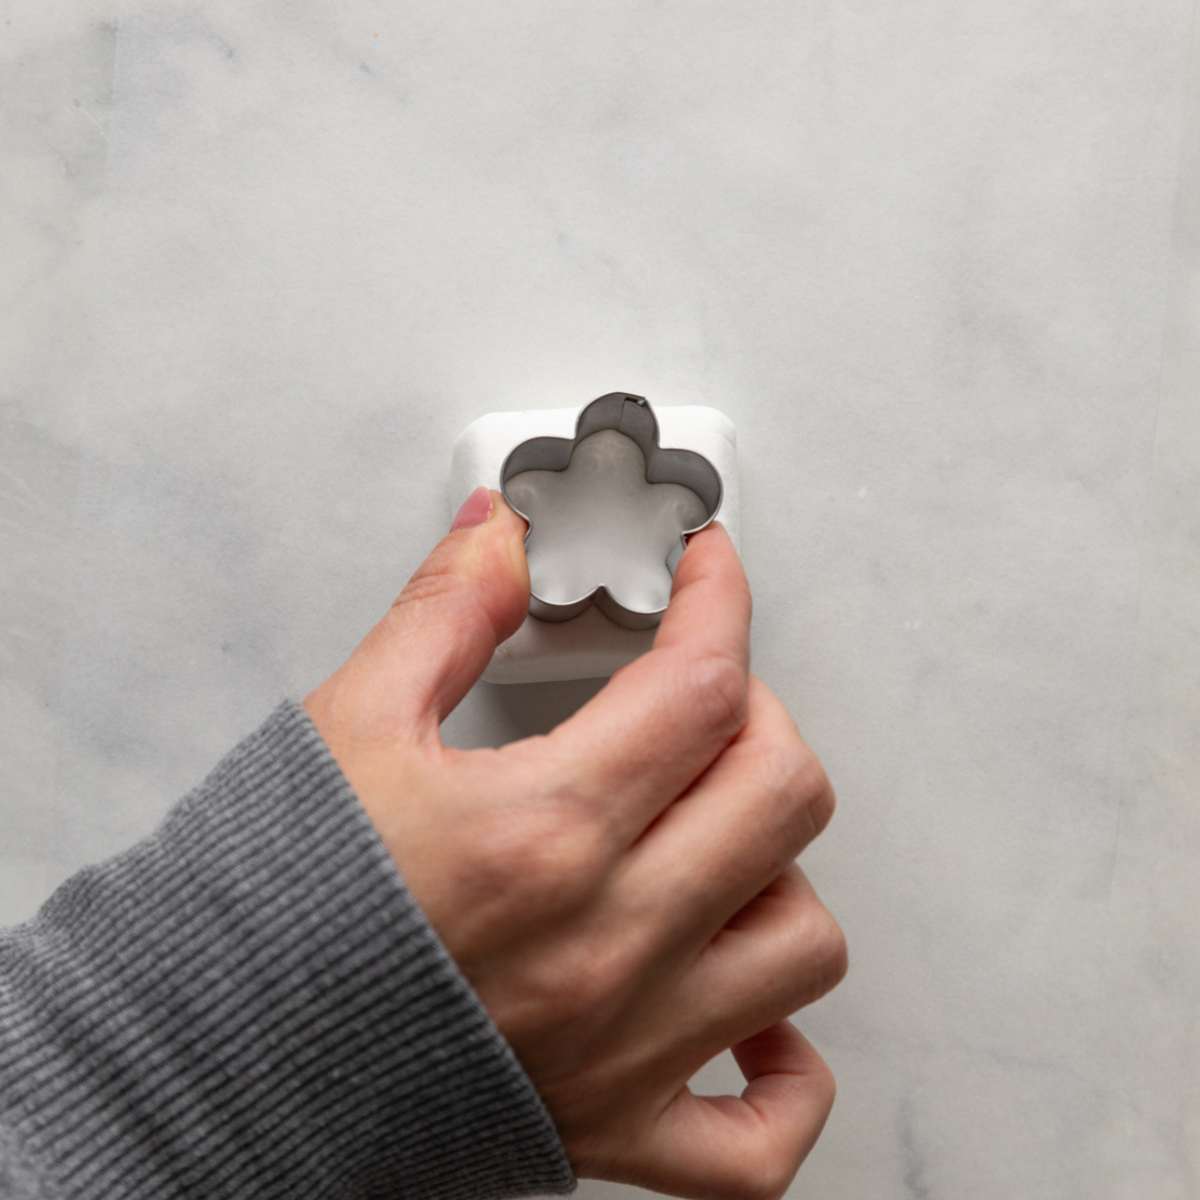
- Cut out Shape: Press your cookie cutter into the marshmallow, pushing all the way through. Remove the center piece of the marshmallow, leaving a cookie-cutter-shaped hole in the middle.
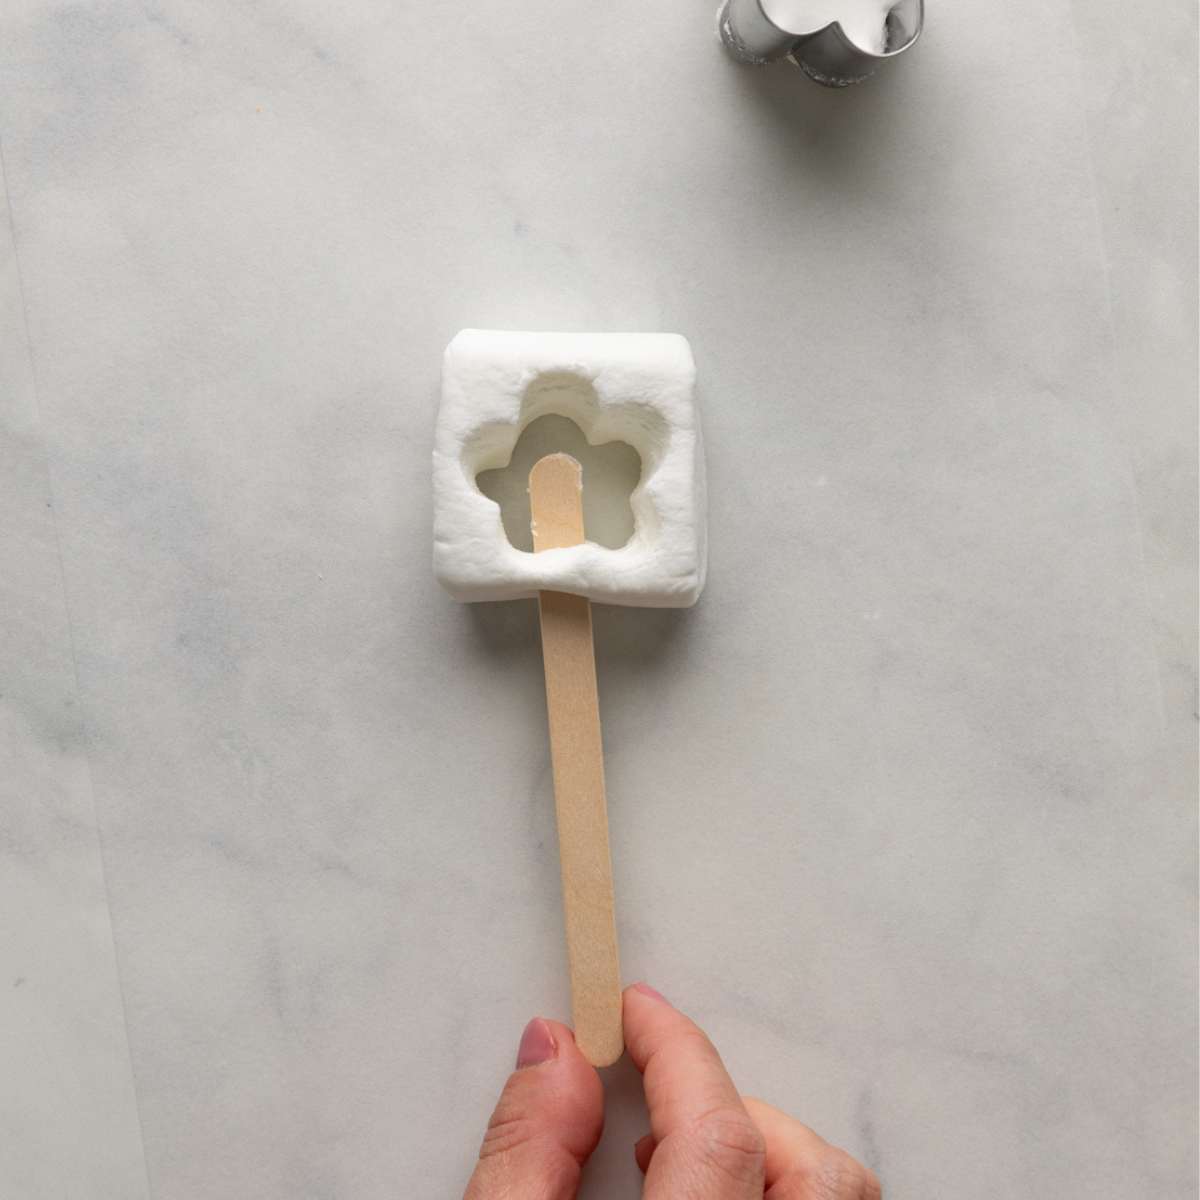
- Add Sticks: Gently insert a 6-inch skewer or 4-inch popsicle stick into the center of the marshmallow.
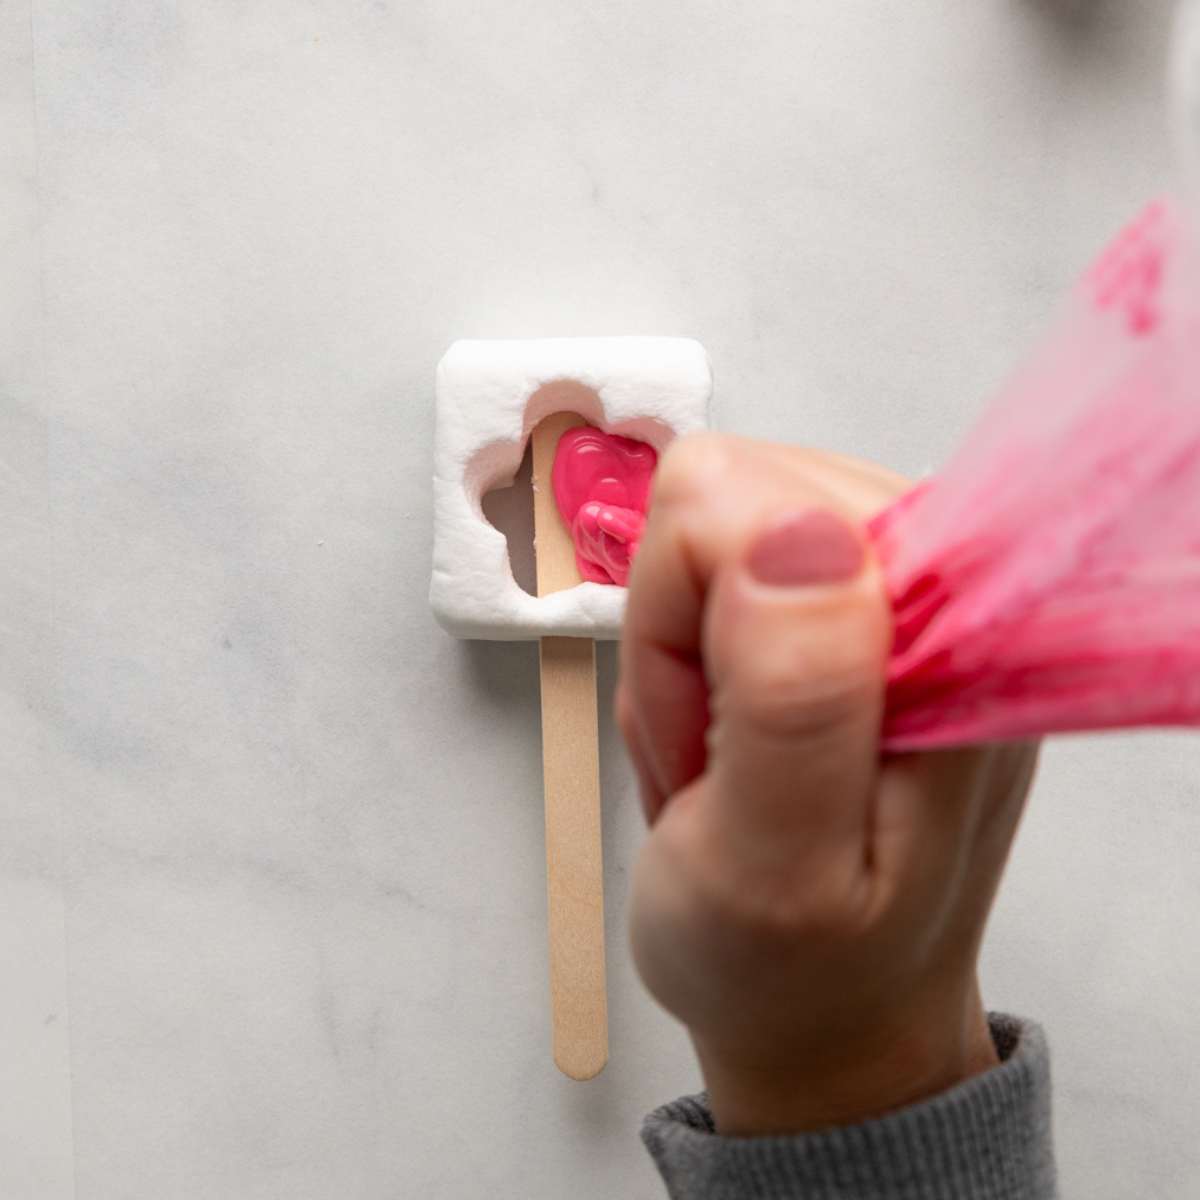
- Add Chocolate: Immediately add the melted chocolate into the cut-out hole in the marshmallow.
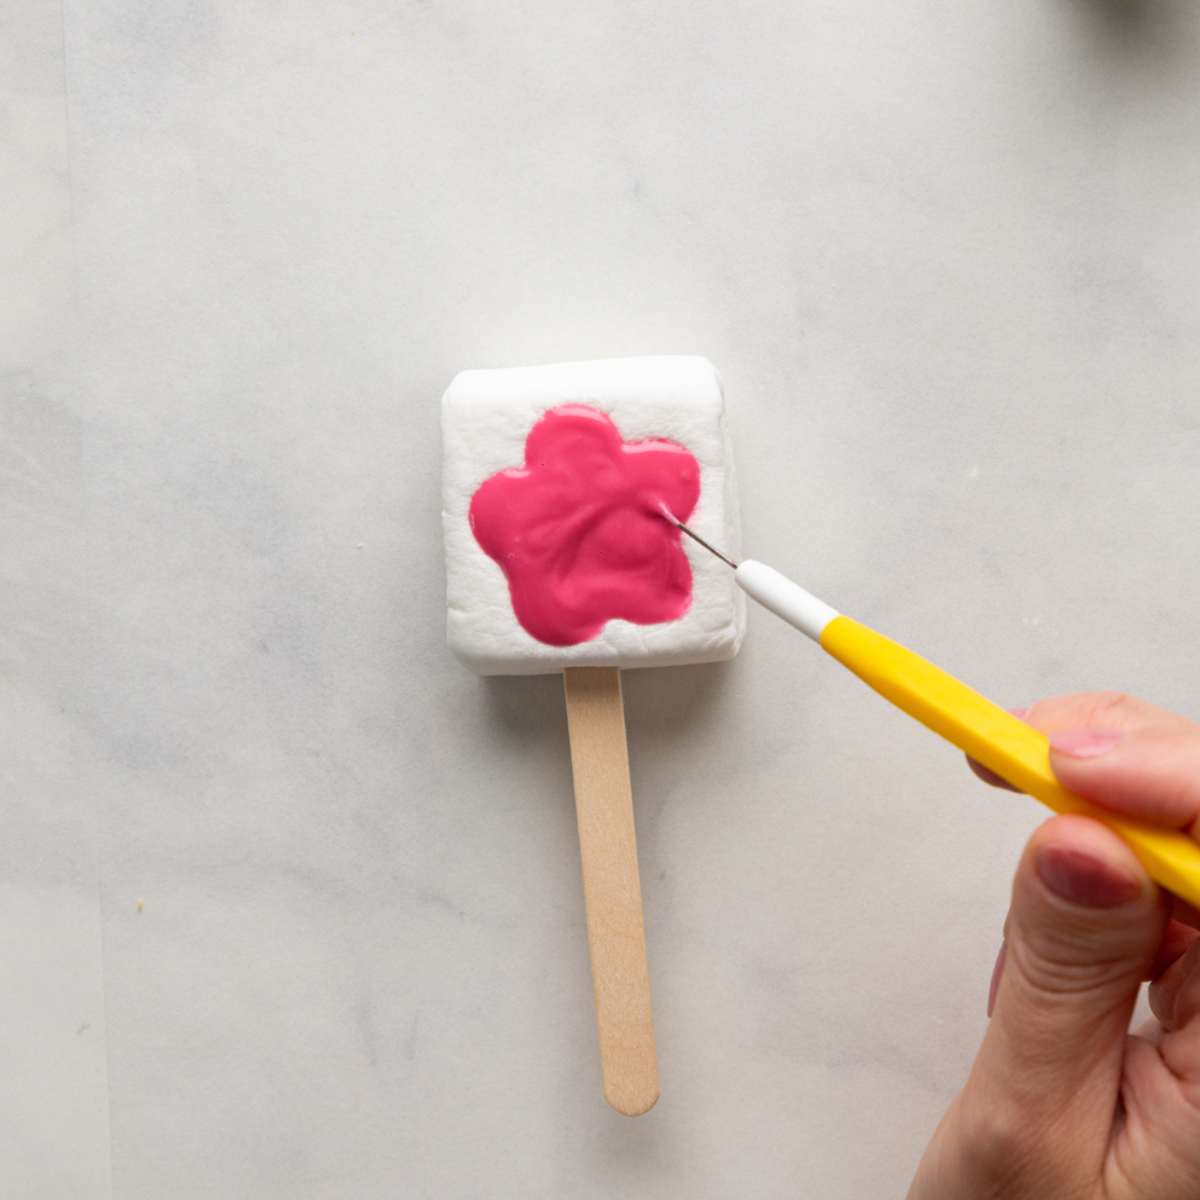
- Fill to Bottom: Press a toothpick, scribe, or another skewer to the bottom of the hole filled with chocolate, and gently move around. This ensures the cut-out shape is fully filled with chocolate.
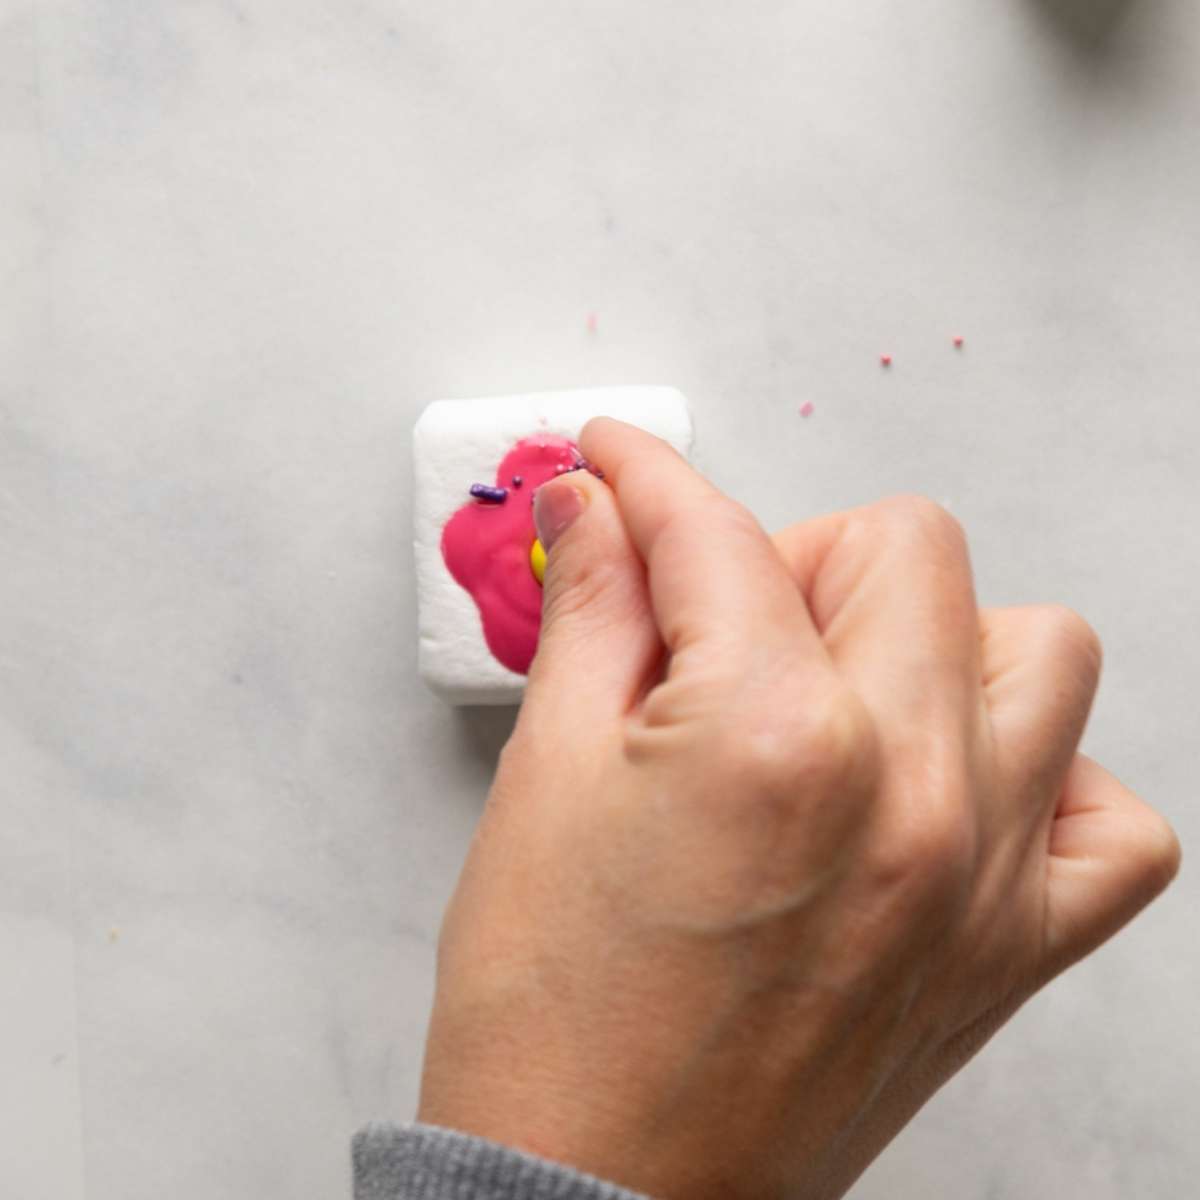
- Decorate: While the chocolate is still wet, add sprinkles, candy, and any other edible decorations.
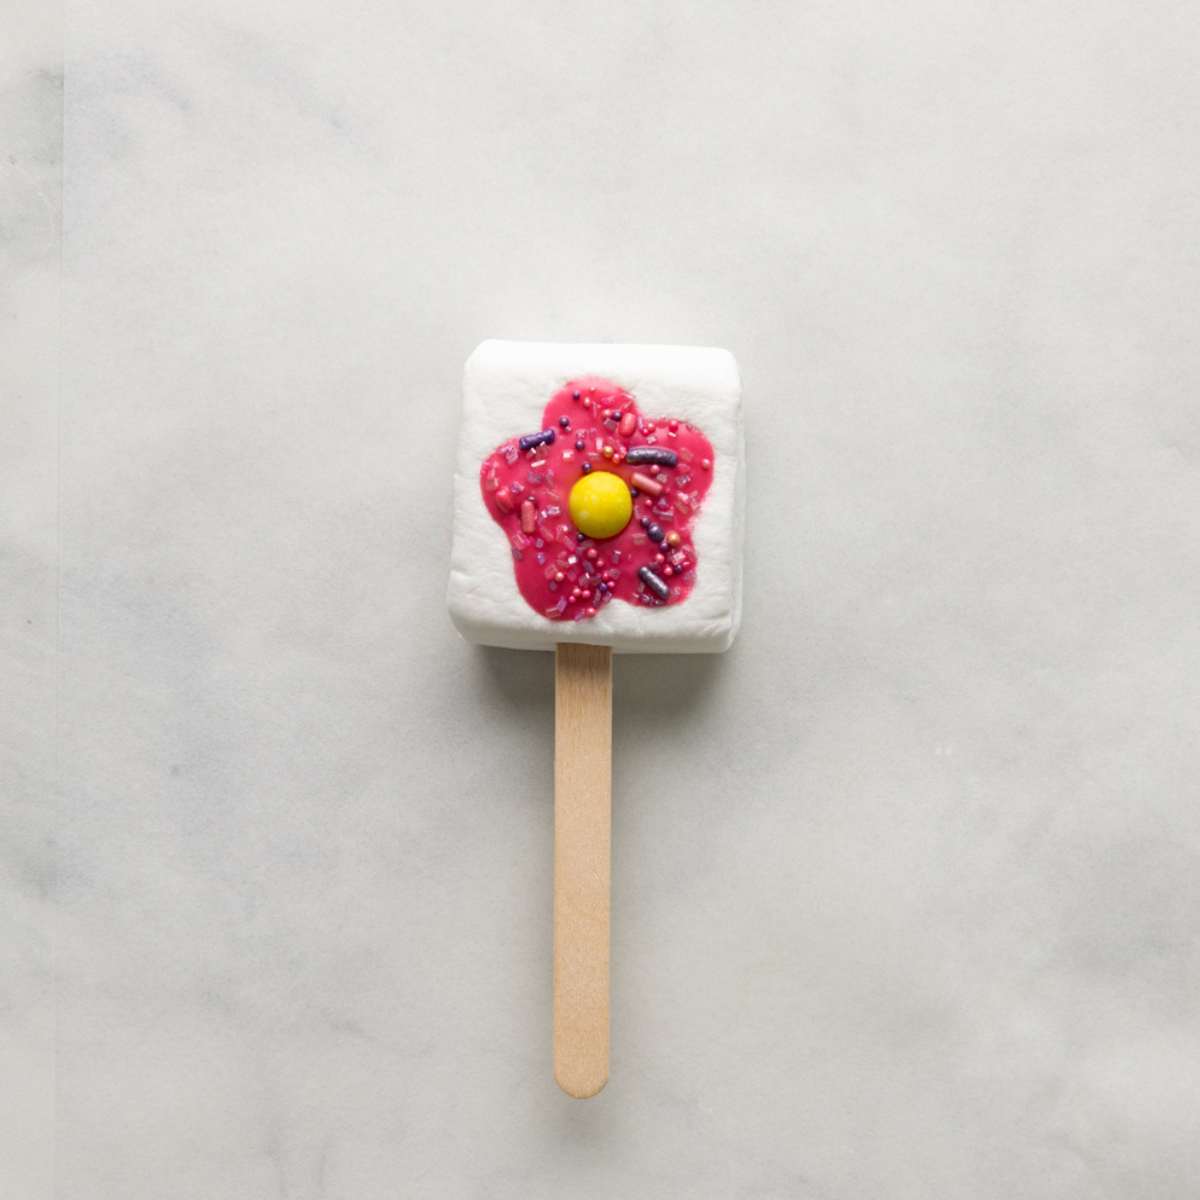
- Let Harden and Enjoy: Let dry for 30-60 minutes at room temperature, or until the chocolate is hard. Remove from parchment paper and enjoy!
Tips and Tricks
- The amount of candy melts or chocolate needed will vary depending on the cookie cutter used, but on average you'll need about 2 tbsp melted chocolate per marshmallow.
- Get the Desired Consistency: If using candy melts and the chocolate appears too thick, you can add vegetable shortening 1 tsp at a time until you get a slightly thinner dripping consistency.
- Clean the cookie cutter each time: It can help to clean or wipe down the cookie cutter between cutting each marshmallow to ensure a clean cut that doesn't stick or create ridges in the marshmallow.
- Prepare Your Toppings in Advance: Have your sprinkles or any additional toppings such as nuts, candy, etc. ready to go before melting the chocolate. This ensures a quick and smooth assembly process without the chocolate hardening.
- Adding Food Coloring: If using white chocolate and adding food coloring, make sure they are oil based rather than water based. Water based extracts and food coloring can cause the chocolate to seize up and get grainy.
Troubleshooting/ FAQ
There are two reasons chocolate can seize up and get grainy. The first is it was overheated. You can combat this by making sure to follow the instructions exactly when melting your chocolate. If using a microwave heat on half power and use a double boiler if heating on the stovetop. Do not ever heat any type of chocolate or candy melts directly in a pan on a stovetop. It will always overheat and seize up.
The second reason is that liquid somehow got mixed in with the chocolate. Be sure your bowl and utensils are completely dry before adding and melting the chocolate. And, if adding flavors or food coloring make sure they are oil based.
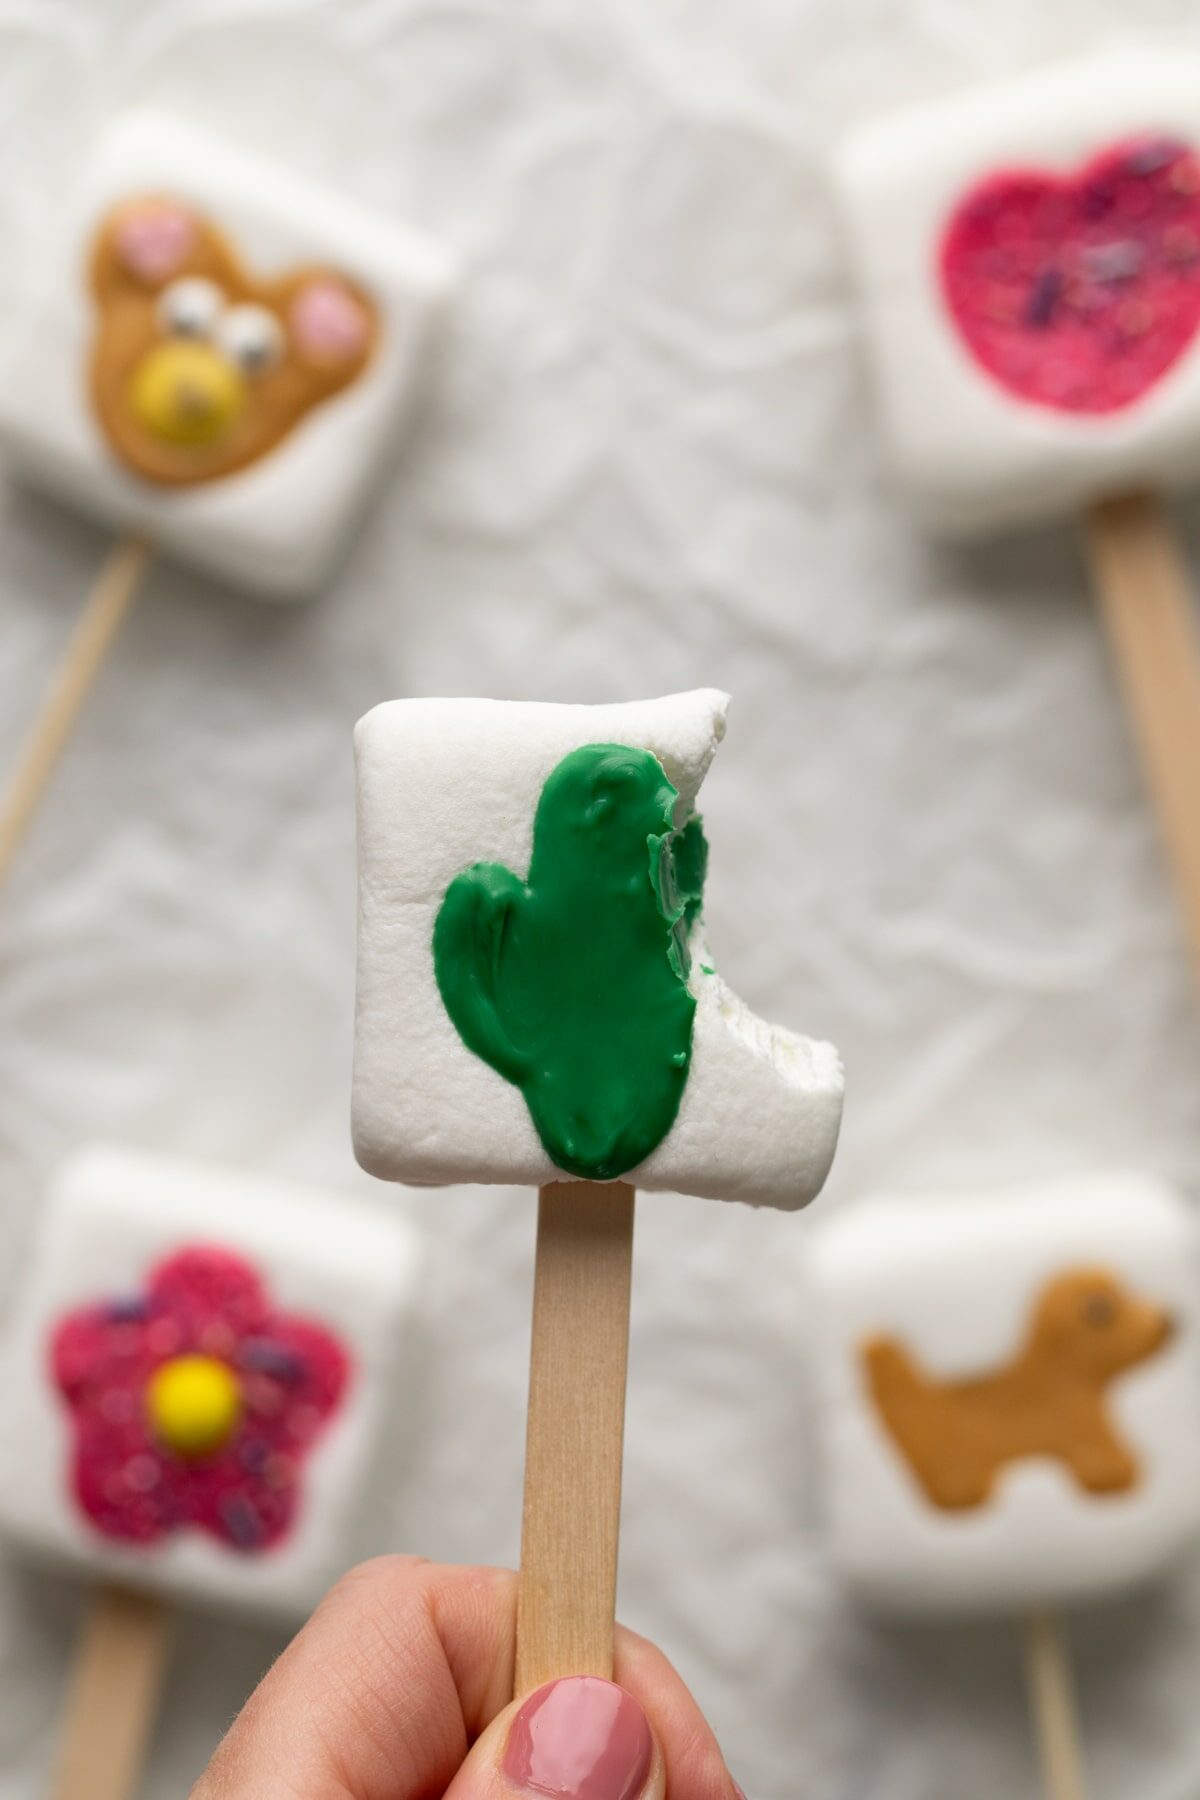
This is the most common question I get on social media! If the chocolate is the right consistency and has been pushed down/ filled in all the way, the back of the marshmallow pop should look like this:
If the chocolate is too thick, or enough wasn't added sometime the back of the marshmallow pop can look like the marshmallow pops shown below.
If you're making these for fun, it won't matter! They still look cute from the front and taste delicious. But, if you're selling these or making for an event and want the back to look pretty, all you have to do is add more chocolate and press back down on the parchment paper!
You can also press the back into sprinkles or add sprinkles to the back when adding more chocolate (make sure the front has already dried!). This looks really cute and is great for an extra finishing touch to the pops.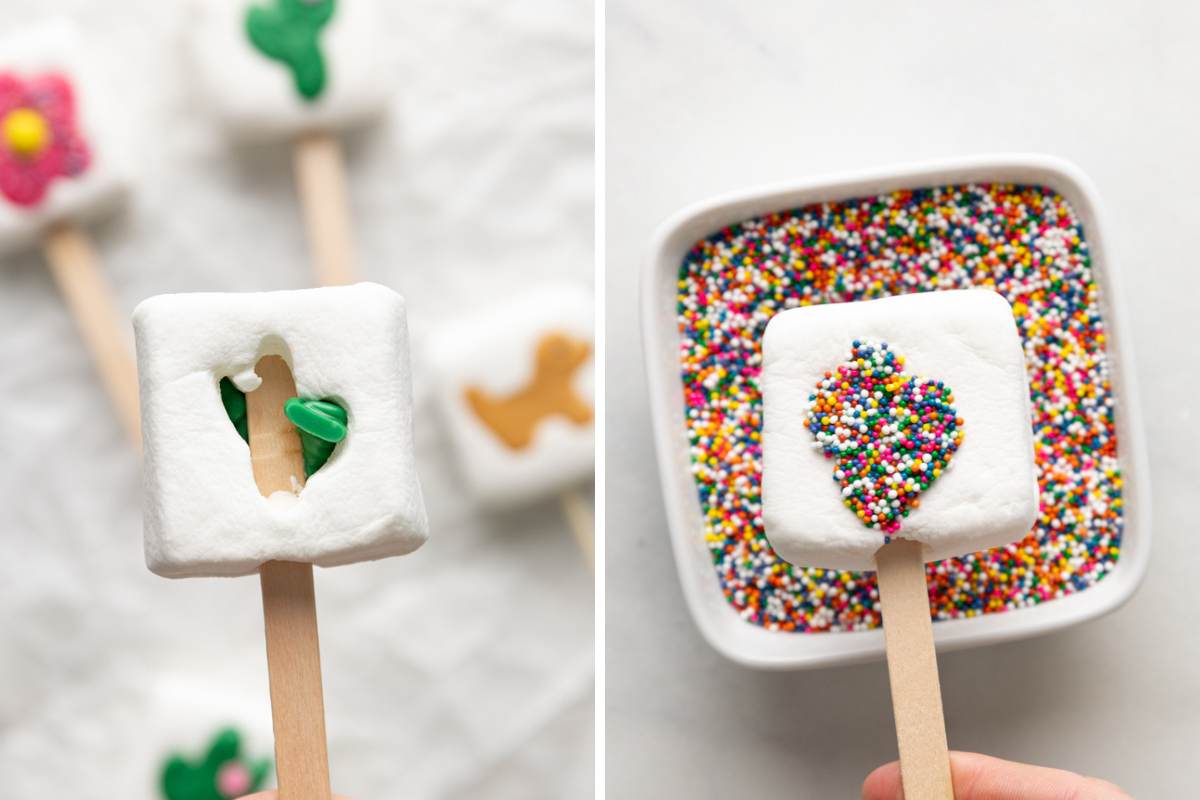
Yes, you can use regular chocolate or chocolate chips to make marshmallow pops, especially for casual treats or home snacking. However, regular chocolate must be tempered to set properly with a firm texture, glossy finish, and clean snap. Without tempering, the chocolate may look dull, feel soft, and melt more easily at room temperature.
Chocolate chips can also be used, but they contain stabilizers that make them thicker when melted. You may need to add a small amount of coconut oil or shortening to thin them for easier dipping and decorating.
For the easiest and most reliable results, candy melts, almond bark, or melting wafers are recommended because they melt smoothly, don't require tempering, and set firm and glossy (making them ideal for marshmallows and other chocolate-dipped treats).
Yes, but be sure to use candy colors, which are oil based food coloring. If you use regular water based food coloring or gel food coloring it will cause the chocolate to seize up and get grainy.
Yes you can freeze the marshmallow treats, but depending on the type of chocolate it could bloom and get white streaks on it.
Storing, Gifting, and Serving
These chocolate marshmallow pops make such a fun homemade gift or party favor! There are three main ways I like to package these:
- Bags: This is my favorite method! I prefer clear plastic bags because they allow all the pops to show through.
- Boxes: This is a great way to gift these chocolate marshmallows. Boxes are perfect for when you are gifting more than one treat, such as pairing the pops with macarons.
- Tins: Cookie tins are not just for cookies! These decorative tins are so cute and festive. Plus, they are a great option for shipping and the least likely to get damaged in transport.
Storing and Making Ahead
The marshmallow popsicle treats will last 1-3 weeks in an airtight container at room temperature and can be frozen up to two months.


How to Make Marshmallow Pops
INGREDIENTS
- 12 stacker marshmallows
- 12 oz chocolate or candy melts melted
- vegetable shortening optional for thinning chocolate
- sprinkles
Instructions
- Line a large cookie sheet or table with parchment paper, a silicone baking mat, or wax paper.
- Press your cookie cutter into the marshmallow, pushing all the way through. Remove the center piece of the marshmallow, leaving a cookie-cutter-shaped hole in the middle.
- Gently insert a 6-inch skewer or 4-inch popsicle stick into the marshmallow.
- If you haven't done so, melt the chocolate according to the package instructions (typically in a microwave at 50% power stirring every 30-60 seconds).
- If the melted chocolate is too thick, add in vegetable shortening 1 tsp at a time until the chocolate is thin enough that it melts back into itself.
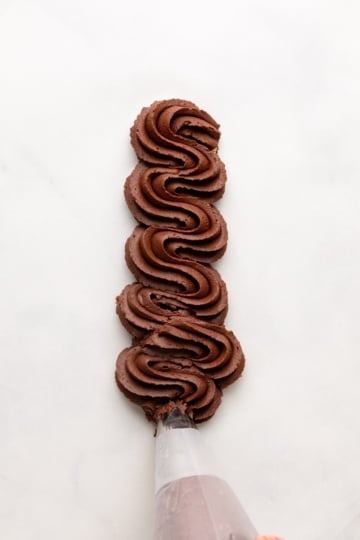
- Fill a pastry bag with the melted chocolate and cut a tiny piece of the tip off.
- Immediately fill the cut-out hole in the marshmallow with the melted chocolate.
- Press a toothpick, scribe, or another skewer to the bottom of the hole filled with chocolate and gently move around. This ensures the shape is entirely filled with chocolate.
- While the chocolate is still wet, add sprinkles, candy, and any other edible decorations.
- Let dry for 30-60 minutes at room temperature or until the chocolate is hard. Remove from parchment paper and enjoy!
Video
Notes
- Get the Desired Consistency: If using candy melts and the chocolate appears too thick, you can add vegetable shortening 1 tsp at a time until you get a slightly thinner dripping consistency.
- Clean the cookie cutter each time: It can help to clean or wipe down the cookie cutter between cutting each marshmallow to ensure a clean cut that doesn't stick or create ridges in the marshmallow.
- Prepare Your Toppings in Advance: Have your sprinkles or any additional toppings such as nuts, candy, etc. ready to go before melting the chocolate. This ensures a quick and smooth assembly process without the chocolate hardening.
- Adding Food Coloring: If using white chocolate and adding food coloring, make sure they are oil based rather than water based. Water based extracts and food coloring can cause the chocolate to seize up and get grainy.


Sophia Assunta says
These are so much fun to make, I hope you love them as much as I do!!