This Halloween bark recipe is a fun and customizable dessert that you can make with your favorite Halloween candies and decorations. It’s perfect for parties, gifting, or indulging in a festive treat during the spooky season.
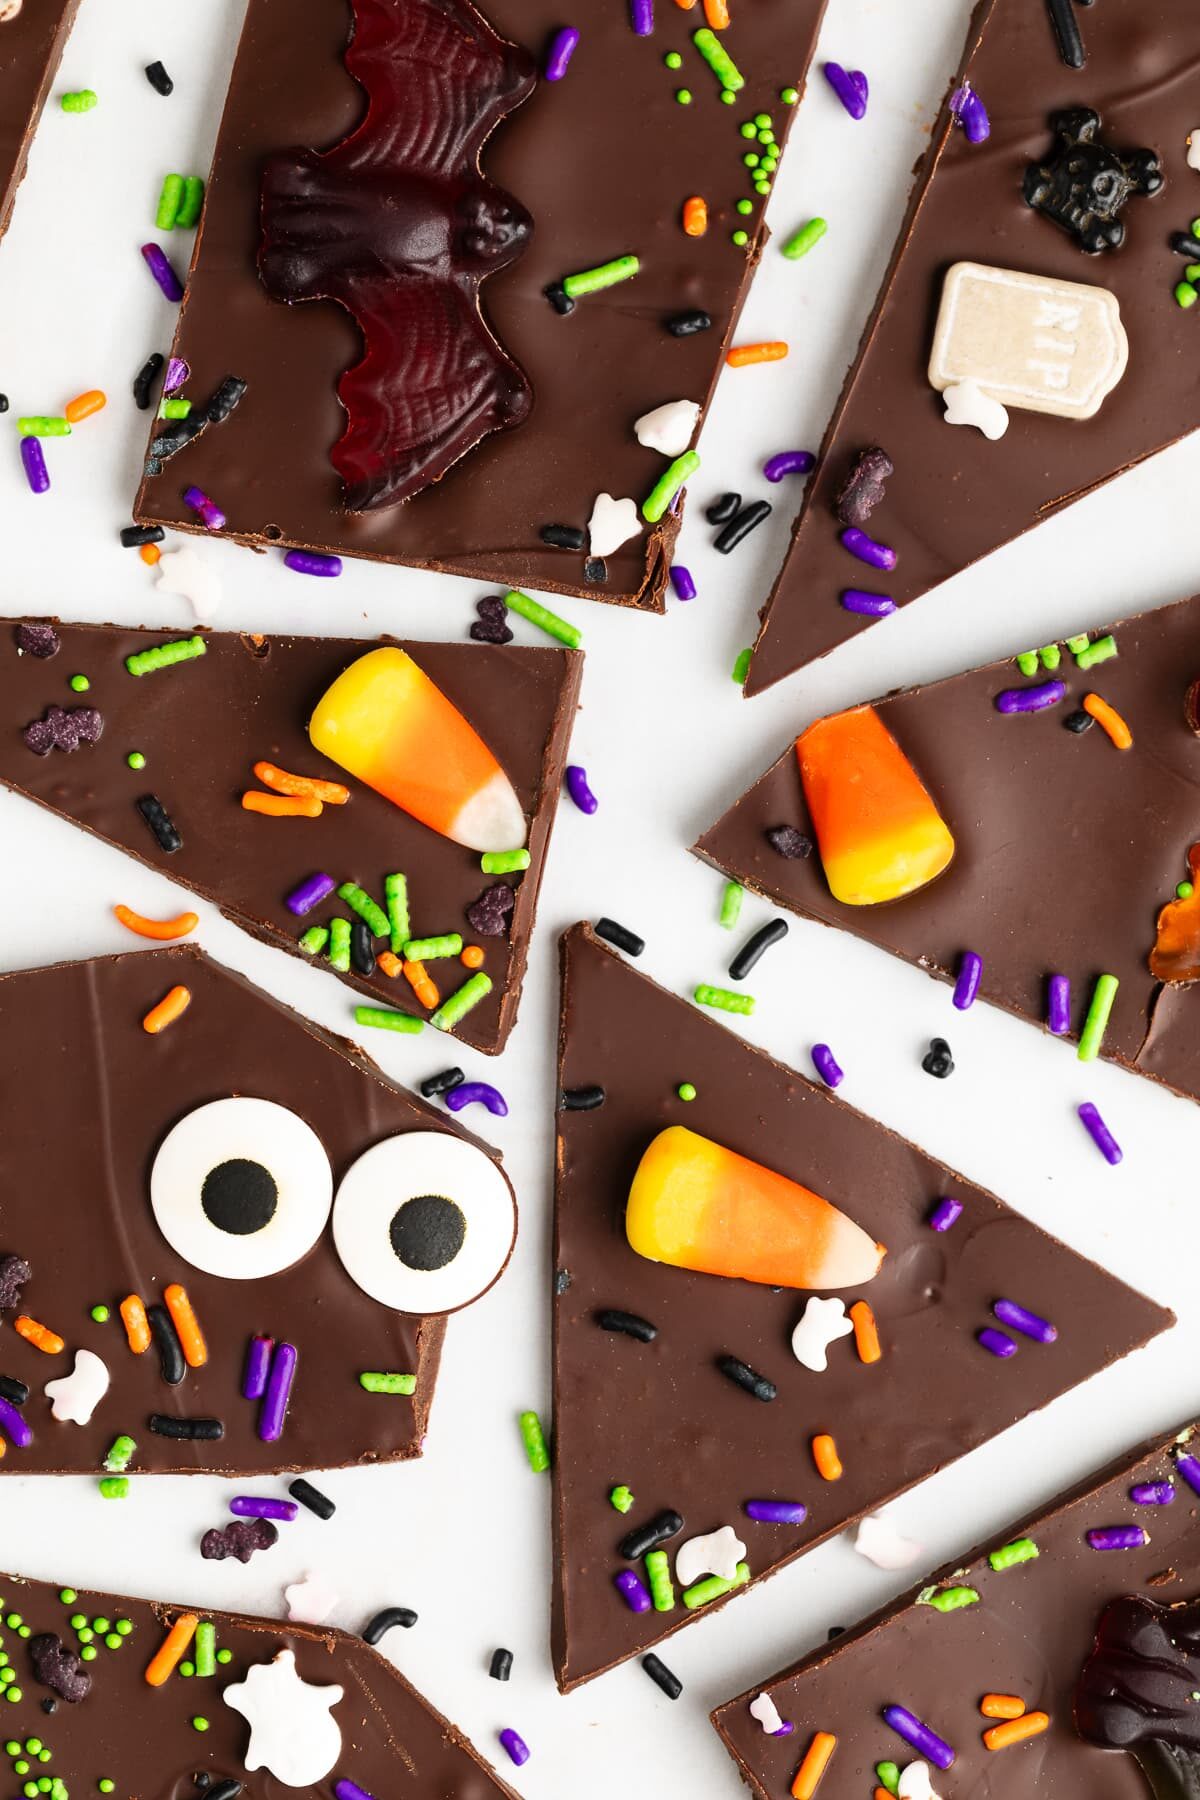
If you're looking for an easy and customizable Halloween sweet treat, this homemade Halloween chocolate bark recipe is for you!
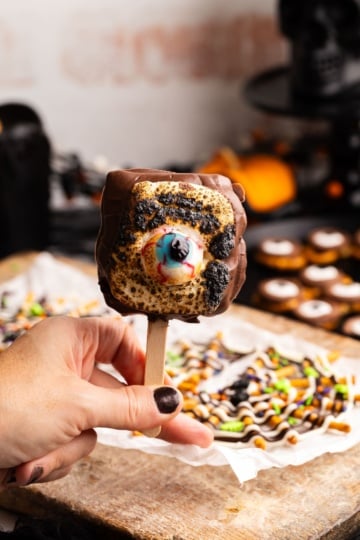
Easier than Halloween Pretzels but just as festive, this bark uses chocolate and halloween candy for a simple and fun no-bake dessert. And, similar to cakesicles, and jar cakes it's perfect for Halloween parties and gift giving!
Why you'll love it:
- Simple: This candy bark is so easy to make! It uses only chocolate and fun topping, but you'll often find in gourmet chocolateries and patisseries.
- Quick: As a no-bake Halloween treat, it has a 10 minutes prep time and is ready to eat in as quick as 30 minutes, making it ideal for a quick snack or a fun activity with the kids.
- Customizable: Chocolate bark is a blank canvas for creativity. Add your favorite toppings, such leftover Halloween candy, toffee, graham crackers, almonds, pretzels-really the options are endless and you can tailor it to any taste!
Ingredients
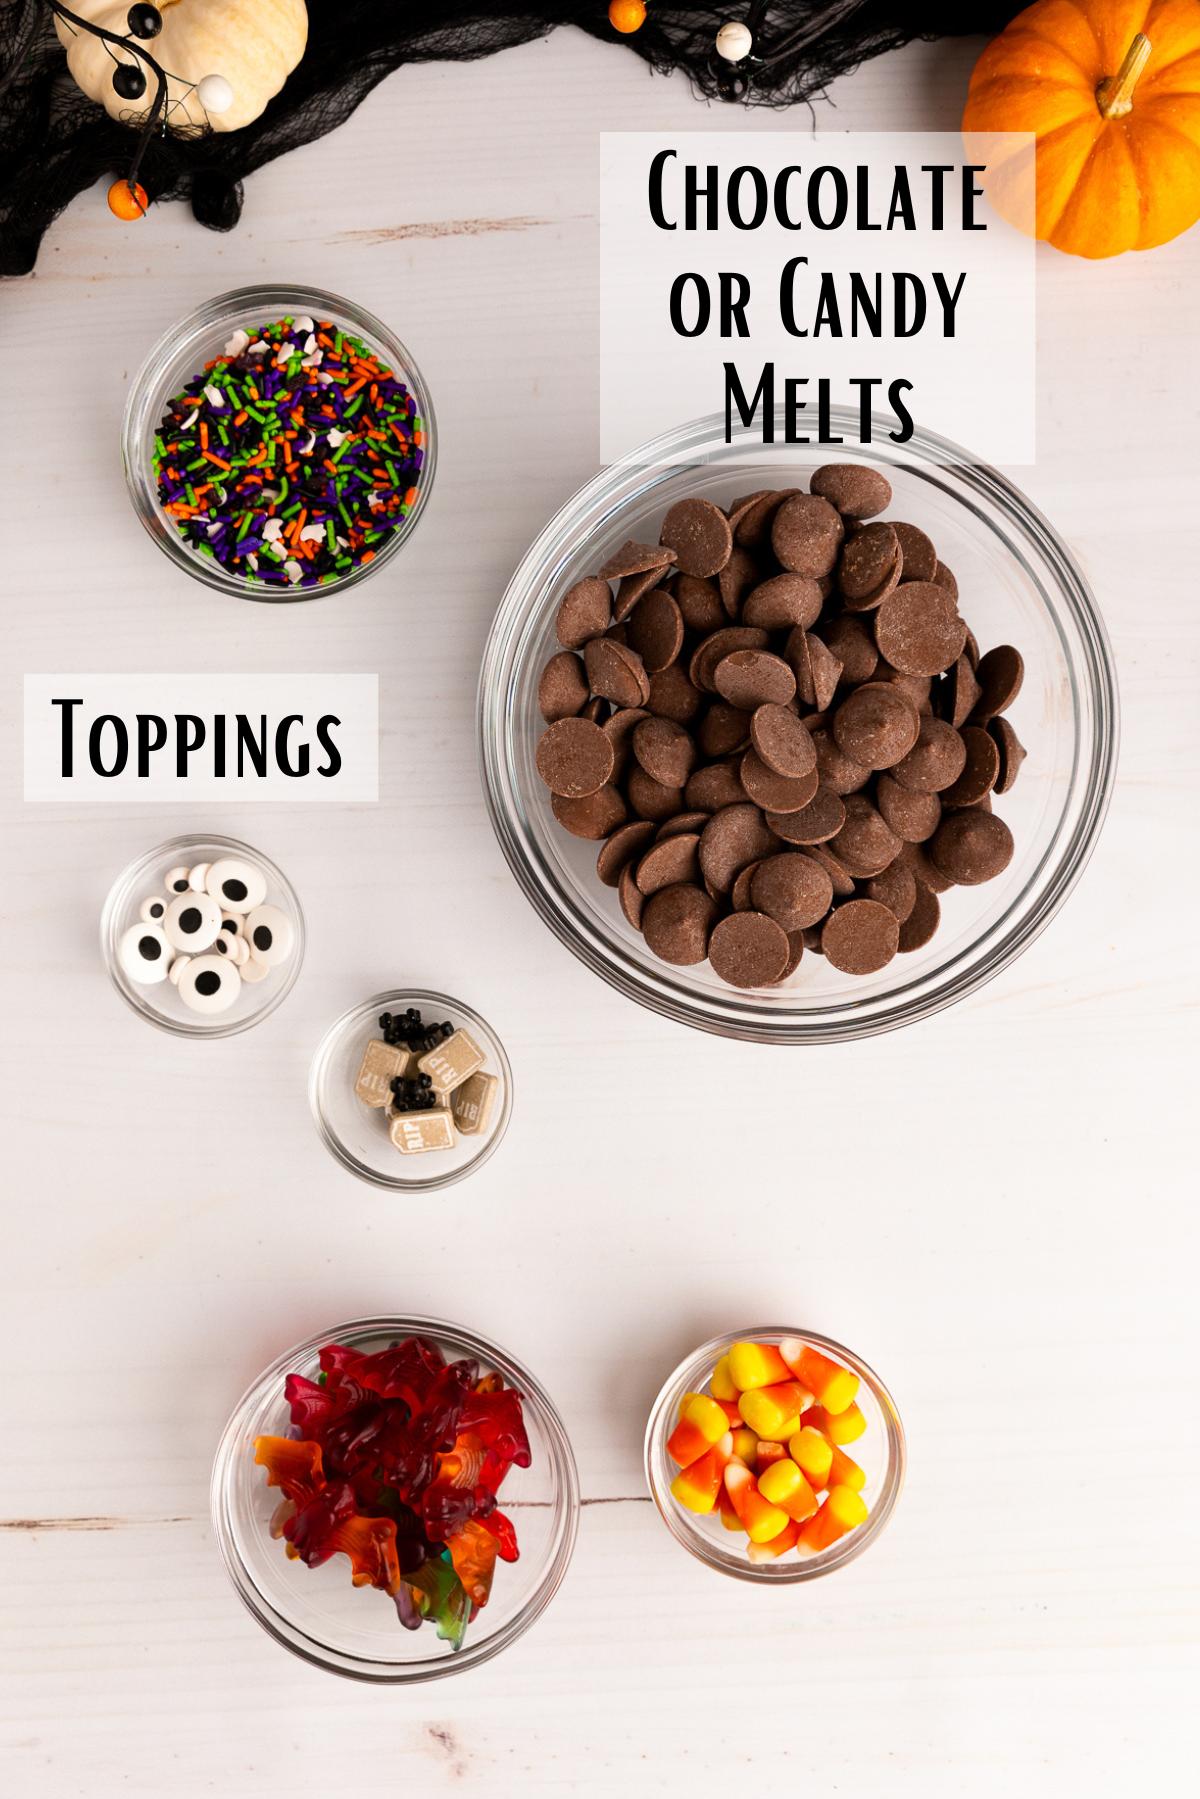
- Chocolate: you can use your favorite chocolate or candy melts. My personal favorite is these Ghirardelli chocolate flavored melting wafers. You can also use candy melts in different colors, or white chocolate melts colored with candy colors (oil based food coloring).
- Toppings: this is where you can really get crazy. You can add whatever you want, making this a dessert you can tailor to any taste. Here are some fun topping ideas:
- Chopped Candy Bars
- Marshmallows
- Pretzels
- Halloween Sprinkles
- Candy Eyes
- Candy Corn
- Gummy Worms, Eyes, or Bats
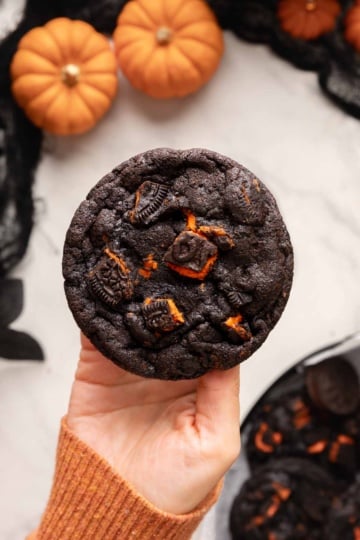
- Cookies (these Halloween Oreos and animal crackers are so cute)
Ingredients
Similar to white chocolate bark, this is a super simple recipe!
Step 1: Melt chocolate
Heat the chocolate: by placing the chocolate into a microwave-safe bowl and microwaving the chocolate in 20-second intervals at half power, stirring well between each interval.
Continue until the chocolate is completely melted and smooth. Alternatively, you can use a double boiler to melt the chocolate over low heat on the stovetop.
If using candy melts, chocolate almond bark, or melting wafters, melt according to the instructions on the package as they can vary from brand to brand.
If adding mix-ins: Add any desired mix-ins such as chopped Oreos, Halloween candy, or nuts, mix in while the chocolate is melted.
Step 2: Spread Chocolate on baking sheet
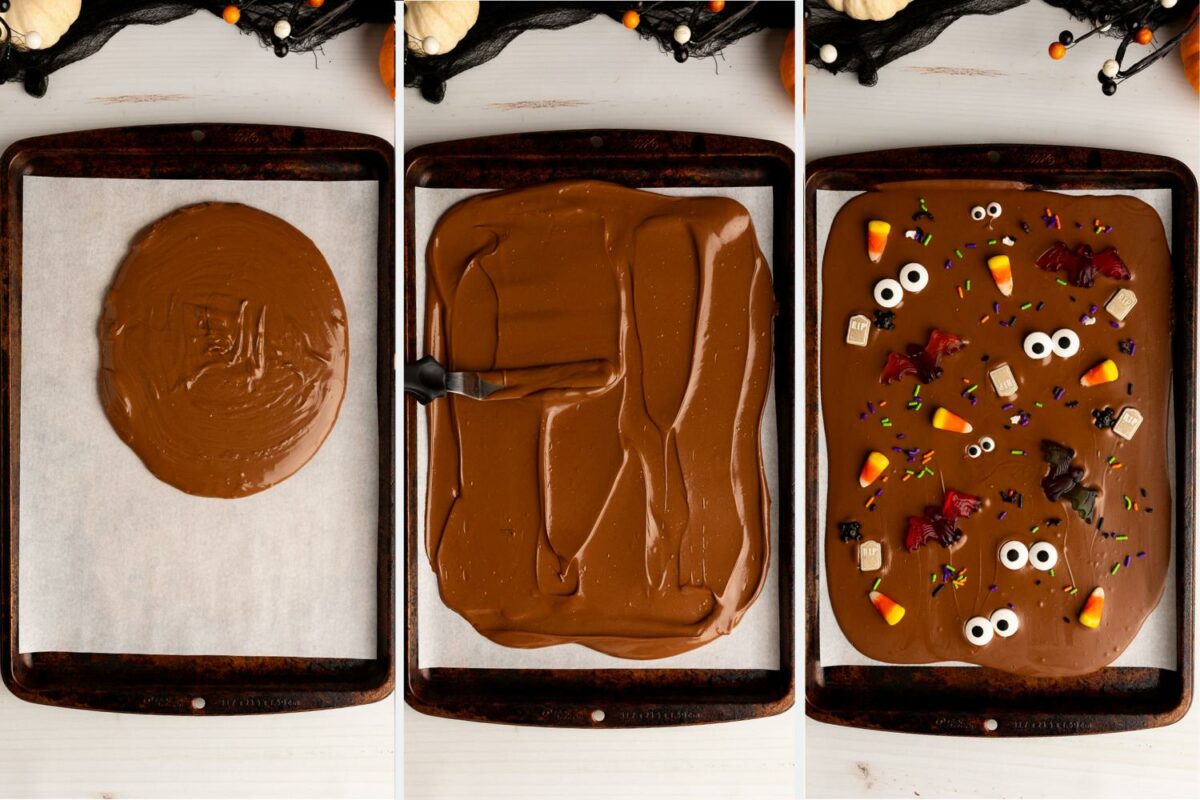
Line a baking pan or baking sheet with parchment paper or wax paper. You can also use a silicone baking mat. This will make it easier to remove the bark once it has set.
Pour the melted chocolate onto the lined baking sheet and spread the chocolate around with a spatula until you get your desired thickness (typically about ¼ to ½ inch thick).
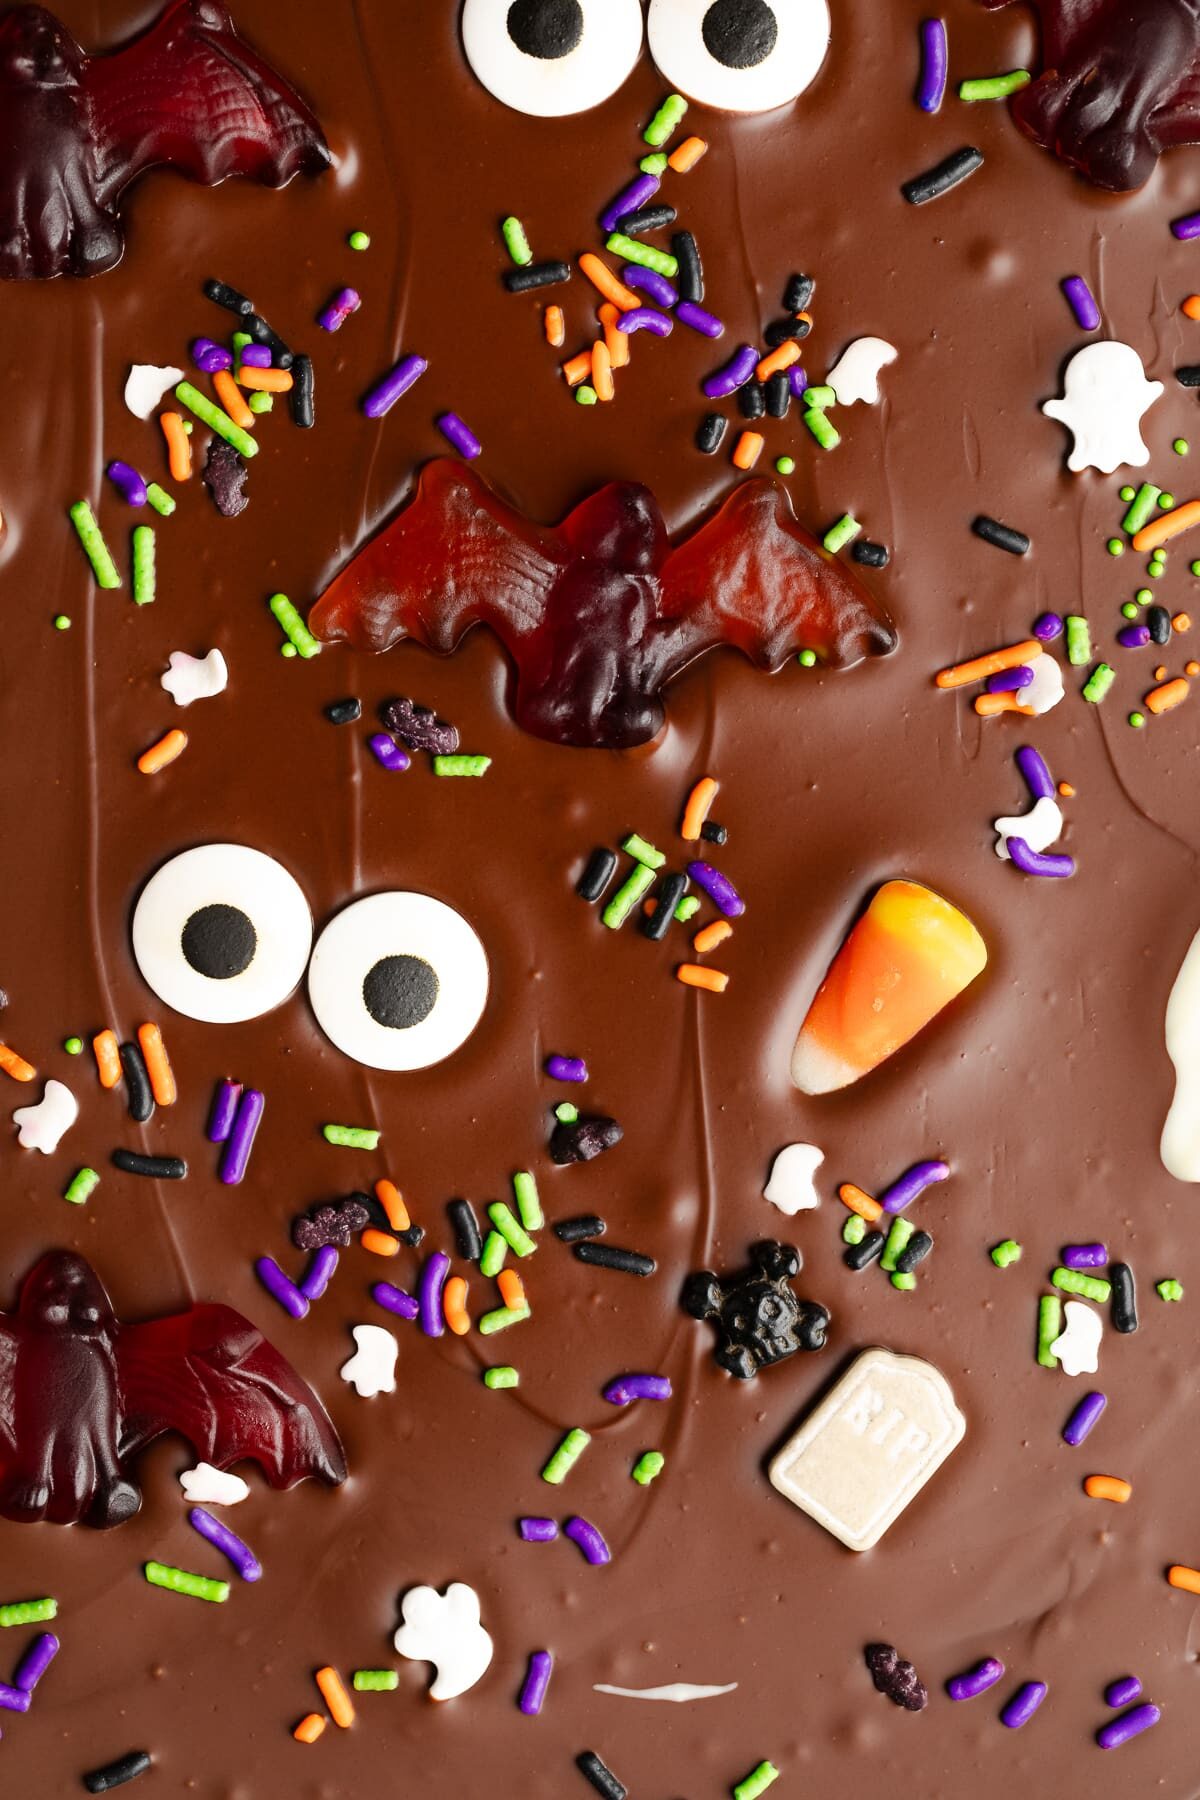
Add toppings such as candy eyes, halloween sprinkles, chopped cookies, pretzels, etc. while the chocolate is still melted. Gently tapping the pan a few times can help to make sure the bark is evenly spread and distributed.
Step 3: Let Dry, Break Apart, and ENjoy!
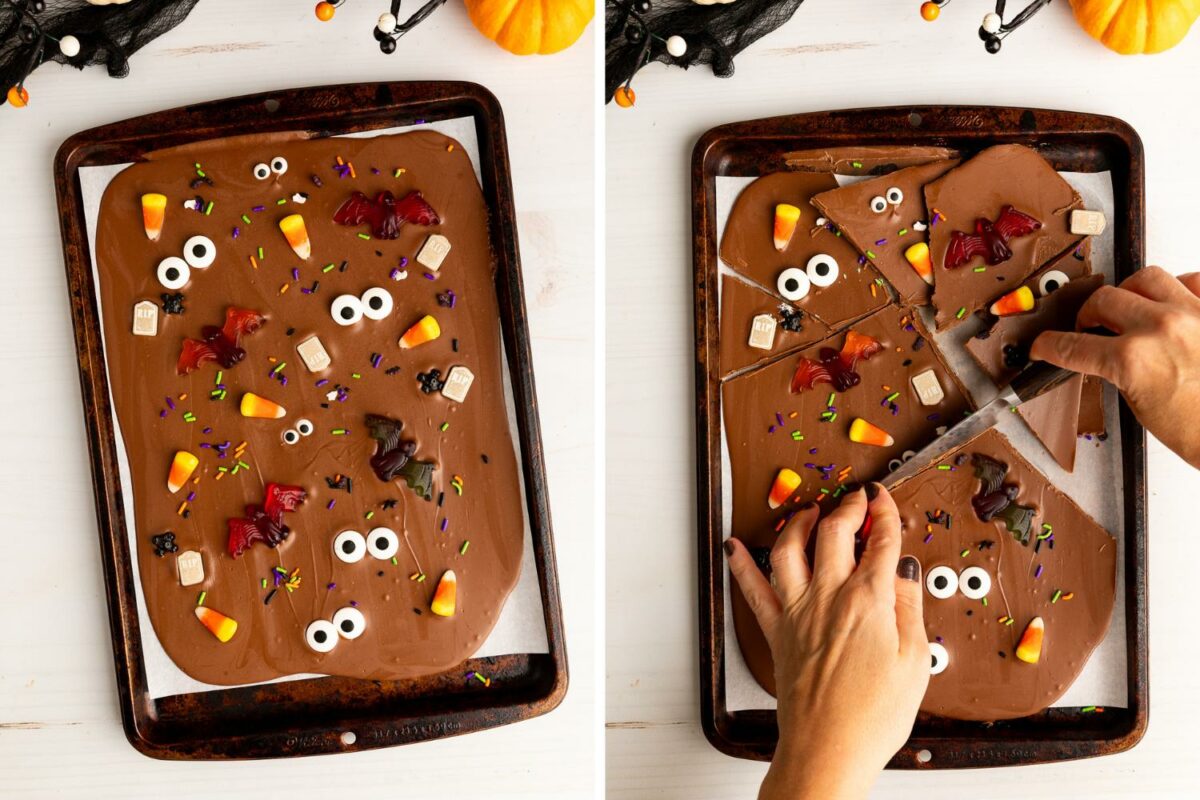
Let the chocolate bark cool and harden at room temperature for an hour or two, or until it's completely set and hard. If you're in a hurry, you can place it in the refrigerator for about 30 minutes to speed up the process.
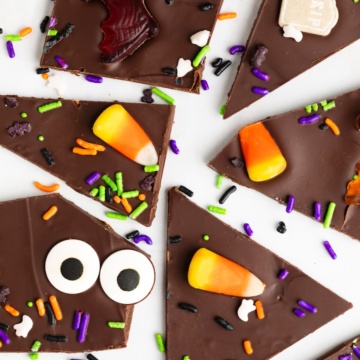
Once the bark is firm and fully set, use a sharp knife to break it into irregular pieces or shards. You can also break it apart with your hands for a more rustic and spooky look. Then, gift or enjoy!
Tips and Tricks
- Prepare Your Toppings in Advance: Have your chosen toppings, such as chopped candy, cookies, sprinkles, etc. ready before you melt the chocolate. This ensures a quick and smooth assembly process without the chocolate hardening.
- Get the Desired Consistency: If using candy melts and the chocolate appears too thick, you can add vegetable shortening 1 tsp at a time until you get a slightly thinner pouring and spreading consistency.
- Line the Baking Pan: Line a baking sheet or pan with parchment paper or a silicone baking mat. This makes it easy to remove the bark once it has set.
- Adding Food Coloring: If using white chocolate and adding food coloring, make sure they are oil based rather than water based. Water based extracts and food coloring can cause the chocolate to seize up and get grainy.
Decorating and Flavor Variation Ideas
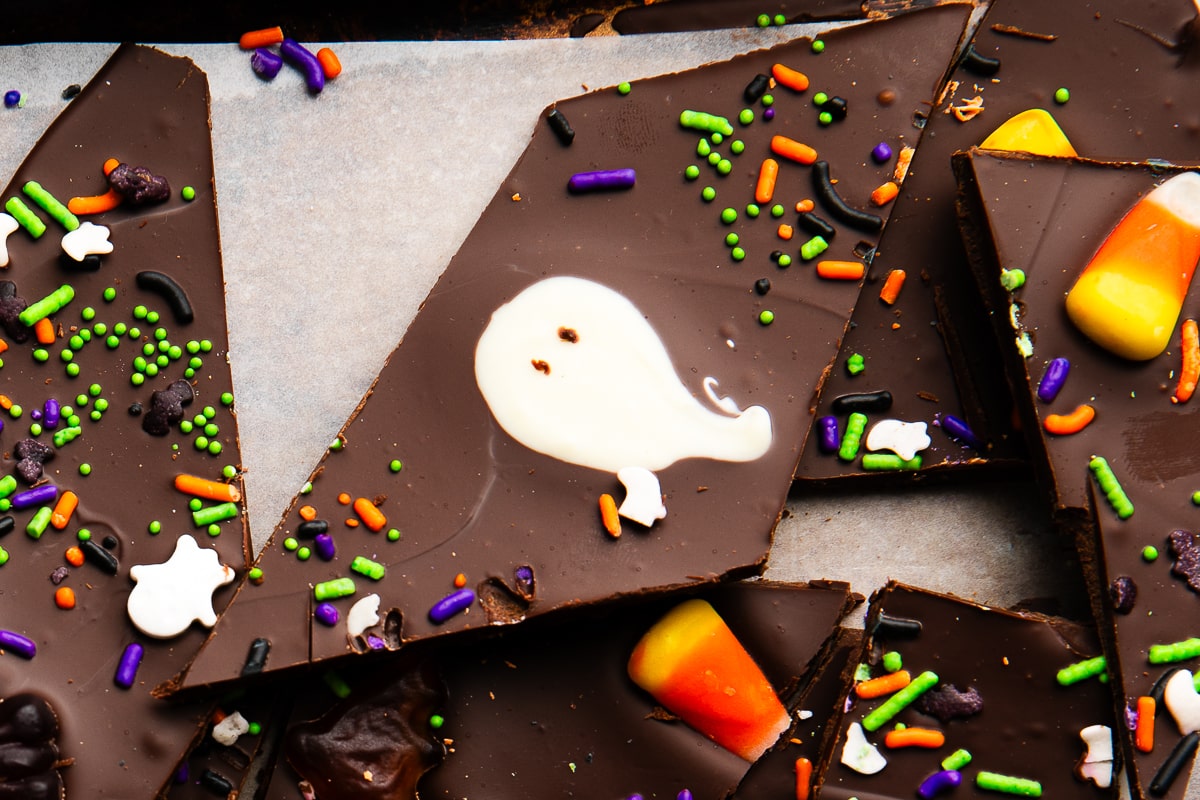
- Swirls: You can also use a toothpick or a skewer to create swirls or marbled patterns in the chocolate by gently dragging it through the chocolate and toppings. This works especially well if there are multiple kinds or colors of chocolate, and can start to look like a spider web.
- Ghost Bark: Add teaspoon to tablespoon size dots of melted white chocolate on the melted dark chocolate, and use a toothpick or scribe to shape the white chocolate into a ghost while both chocolates are still melted. Add eyes using dark chocolate, candy eyes, etc.
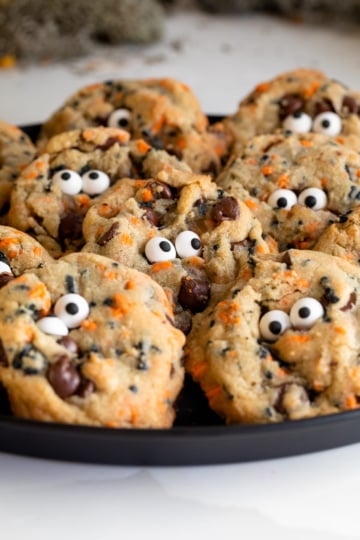
- Halloween Oreo Bark: Mix in about 1 cup of roughly chopped regular or Halloween Oreo cookies or other chocolate sandwich cookies into the melted chocolate for an Oreo cookie bark.
FAQ
While chocolate chips will work, they do have extra additives to help them hold their shape when baking, so they're not the best for melting down to a smooth chocolate and can change the taste and texture of the final bark.
While I recommend using chocolate bars or melting chocolate as they melt much better than chocolate chips, if you do decide to use chocolate chips I recommend a high quality chip such as Ghirardelli or Guittard.
There are two reasons chocolate can seize up and get grainy. The first is it was overheated. You can combat this by making sure to follow the instructions exactly when melting your chocolate. If using a microwave heat on half power and use a double broiler if heating on the stovetop. Do not ever heat any type of chocolate or candy melts directly in a pan on a stovetop. It will always overheat and seize up.
The second reason is because liquid somehow got mixed in with the chocolate. Be sure your bowl and utensils are completely dry before adding and melting the chocolate. And, if adding flavors or food coloring make sure they are oil based.
Yes, but if you want to add food coloring to your white chocolate or melting chocolate, be sure to use candy colors which are oil based food. Regular or gel food coloring will cause the chocolate to get grainy.
Yes, chocolate bark is very freeze friendly.
Gifting
This Halloween themed candy bark makes such a fun homemade gift or party favor! There are three main ways I like to package this spooky bark:
- Bags: I prefer clear plastic bags because they allow all the decorated bark to show through. But, you can also use bakery bags or Halloween treat bags.
- Boxes: This is a great way to gift the bark. Boxes are perfect for when you are gifting a lot of bark or more than one treat such as pairing the bark with Halloween Strawberries, Halloween cookies, or macarons.
- Tins: Cookie tins are not just for cookies! These decorative tins are so cute and festive! Plus, they are a great option for shipping and the least likely to get damaged in transport.
STORING AND MAKING AHEAD
This chocolate bark can be stored in an airtight container at room temperature for about a week or in an airtight container in the refrigerator for 2-4 weeks, depending on the toppings (topping with cookies, pretzels, popcorn, etc. will go bad or stale faster than bark topped with candy or nuts). You can also freeze the bark for 2-3 months in an airtight container.
Looking for more Halloween Party Foods? Check these out!
WANT TO JOIN THE PARTY? Subscribe to my newsletter and follow on Tik Tok, Pinterest, Instagram, and Facebook for all the latest recipes!
Homemade Halloween Bark Recipe
Equipment
- Baking Sheet
INGREDIENTS
- 10-12 oz Chocolate or Candy Melts
- 1/2 cup Halloween Sprinkles
- 1/2 cup Halloween Gummy Candy
- 1/4 cup Candy Corn
More Topping Ideas
- Pretzels, Marshmallows, Chopped Cookies, etc.
Instructions
- Line a baking sheet with parchment paper, wax paper, or a silicone baking mat.
- Melt the chocolate or candy melts by placing the in a microwave-safe bowl and melting according to instructions on the package, or microwave in 20-second intervals at a half power, stirring between, until the chocolate is completely melted and smooth. Alternatively, you can melt the chocolate using a double boiler on the stove.
- Immediately pour the mixture onto the prepared baking sheet. Use a spatula to spread it out into an even layer, about 1/4 to 1/2 inch thick.
- Immediately add the topping in the desired pattern. You can gently press them down to make sure they stick or gently tap the pan.
- Let the bark cool and harden. It will take an 1-2 hours at room temperature of 20-30 minutes in the refrigerator.
- Once the chocolate bark is firm, use a sharp knife to break it apart. You can also break it apart with your hands for a more rustic look.
Notes
- Prepare Your Toppings in Advance: Have your chosen toppings, such as chopped candy, cookies, sprinkles, etc. ready before you melt the chocolate. This ensures a quick and smooth assembly process without the chocolate hardening.
- Get the Desired Consistency: If using candy melts and the chocolate appears too thick, you can add vegetable shortening 1 tsp at a time until you get a slightly thinner pouring and spreading consistency.
- Adding Food Coloring: If using white chocolate and adding food coloring, make sure they are oil based rather than water based.
- This recipe makes enough bark to fill a 7 x 10 baking sheet (about 4 generous bark servings) and can easily be halved or doubled as needed.
- This bark will last up to three weeks in an airtight container in the refrigerator and up to three months in the freezer.

Leave a Reply