This handy guide goes over the basics types of chocolate for melting and decorating – covering everything from the best way to melt chocolate without overheating to the best way for coloring white chocolate.
Types of Melting Chocolate
Quality Chocolate Bars
High quality chocolate bars are great for ganaches and drip cakes. It can also be used to for dipping (think chocolate covered Oreos and strawberries) but it can help to temper the chocolate first.
Tempering is the process of heating the re-heating chocolate until it reaches a certain temperature. Tempering the chocolate makes it smooth and glossy, and best of all it keeps it from melting too easily.
To Temper Or Not To Temper
Anyone who has ever held a giant chocolate chip cookie that is full of real chocolate chunks, knows it can get messy. Tempering the chocolate before you cover or dip your food keeps this melting to a minimum.
Is this always necessary? Nope. If you’re making simple chocolate covered strawberries for an easy after dinner dessert, it’s not necessary at all. I actually like non-tempered chocolate because it’s little softer. Tempering adds that signature snap to the chocolate.
But if you’re making a chocolate covered dessert to sell, or for transporting like bringing to a party or giving as a gift, tempering is the way to go.
While tempering is not hard, it is an extra step and you do need a candy thermometer to make sure the chocolate is the right temperature. The good news is there are many other ways to cover desserts in chocolate that do not require tempering.
Candy wafers or Melting Chocolate Wafers
Candy and melting wafters are chocolate with cocoa butter or other additives so they melt smooth and set up super firm and have that signature chocolate snap. Basically, it acts like tempered chocoatle without having to actually temper it.
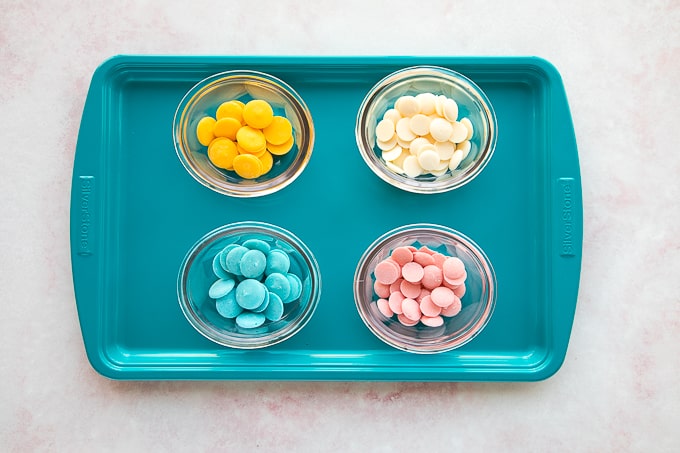
Candy melts most often refer to brightly colored chips or wafers that have a very similar taste to white chocolate. They can also be called confectionery coating. Wilton and Sweet Tooth are really common brands. You can find both brands at Michaels and Wilton on Amazon.
There are also regular chocolate melting wafers. I personally prefer Ghiradelli and Sweet Tooth Fairy brand. The flavor is good and again, no need for tempering! Once you’ve decided which type of chocolate you want to use, read on for melting tips.
How to melt chocolate
Chocolate has a very low melting point. And, if it gets too hot it will scorch, seize up, and turn grainy. Because of this you need a really low temperature to melt the chocolate. Too hot and it will burn.
These methods are for any type of chocolate – chocolate chips, bars, colored candy melts, or dipping chocolate.
Method 1: Stovetop Double Broiler
Because of chocolate’s low melting point you can not heat chocolate directly on a stove top. If using the stove, you must use a double broiler. If you don’t have one you can easily make one by putting a pot on the stove with about an inch of water in the bottom. Then, place a heat proof bowl on top along with the chocolate. Once the water is simmering the steam will heat the bowl enough to melt the chocolate but not burn or scorch it.
Tips: Make sure the water doesn’t touch the bottom of the bowl and make sure there is no water in the bowl as water and chocolate do not mix. Water will comprise the melted chocolate consistency.
Method 2: Microwave
This is probably the most common method of melting chocolate, because it is the way most candy or melting chocolate gives directions for. It’s also the quickest way to melt chocolate. While it’s the quickest it’s my least favorite because constantly melting and remelting the chocolate can compromise the texture over time, causing it to separate, get hard very fast and make it so you’ll need to thin out the chocolate with shortening or coconut oil. You have to watch it very closely in the microwave because it is easy to overheat if you leave it in too long.
Method 3: Oven
To use an oven, heat the chocolate in an oven safe bowl on the lowest oven temperature setting. That’s it! I’ve found 12 oz of chocolate takes 15-30 minutes depending on the size of the chocolate pieces and the brand.
I love this method because it really easy, you can melt multiple colors at the same time, and it’s difficult to overheat the chocolate. Plus, if necessary you can leave the melted chocolate in the warm oven ready to be used whenever you need it. This is great if making something with multiple different types or colors of chocolate like these holiday chocolate strawberries.
COLORING WHITE CHOCOLATe
When using either white chocolate or candy melts, you can not use regular or gel food coloring because the liquid will cause the chocolate to seize up and get grainy. You must use oil based food coloring such as candy colors.
Or, also very common is to buy candy melts in the color you need. They come in a very wide variety of colors and can be found online and at Michaels Craft Store.
The exception is with coloring white chocolate ganache. Using gel or regular food coloring works due to the amount of liquid in the ganache.
DECORATING WITH CHOCOLATE
Chocolate Ganache DRIP CAKES
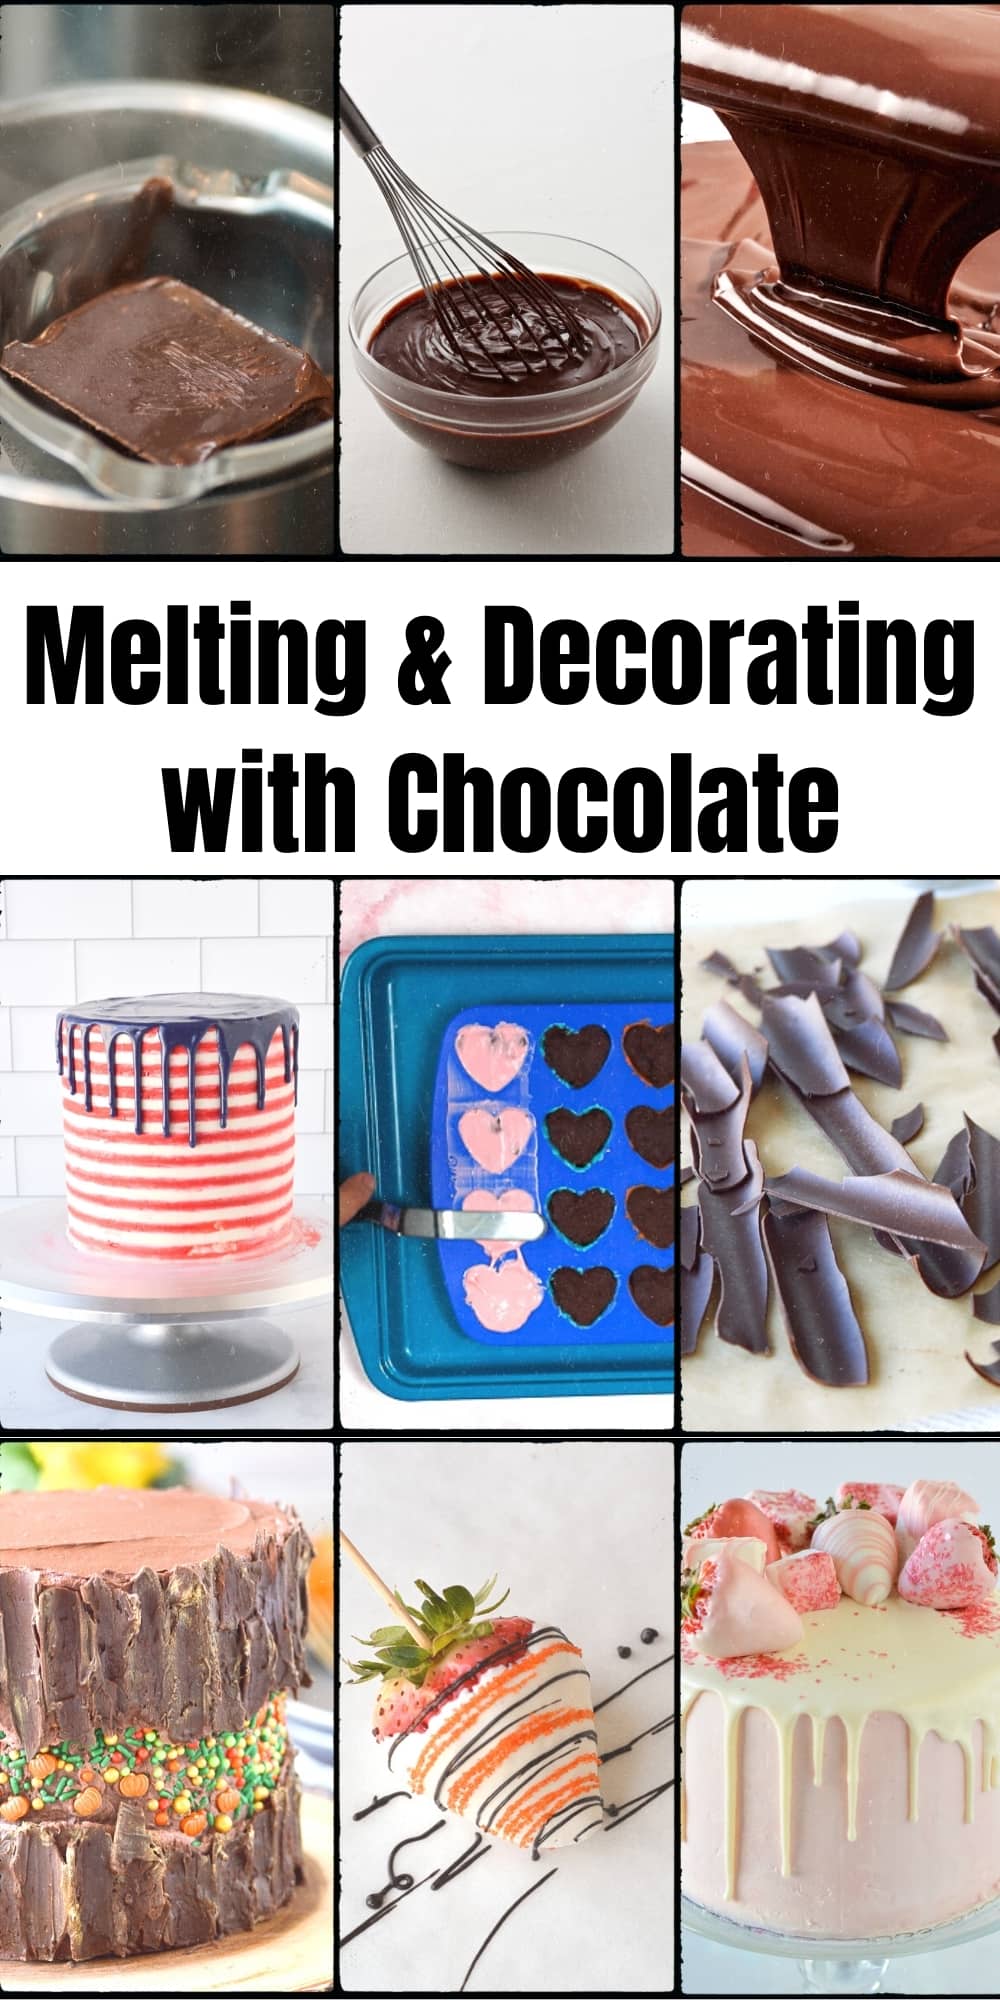
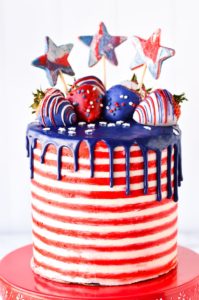
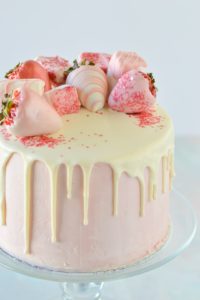
Drip cakes are so fun to make, and they’re surprisingly easy. They use chocolate ganache, which is chocolate and warmed cream, mixed together to melt the chocolate for an easy and versatile chocolate sauce or filling. For drip cakes the ratio is of cream to chocolate is different depending on the type of drip:
- Dark Chocolate Drip: 1 part chocolate to 1 part heavy whipping cream
- White Chocolate Drip: 2 to 3 parts chocolate to 1 part heavy whipping cream
You can read the full drip cake tutorial here.
- 4th of July Drip Cake
- White Chocolate Drip Cake
Chocolate Covered Food
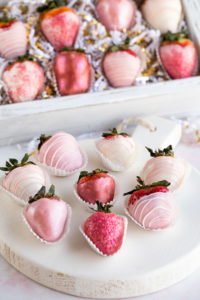
You can cover just about anything with chocolate. The techniques for making chocolate covered strawberries apply to making chocolate covered pretzels, Oreos, marshmallows, etc.
There are two main ways to cover food in chocolate.
- Dipping – such as chocolate covered strawberries. This post has the full recipe and tons of tips and tricks that apply for covering any food with chocolate.
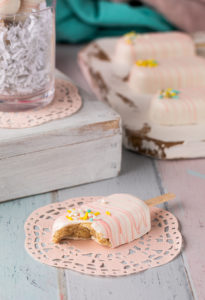
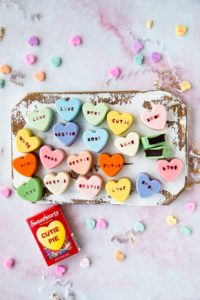
- Molds – the easiest type of molds are food grade silicone mold. This cakesicle recipe and this heart cake bite recipe have tons of tips and tricks for using silicone molds.
- Cakesicles
- Heart Cake Bites
Chocolate Decorations
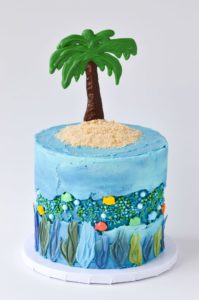
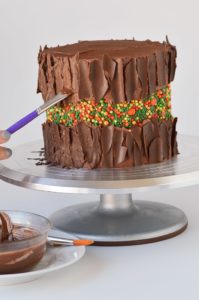
You can also pipe chocolate similar to royal icing. While it is softer and less stable than royal icing, you can still make fun cake toppers and decorations like in these cakes:
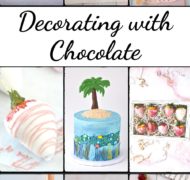
The seaweed at the bottom is made from melted chocolate as is the palm tree. And, the wood technique can be found in detail in this post.
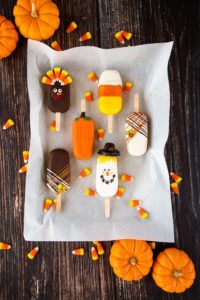
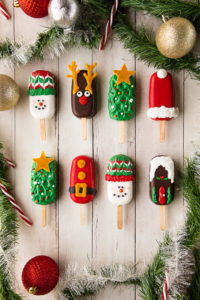
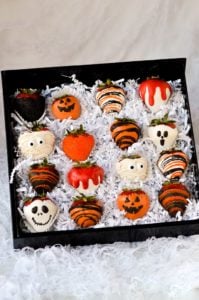
You can also use it for more detailed decorations of things you already covered in chocolate like these cakesicles and strawberries:
- Thanksgiving Cakesicles
- Christmas Cakesicles
- Halloween Chocolate Strawberries
Chocolate Drizzle
And let’s not forget about a simple chocolate drizzle. For both regular and white chocolate, melt it and then drizzle on top of cookies, bars, and other desserts:
- Chocolate Ganache
- Unicorn Popcorn
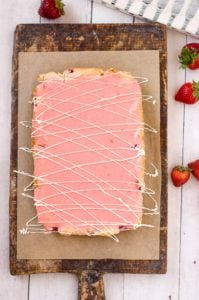
- Strawberry Blondies
Ganache Drizzle versus Melted Chocolate Drizzle
If you simply melt chocolate it will be completely firm when it dries, making it perfect for drizzling on unicorn popcorn, strawberry blondies, cookies and other desserts.
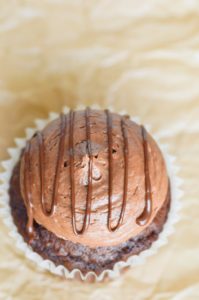
Ganache is chocolate and cream so it will not dry or get hard. You can find the recipe here – it’s great for topping cakes, cupcakes, and ice cream.
Recipes using melted chocolate
- Cakesicles
- Chocolate Covered Strawberries
- Holiday Chocolate Covered Strawberries
- Valentine’s Day Cake Bites
- Unicorn Popcorn
- White Chocolate Drip Cake
WANT TO JOIN THE PARTY? Subscribe to my newsletter and follow on Pinterest, Instagram, and Facebook for all the latest recipes!
Melting Chocolate
Equipment
- Glass or heat proof bowl
- Oven, Stove, or Microwave
- Spatula or Spoon for stirring
INGREDIENTS
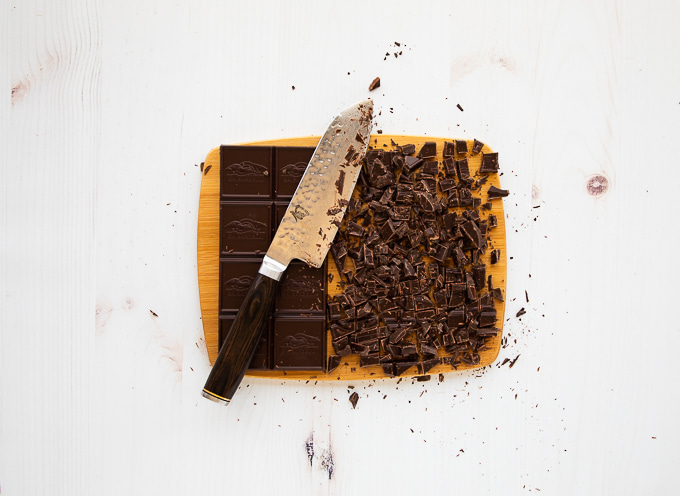
- Chocolate chopped into small pieces
Instructions
METHOD 1: STOVETOP DOUBLE BROILER
- Set up a double broiler or a heavy bottom pot with about an inch of water over low to medium heat.
- Then, place a heat proof bowl on top of the pot. Make sure the water doesn’t touch the bottom of the bowl or it can cause the chocolate to get grainy.
- Place the chocolate in the bowl. Once the water is simmering the steam will heat the bowl enough to melt the chocolate but not burn or scorch it.
- Gently stir the chocolate until melted.
METHOD 2: MICROWAVE
- Add your chocolate to a microwave safe bowl and heat according to instruction on the package.
- Typically, this is 1 minute at 50% power. Then continue heating and stirring for 15-30 second intervals until completely melted.
METHOD 3: OVEN
- To use an oven, place the chocolate in an oven safe bowl.
- If heating multiple colors at the same time, it helps to place the bowls of chocolate on a cookie sheet to easily move in and out of the oven.
- Place in a pre-heated oven, on warm or the lowest oven setting. If your oven does't have a warm setting or starts at 250 ℉, preheat the oven and then turn it off when you put in the chocolate.
- Heat until melted. I’ve found 12 oz of chocolate takes 15-30 minutes depending on the size of the chocolate pieces and the brand.
Notes
- If you want a shinny, crisp chocolate be sure to temper the chocolate or use candy melts or chocolate wafers. You can read about tempering here.
- If the chocolate is overheated it can seize up and get grainy, so it's important to heat the chocolate slowly and at low heat.
- Water or liquid in the chocolate can also cause it to seize up so it's important that all bowls and utensils are completely dry.
- If coloring white chocolate, be sure to use oil based candy colors food coloring.
- Ganache should be a 1 to 1 ratio or chocolate to cream for regular chocolate and 2 or 3 parts chocolate to 1 part cream for white chocolate.





Leave a Reply