This Valentine’s Day popcorn recipe is perfect for movie nights, Galentine’s Day parties, or as a special snack to celebrate the holiday!
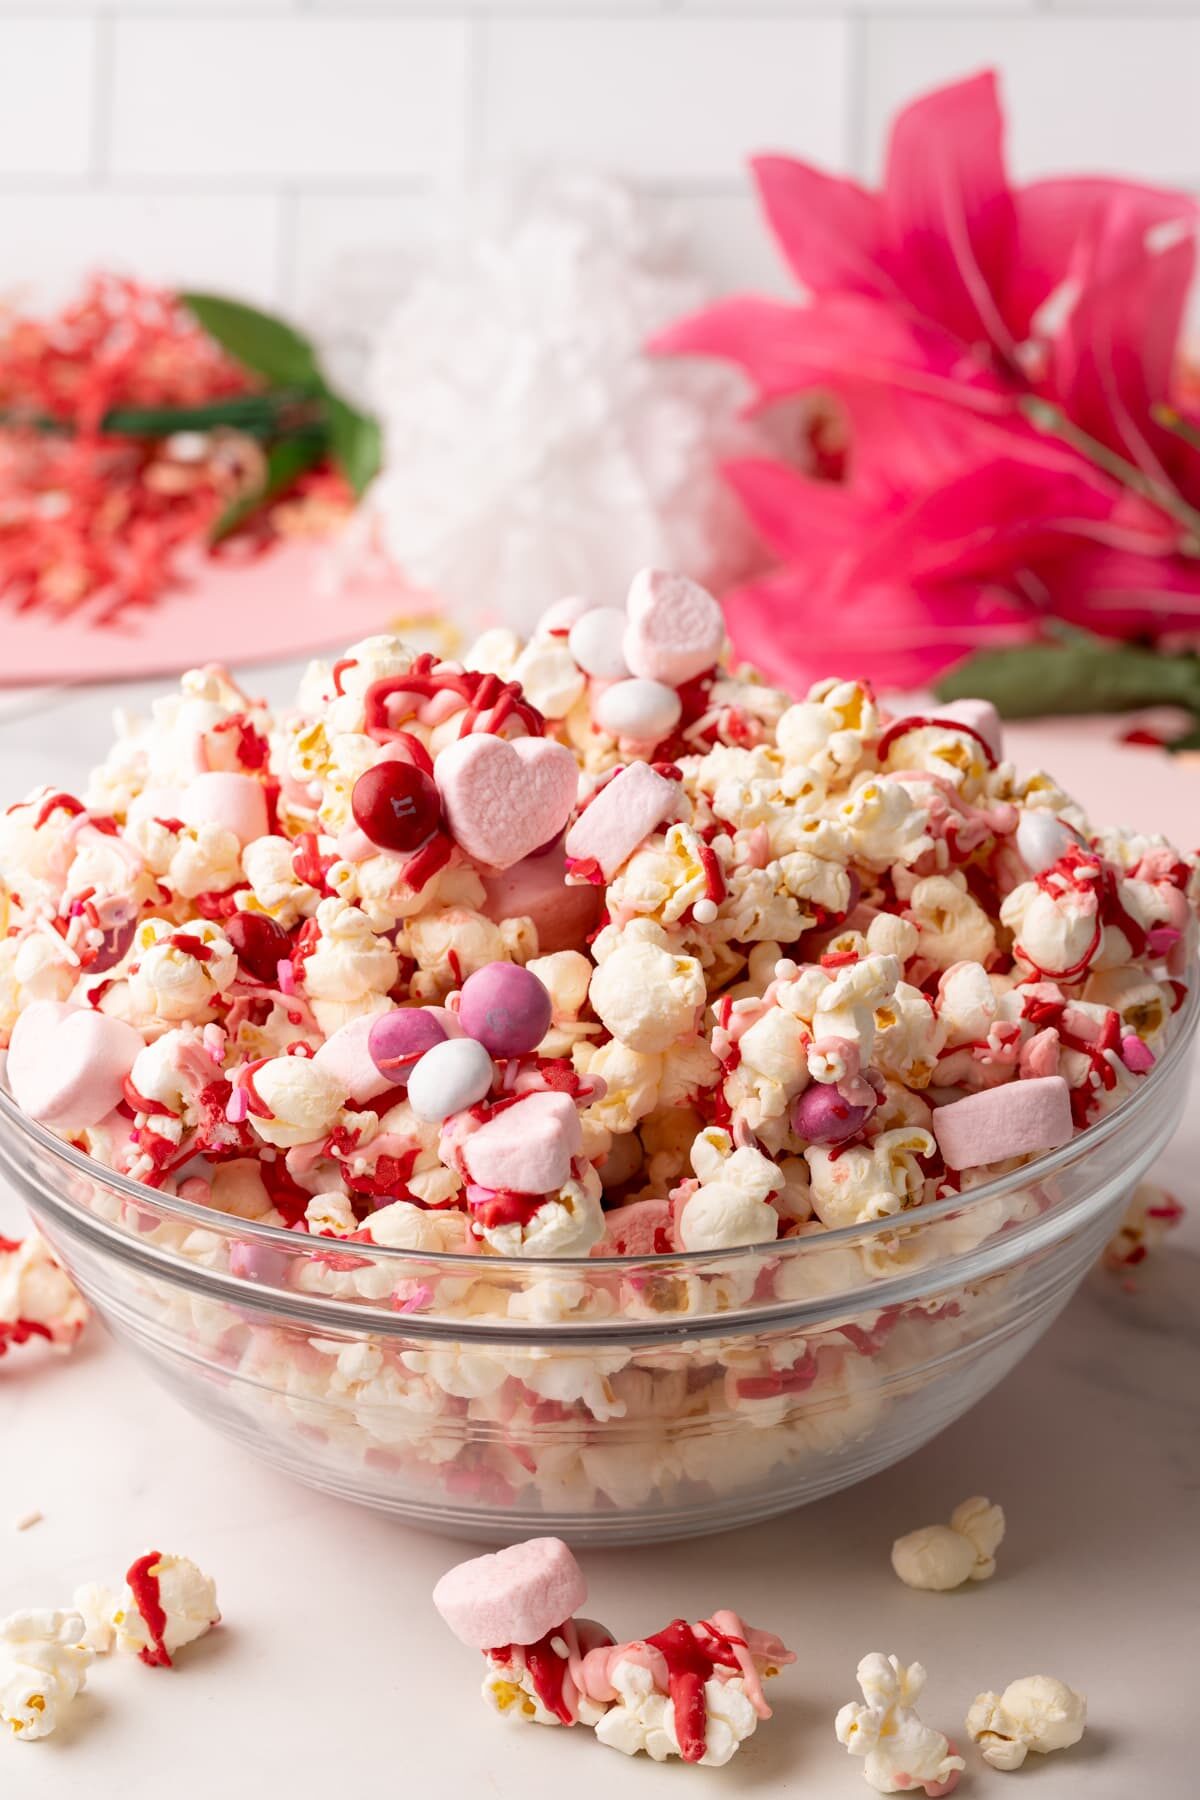
Homemade Valentine’s Day popcorn is such a fun treat to make – it’s sweet, crunchy, and super delicious.
For this version I chose a a pink and red marshmallow heart theme, but you can really do whatever you want! Because it’s so customizable, you can alter it to suit any taste. Like conversation hearts? Throw them in! Don’t like marshmallows? Skip them! Similar to chocolate covered strawberries, this is an easy, no-bake treat, and fun activity the whole family can enjoy making together.
Why you’ll love it:
- Easy: This popcorn is super simple to make. And, if you buy pre-popped popcorn, it’s even easier. Just melt the chocolate or candy melts add the toppings. That’s it!
- Customizable: You can make this popcorn how ever you want. M&Ms, marshmallows , chopped up candy bars, nuts, whatever you want is all delicious!
- Fun: It’s such a fun Valentine’s party popcorn! Not only it is fun to make, it visually just screams love and is perfect for parties, sharing, and gifting!
Ingredients
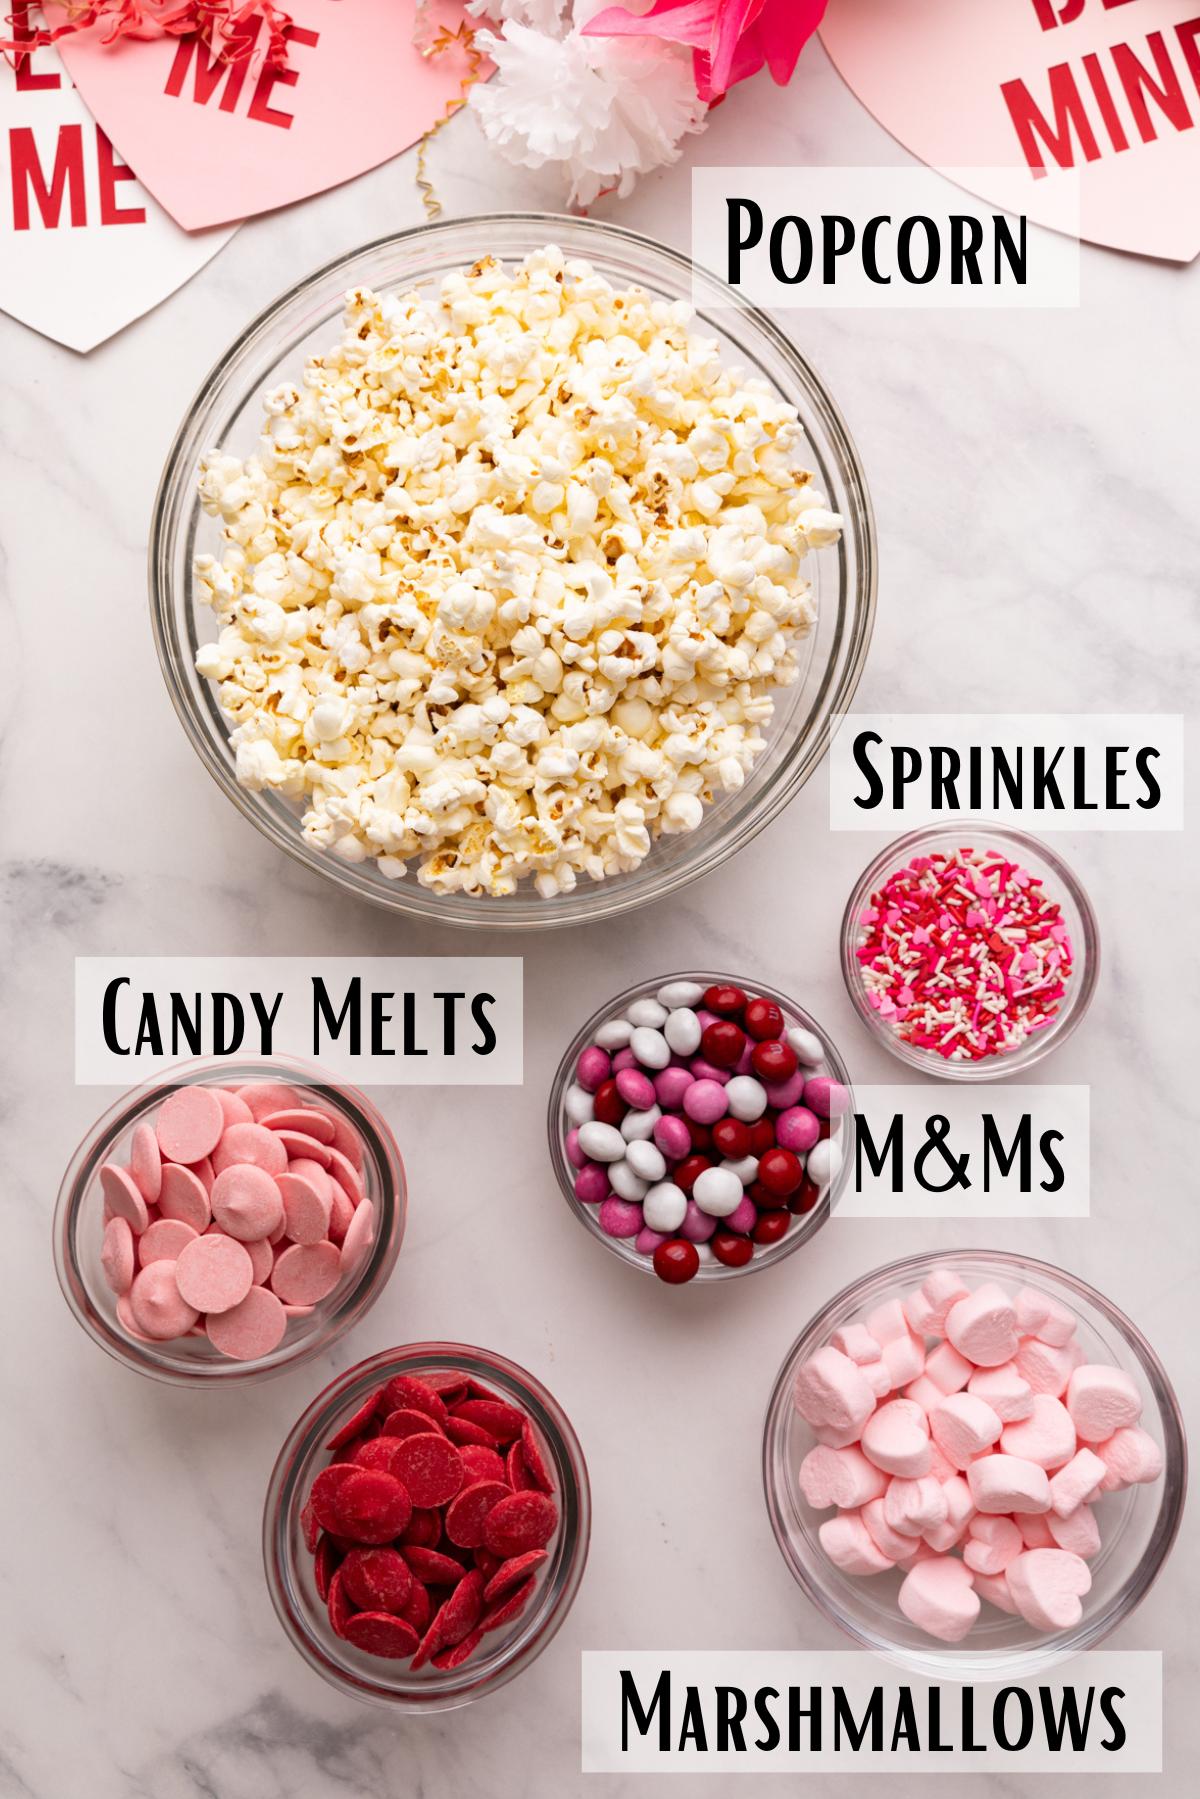
Popcorn
You can use any type of popcorn you like! I do recommend a salty or sweet popcorn, since this is a candy coated sweet popcorn mix. Here are some common ideas for your popcorn base:
- Air Popped
- Microwave Popcorn
- Bagged Popcorn like sea salt or kettle corn
Candy Melts
Candy melts or melting chocolate are what help the toppings stick to the popcorn. For this version I used pink and red, but you can use whatever colors you like.
TOPPINGS
This is the fun part, the toppings! For this Valentine popcorn, I used heart marshmallows, Valentine M&Ms, and sprinkles. But, you can use whatever toppings you want! Here are some fun ideas:
- Pretzels
- Chopped Cookies
- Edible Luster Dust
How to Make
Similar to Christmas crunch or Unicorn Popcorn, this popcorn recipe is super simple and it can be made in less than an hour.
Step 1: Melt Candy Melts
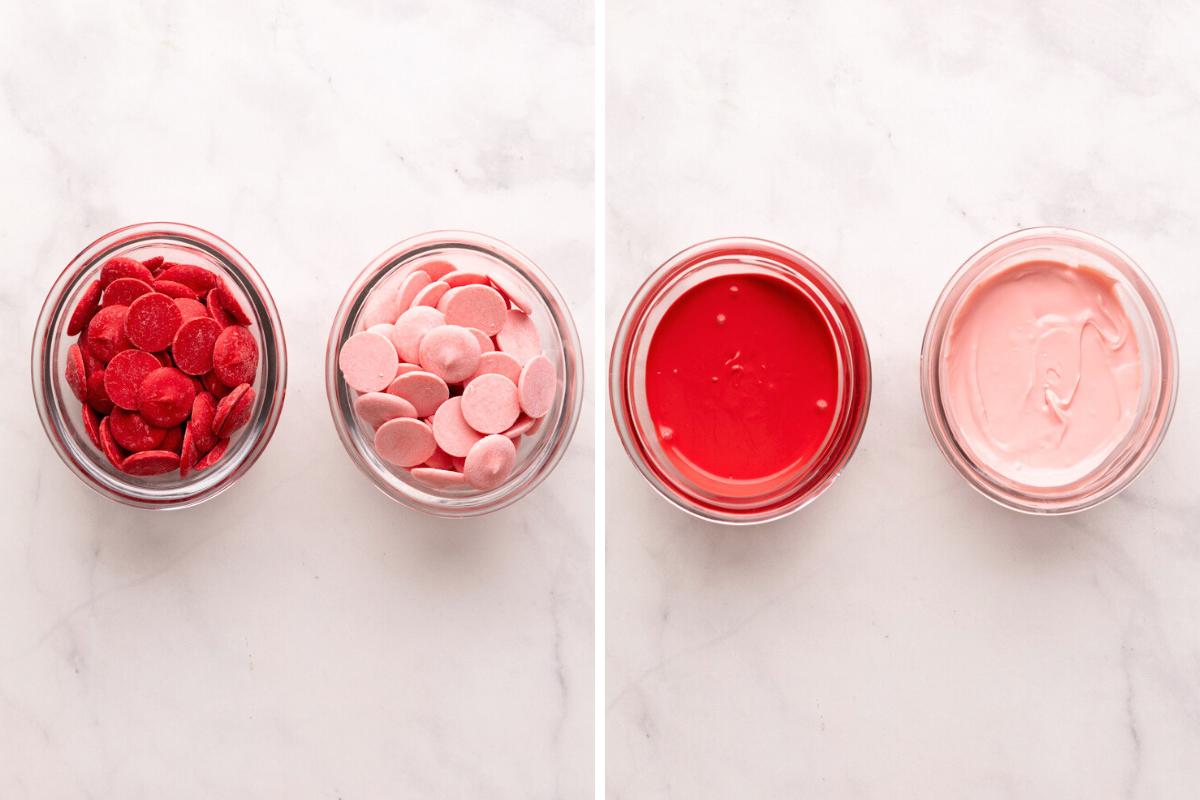
In separate microwave-safe bowls, melt the orange and black candy melts according to the package instructions. Typically, this involves heating them in 30-second intervals and stirring until smooth. You can also melt over a double broiler on the stovetop.
Step 2: Add Chocolate and toppings
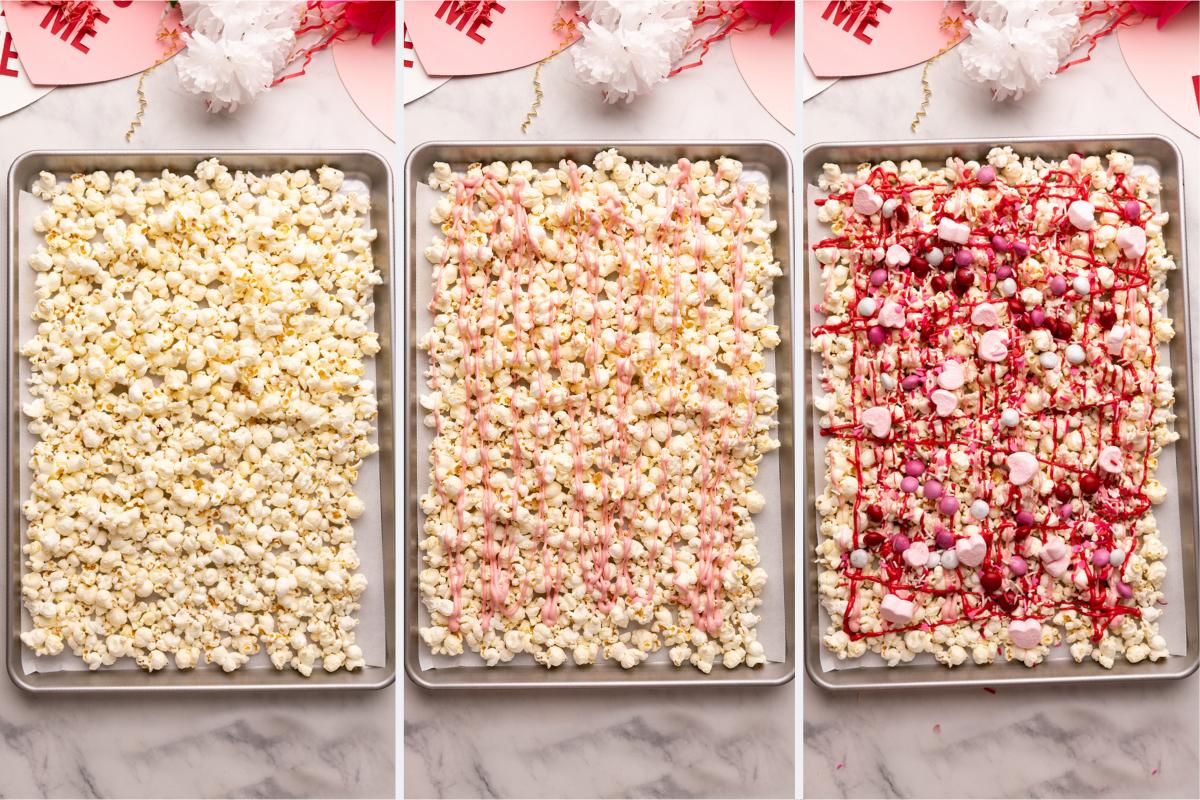
Place the popcorn on a parchment lined baking sheet. Then, drizzle the melted chocolate all over the popcorn. You can add it to a pastry bag with the top cut off, or simply drizzle with a spoon. You can also place all the popcorn in a large bowl, rather than a parchment lined baking sheet.
While the chocolate is still melted, sprinkle ½ of your desired toppings so they stick.
Step 3: Let Dry, Mix, Repeat
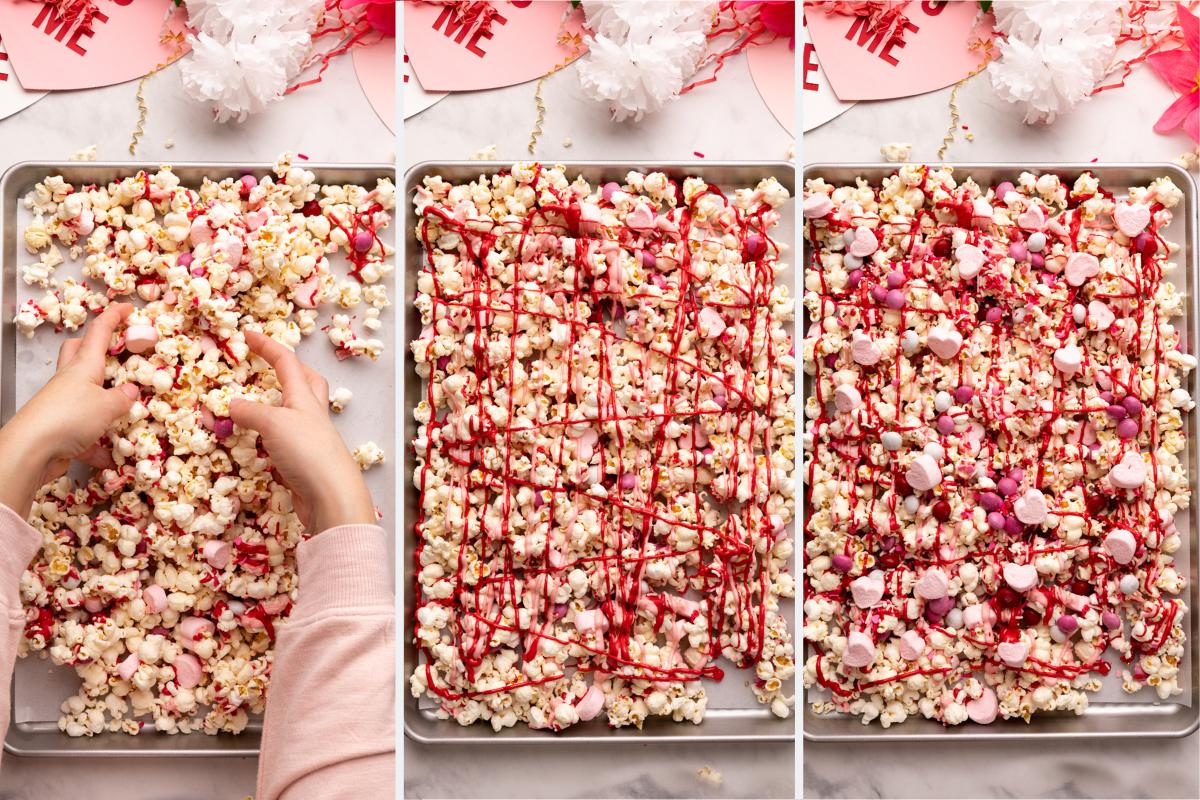
After adding the toppings, let the chocolate harden for an 30-60 minutes. Once the chocolate has set, mixed it up, breaking up the chocolate popcorn pieces.
Then, spread it out again on the parchment lined baking sheet and add more melted chocolate and more toppings. This helps to ensure that not just one side of the popcorn is covered in chocolate.
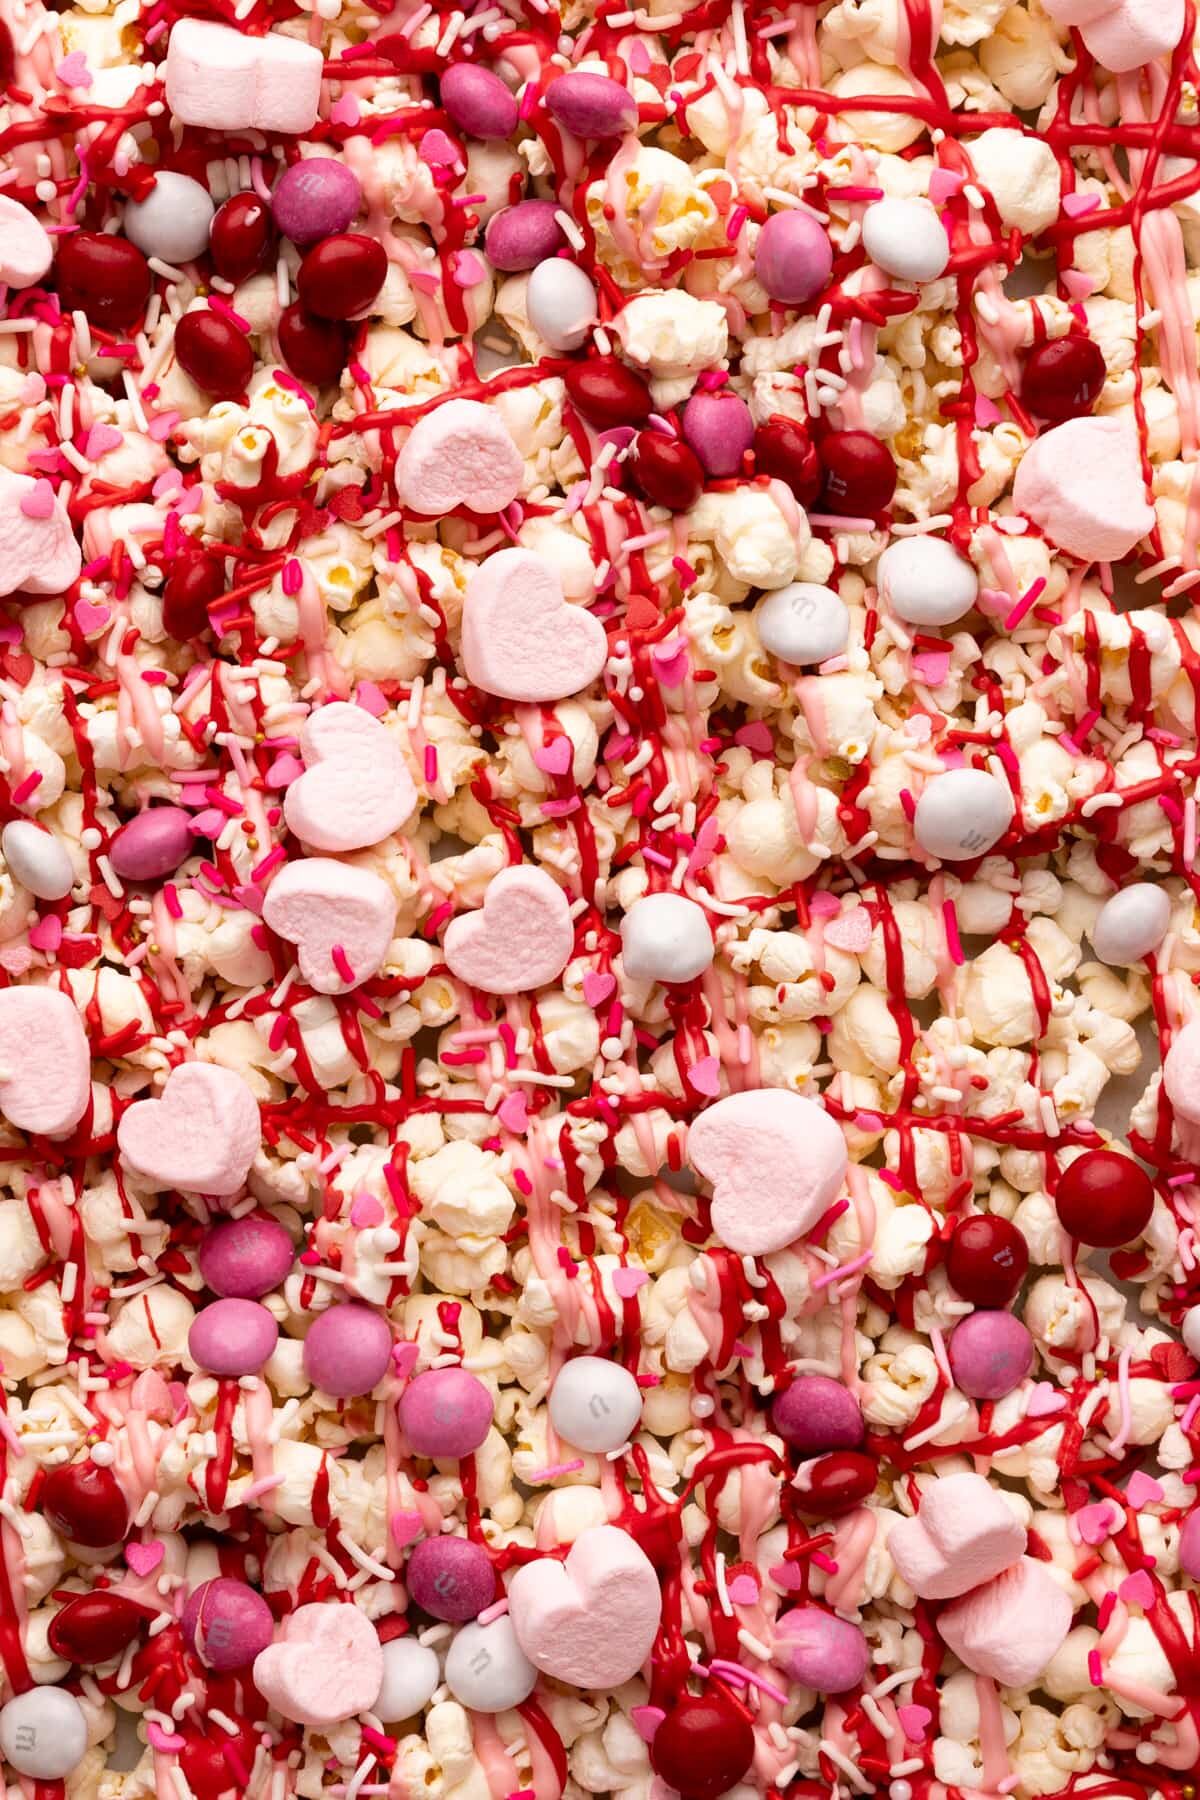
I recommend at least two times, but you can do this as many times as you want to ensure the popcorn is really full of chocolate, and sprinkles. Then, once it’s dry for the last time, break it up and it’s ready to serve!
Tips and Tricks
- Prepare Your Toppings in Advance: Have your chosen toppings, such as crushed cookies, ready before you melt the chocolate. This ensures a quick and smooth assembly process without the chocolate hardening.
- Use colored chocolate melts in the colors you want or buy candy food coloring, which is oil based and won’t cause your white chocolate melts or white chocolate to separate. You can not add regular or gel food coloring to white chocolate or it will get grainy.
- The amount of chocolate and toppings can vary depending on how much popcorn you’re making, how many different colors you’re using, and how many times you decide to mix up and re-cover the popcorn with chocolate and toppings.
FAQ
There are two reasons chocolate can seize up and get grainy. The first is it was overheated. You can combat this by making sure to follow the instructions exactly when melting your chocolate. If using a microwave heat on half power and use a double broiler if heating on the stovetop. Do not ever heat any type of chocolate or candy melts directly in a pan on a stovetop. It will always overheat and seize up.
The second reason is because liquid somehow got mixed in with the chocolate. Be sure your bowl and utensils are completely dry before adding and melting the chocolate. And, if adding flavors or food coloring make sure they are oil based.
Yes, but if you want to add food coloring to your white chocolate or melting chocolate, be sure to use candy colors which are oil based food. Regular or gel food coloring will cause the chocolate to get grainy.
Serving and Gifting
This Valentine’s day popcorn is perfect for Valentine’s Day and Galentine’s Day parties and romantic movie nights! Like most popcorn, there are tons of fun ways to serve or gift it:
- Bags: I prefer clear plastic bags because you can see the popcorn, but, you can also use bakery bags, or these cute Valentine’s Day treat bags.
- Boxes: popcorn boxes (especially these holiday themed ones!) are so cute and perfect for movie nights!
- Popcorn Tins: These decorative tins and popcorn buckets are so cute and festive! Plus, the tins keep the popcorn fresh and they are a great option for shipping and the least likely to get damaged in transport.
Storing and Making Ahead
This popcorn is best with in the first couple days of making, but will last up to a week or two in an airtight container, very tightly sealed. The better the seal, the longer it will last and stay fresh and the less chance of going stale.
Looking for more Valentine’s Day Recipes? check these out!
WANT TO JOIN THE PARTY? Subscribe to my newsletter and follow on Tik Tok, Pinterest, Instagram, and Facebook for all the latest recipes!
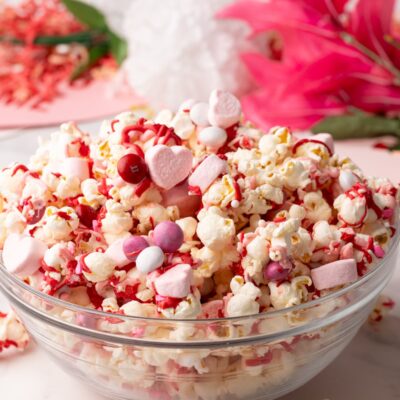
Valentine’s Day Popcorn Recipe
Equipment
- sheet pan
- Parchment Paper
INGREDIENTS
- 8-10 Cups Popped Popcorn
- 10-12 oz Candy Melts pink and red or colors of choice
- 2 cups Mini Heart Marshmallows
- 1 Cup Valentine M&Ms
- ½ Cup Valentine Sprinkles
More Topping Ideas
- Chopped Cookies
- Candy
- Pretzels
Instructions
- Line a large baking pan with parchment paper, wax paper, or a silicone baking mat.
- Spread out popcorn evenly on the parchment so it is in a single layer.
- Melt your candy melts or chocolate according to the package directions.
- Using either a pastry bag or spoon, drip about 1/2 the melted chocolate all over the popcorn.
- White the chocolate is still wet, add 1/2 the marshmallows, sprinkles, M&Ms, and any other toppings you desire.
- Let dry for 30-60 minutes until the chocolate is firm to the touch.
- Mix up the popcorn and spread evenly over the parchment again. Repeat with adding more melted chocolate and toppings.
- Let dry completely and then break apart into bite size pieces. Serve and enjoy!
Notes
- Prepare Your Toppings in Advance: Have your chosen toppings, such as crushed cookies, ready before you melt the chocolate. This ensures a quick and smooth assembly process without the chocolate hardening.
- Use colored chocolate melts in the colors you want or buy candy food coloring, which is oil based and won’t cause your white chocolate melts or white chocolate to separate. You can not add regular or gel food coloring to white chocolate or it will get grainy.
- The amount of chocolate and toppings can vary depending on how much popcorn you’re making, how many different colors you’re using, and how many times you decide to mix up and re-cover the popcorn with chocolate and toppings.






Leave a Reply