These Valentine's Day chocolate-covered strawberries are an easy, festive dessert made with fresh strawberries, melted chocolate, and pink and white decorations. This Valentine's Day strawberries recipe is perfect for gifting, date nights, parties, and dessert boards, with simple steps for perfect chocolate strawberries every time.
Looking for more Valentine's Day Treat Ideas? Be sure to check out my collection of the best Valentine’s Day treat recipes, including Chocolate Valentine's Day Cookies and Valentine's Day Popcorn!
🔍 Quick Look: Valentine's Day Chocolate Covered Strawberries
⏱️ Prep Time: 15 minutes
🎨 Decorating Time: 30 minutes
❄️ Chill Time: 15-30 minutes
🕒 Total Time: About 1.5 hours (including decorating and chilling)
🍓 Yield: About 20-24 chocolate-covered strawberries
🧑🍳 Tools: Microwave-safe bowl or double boiler, baking sheet, parchment paper, fork or toothpicks, pastry bags (optional), sprinkles and edible decorations
🎉 Perfect For: Valentine's Day, date nights, parties, gifting, dessert boards
⭐ Difficulty: Very Easy (a simple, beginner-friendly no-bake dessert!)
Summarize and Save This Content On:
❤️ Why You'll Love These Valentine's Day Strawberries
- Fun to Decorate and Personalize: You can customize your chocolate strawberries with pink and white chocolate, sprinkles, hearts, and drizzles to match any Valentine's theme. Plus, they’re super fun to decorate!
- Perfect Valentine's Day Dessert: These white and pink chocolate-covered strawberries are a classic romantic treat that's easy to make at home and looks bakery-worthy for date nights, edible gifts, or dessert tables.
- Easy, No-Bake Recipe: This Valentine's Day strawberries recipe comes together with minimal prep and no baking, making it ideal for beginners or last-minute Valentine's Day desserts.
Jump to:
- 🔍 Quick Look: Valentine's Day Chocolate Covered Strawberries
- ❤️ Why You'll Love These Valentine's Day Strawberries
- Key Ingredients
- ⭐ Top Tip: Using Candy Melts
- How to Make
- Decorating Valentine Strawberries
- ✨Tips and Tricks
- Troubleshooting and FAQ
- Want more chocolate-covered treats?
- Valentine’s Day Chocolate Covered Strawberries
Key Ingredients
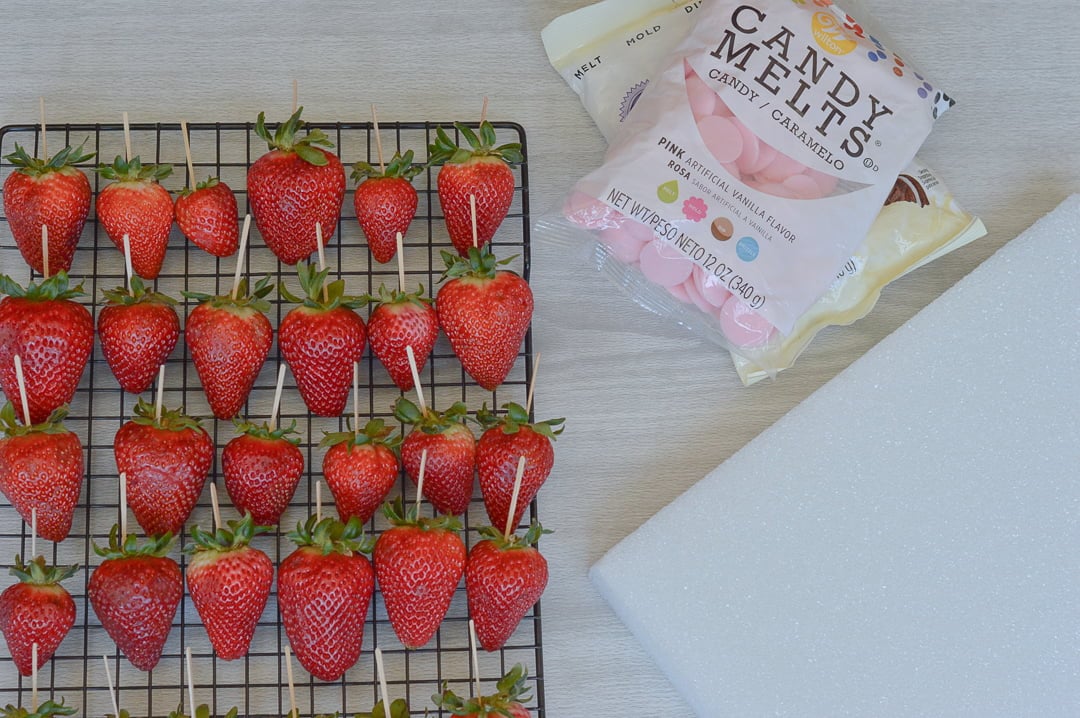
See the Recipe Card for a Full List of Ingredients and Tools
- Fresh Strawberries: Choose large, ripe strawberries with firm flesh and bright red color for the best-looking Valentine's Day chocolate-covered strawberries. Be sure they're completely dry before dipping.
- Candy Melts (Pink & White): Also known as melting chocolate or melting wafers, candy melts are ideal for this Valentine's Day strawberries recipe because they melt smoothly, don't require tempering, and set up firm and glossy for gifting and party desserts. You can also use almond bark.
- Vegetable Shortening (Optional): A small amount can be added to the melted candy melts to thin the chocolate and make dipping and drizzling easier.
- Sprinkles or Valentine's Toppings: Use heart sprinkles, edible glitter, luster dust, crushed candy, or festive decorations to customize your Valentine's Day chocolate strawberries.
⭐ Top Tip: Using Candy Melts
Candy melts are the easiest and most reliable chocolate to use for making Valentine's Day chocolate covered strawberries.
- No Tempering Required: Candy melts don't need to be tempered, so you can simply melt, dip, and decorate without worrying about streaks, bloom, or dull spots.
- Smooth Dipping Texture: They melt evenly and set up firm and glossy, making your chocolate strawberries perfect for gifting, dessert boards, and party platters.
- Easy to Find + Color Safely: Candy melts are sold at most craft stores, grocery stores, and Amazon. If you want to change colors, always use pre-colored candy melts or oil-based candy colors. Never use regular food coloring on chocolate since it will cause the chocolate to seize.
How to Make
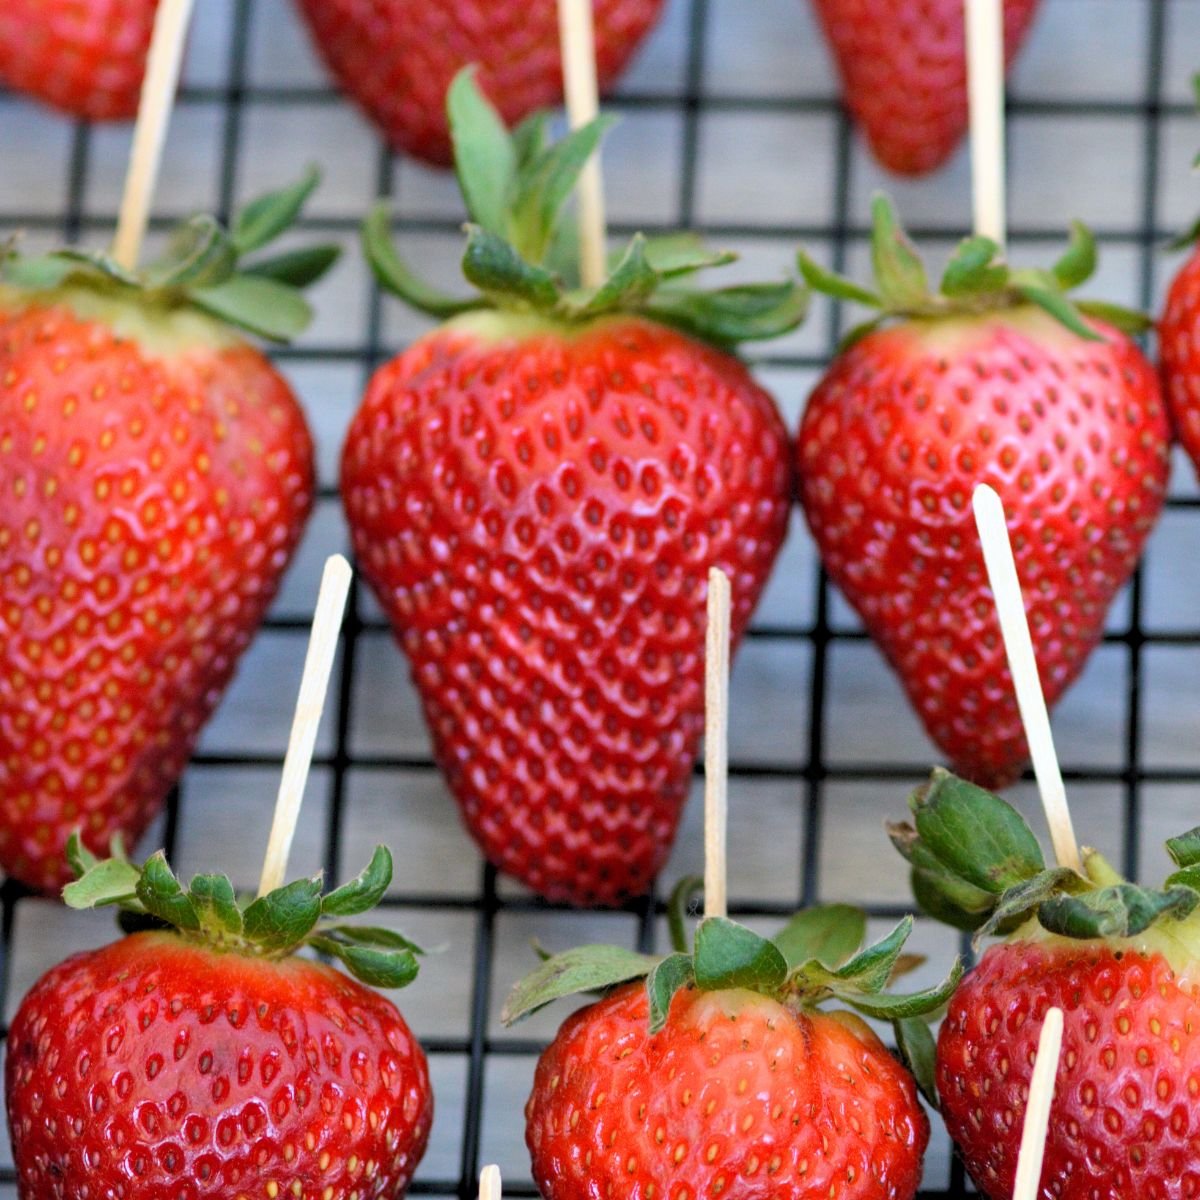
- Prep Strawberries: Wash and thoroughly dry the strawberries. Any excess moisture can cause the chocolate to get grainy. Insert a toothpicks into the back of the strawberries so they are easy to dip into the melted chocolate.
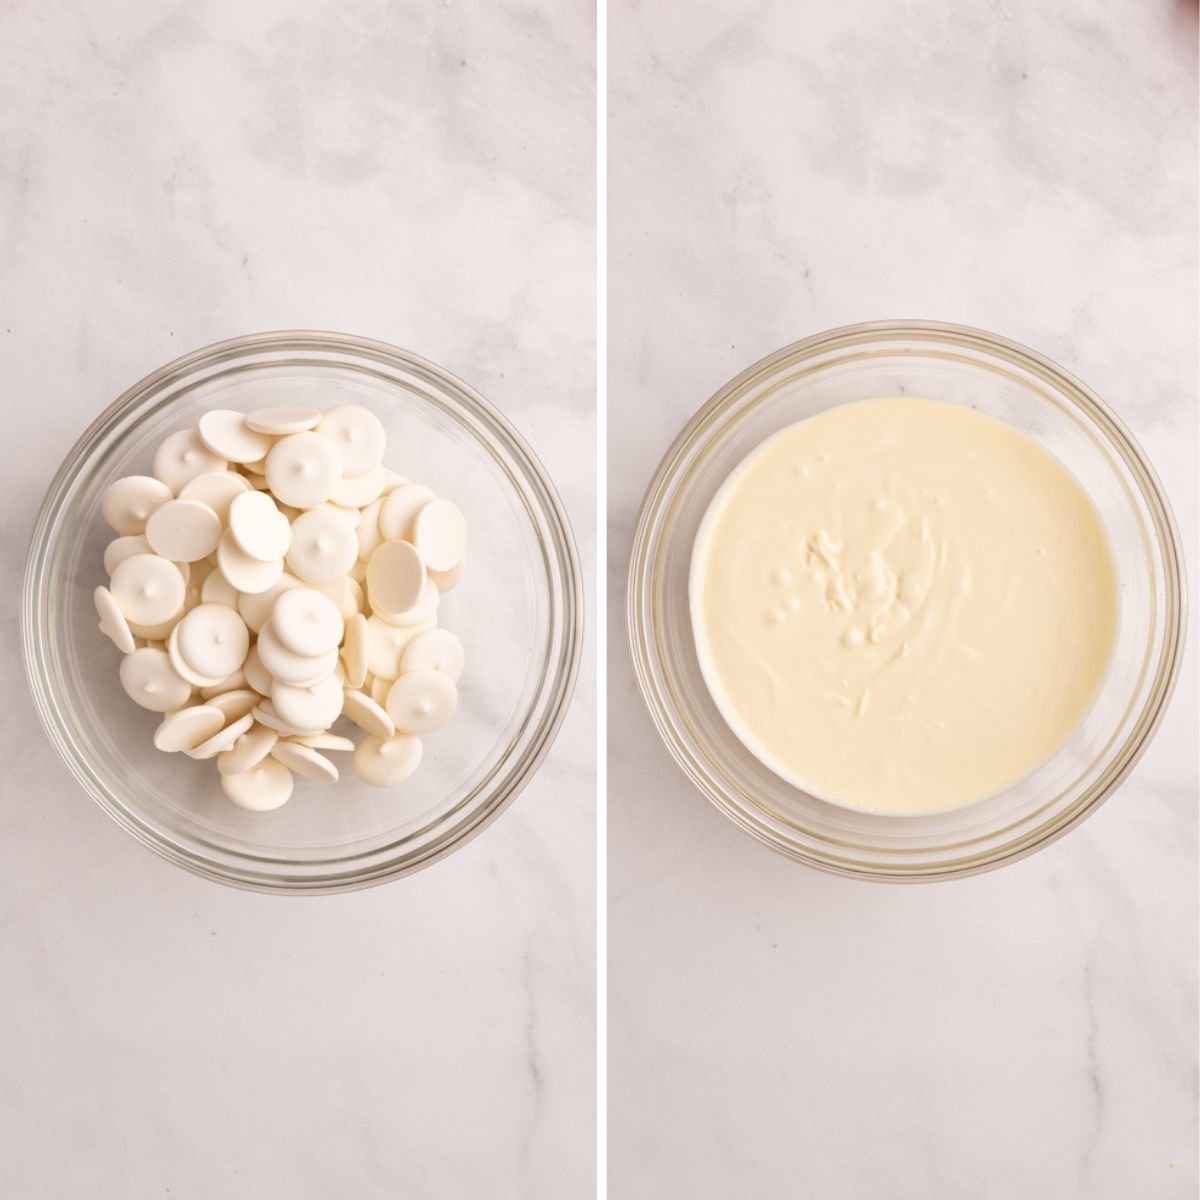
- Melt Chocolate: Melt the chocolate according to directions on the package (typically, this involves heating them in 30-second intervals and stirring until smooth). If needed, add a bit of shortening or coconut oil to get the chocolate to the right dipping consistency.
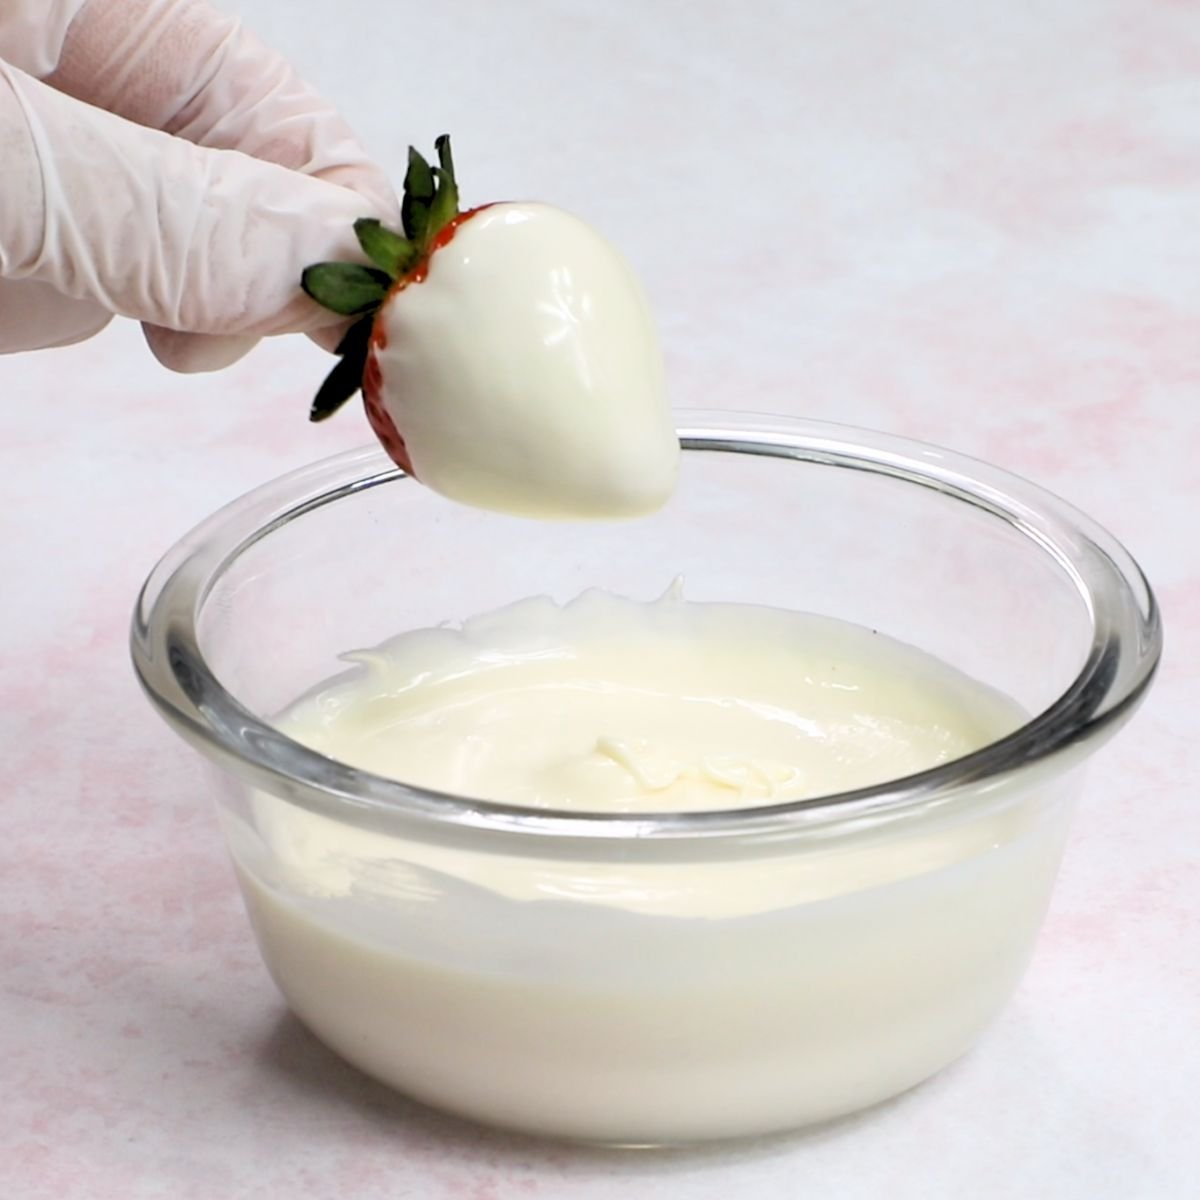
- Dip the Strawberries: Holding on to the toothpick and stem, dip the strawberries in the chocolate, allowing excess chocolate to drip off or wipe off on the edges of the bowl. After dipping, gently shake the strawberry to even the chocolate and reincorporate any edges. If adding sprinkles, add now while the chocolate is melted.
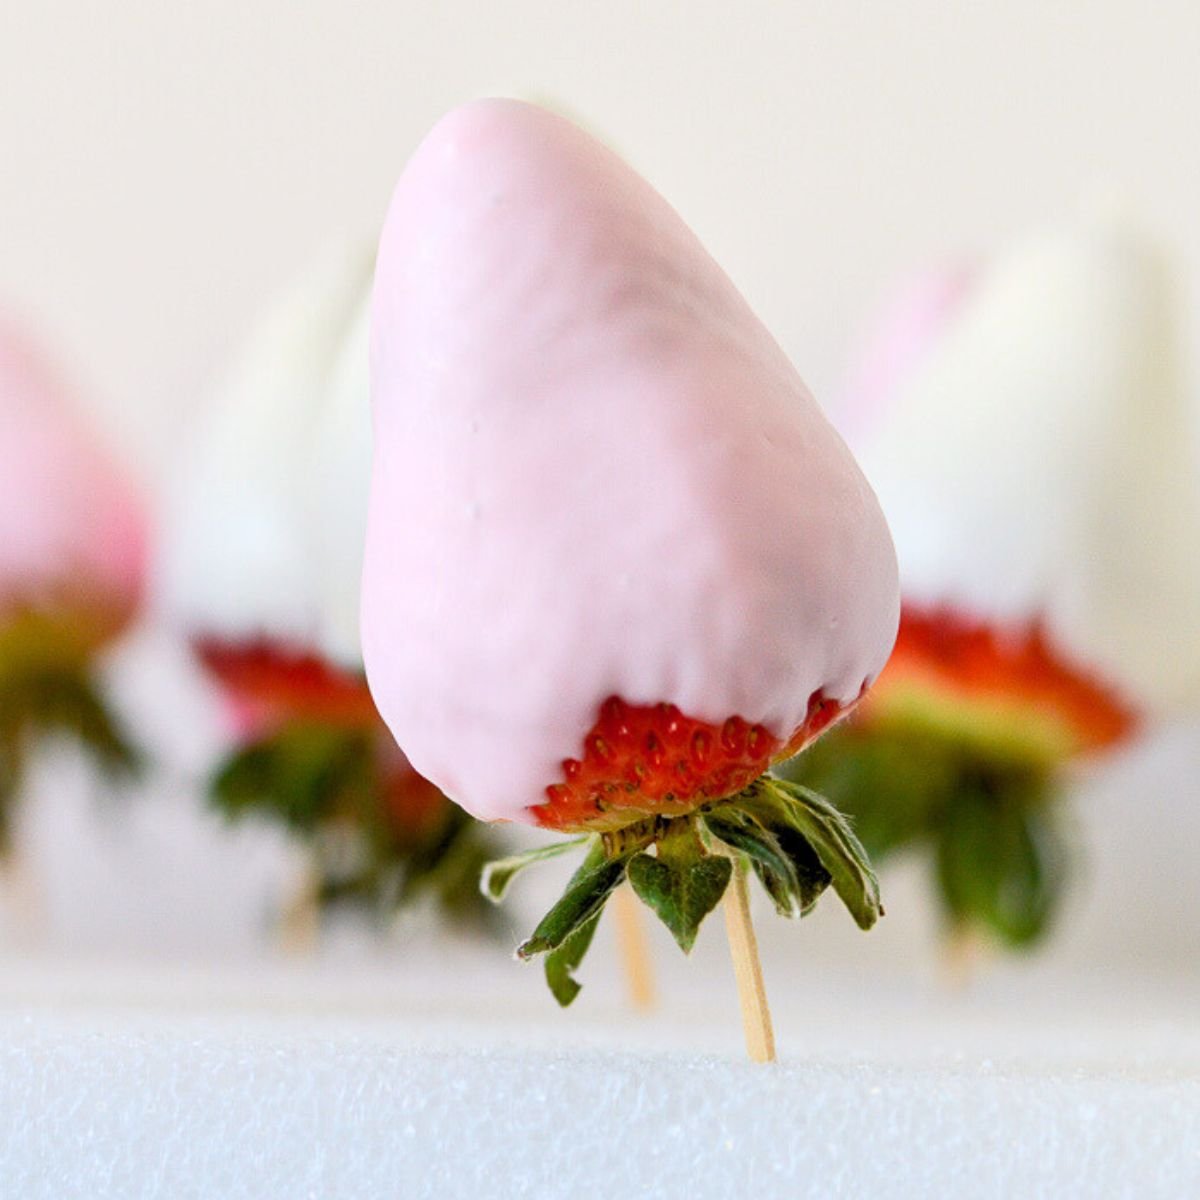
- Let Dry: Either place the chocolate strawberries on parchment paper or put the end of the toothpick into a styrofoam board to allow the strawberries to dry upside down. Once set, either enjoy immediatly, or continue decorating with more chocolate, edible glitter, or luster dust!
Decorating Valentine Strawberries
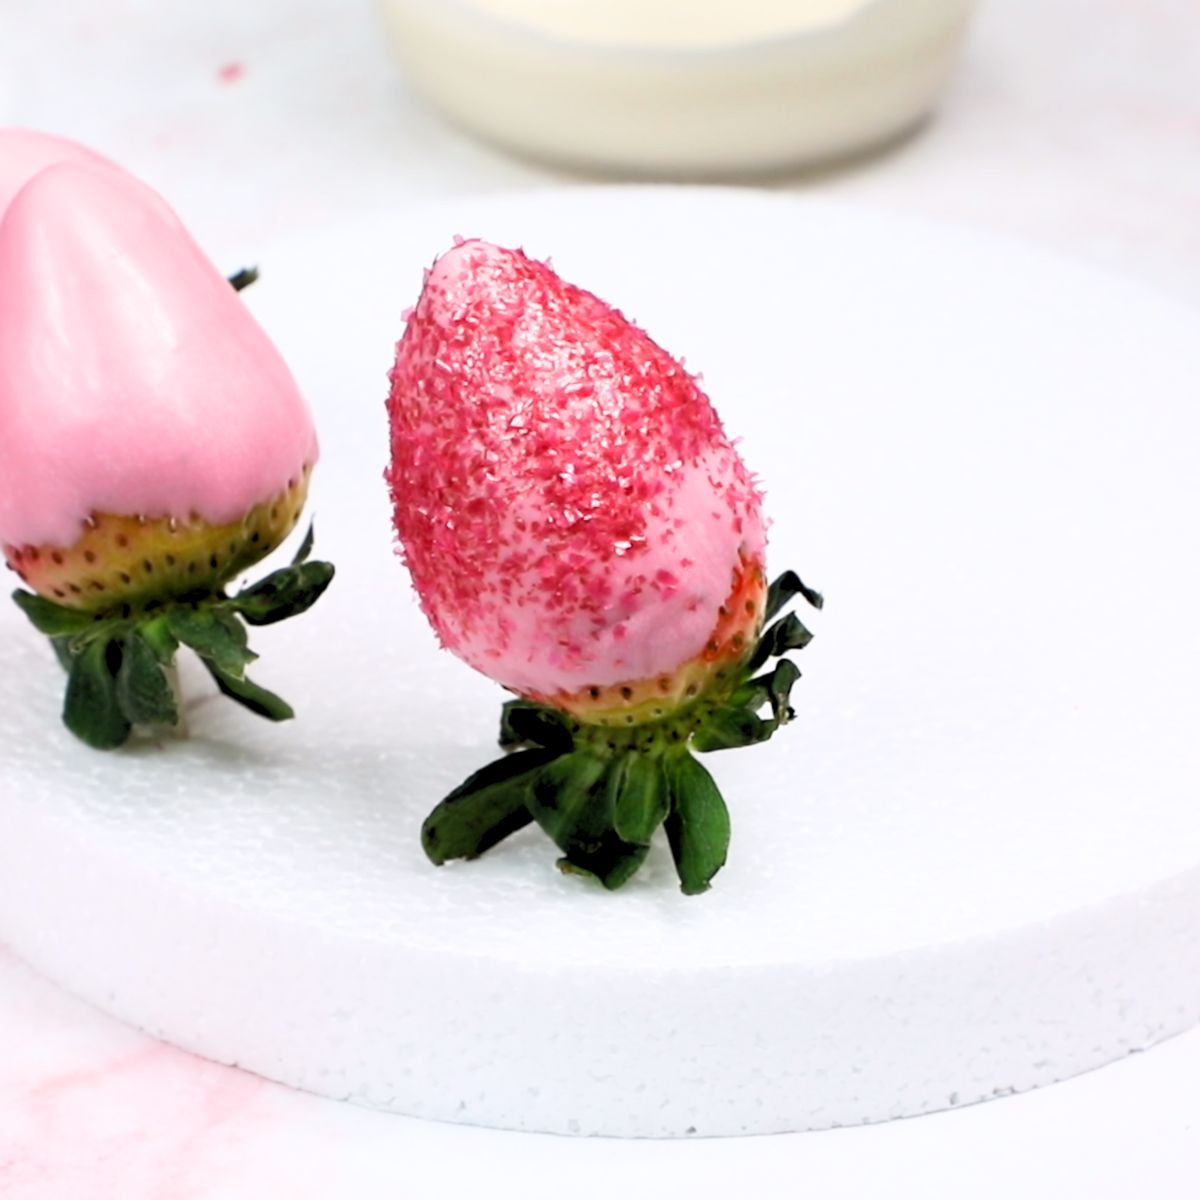
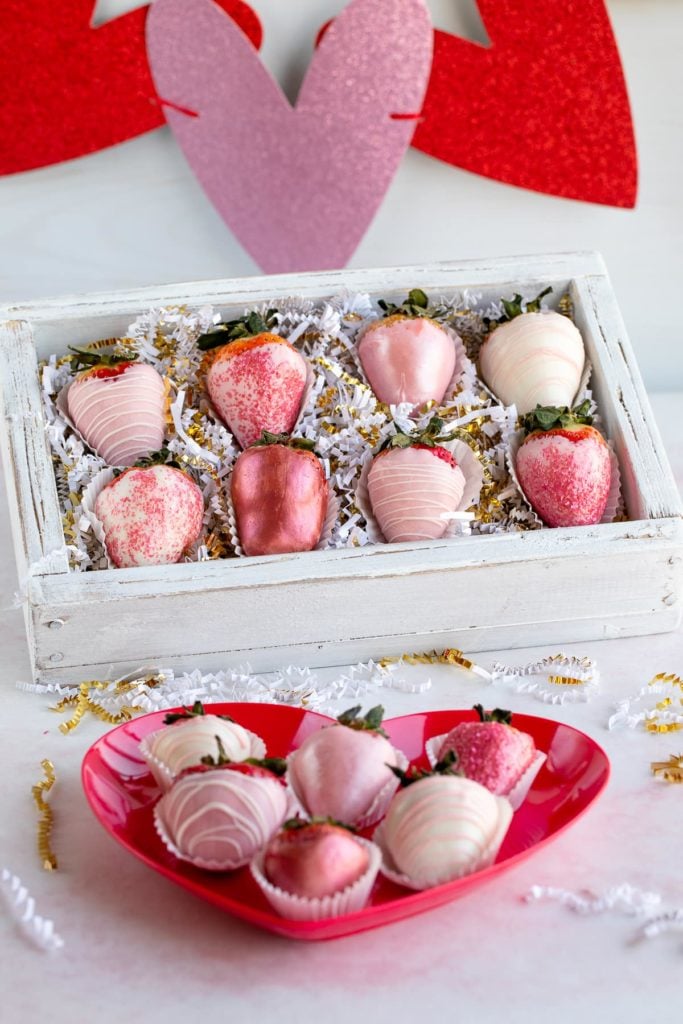
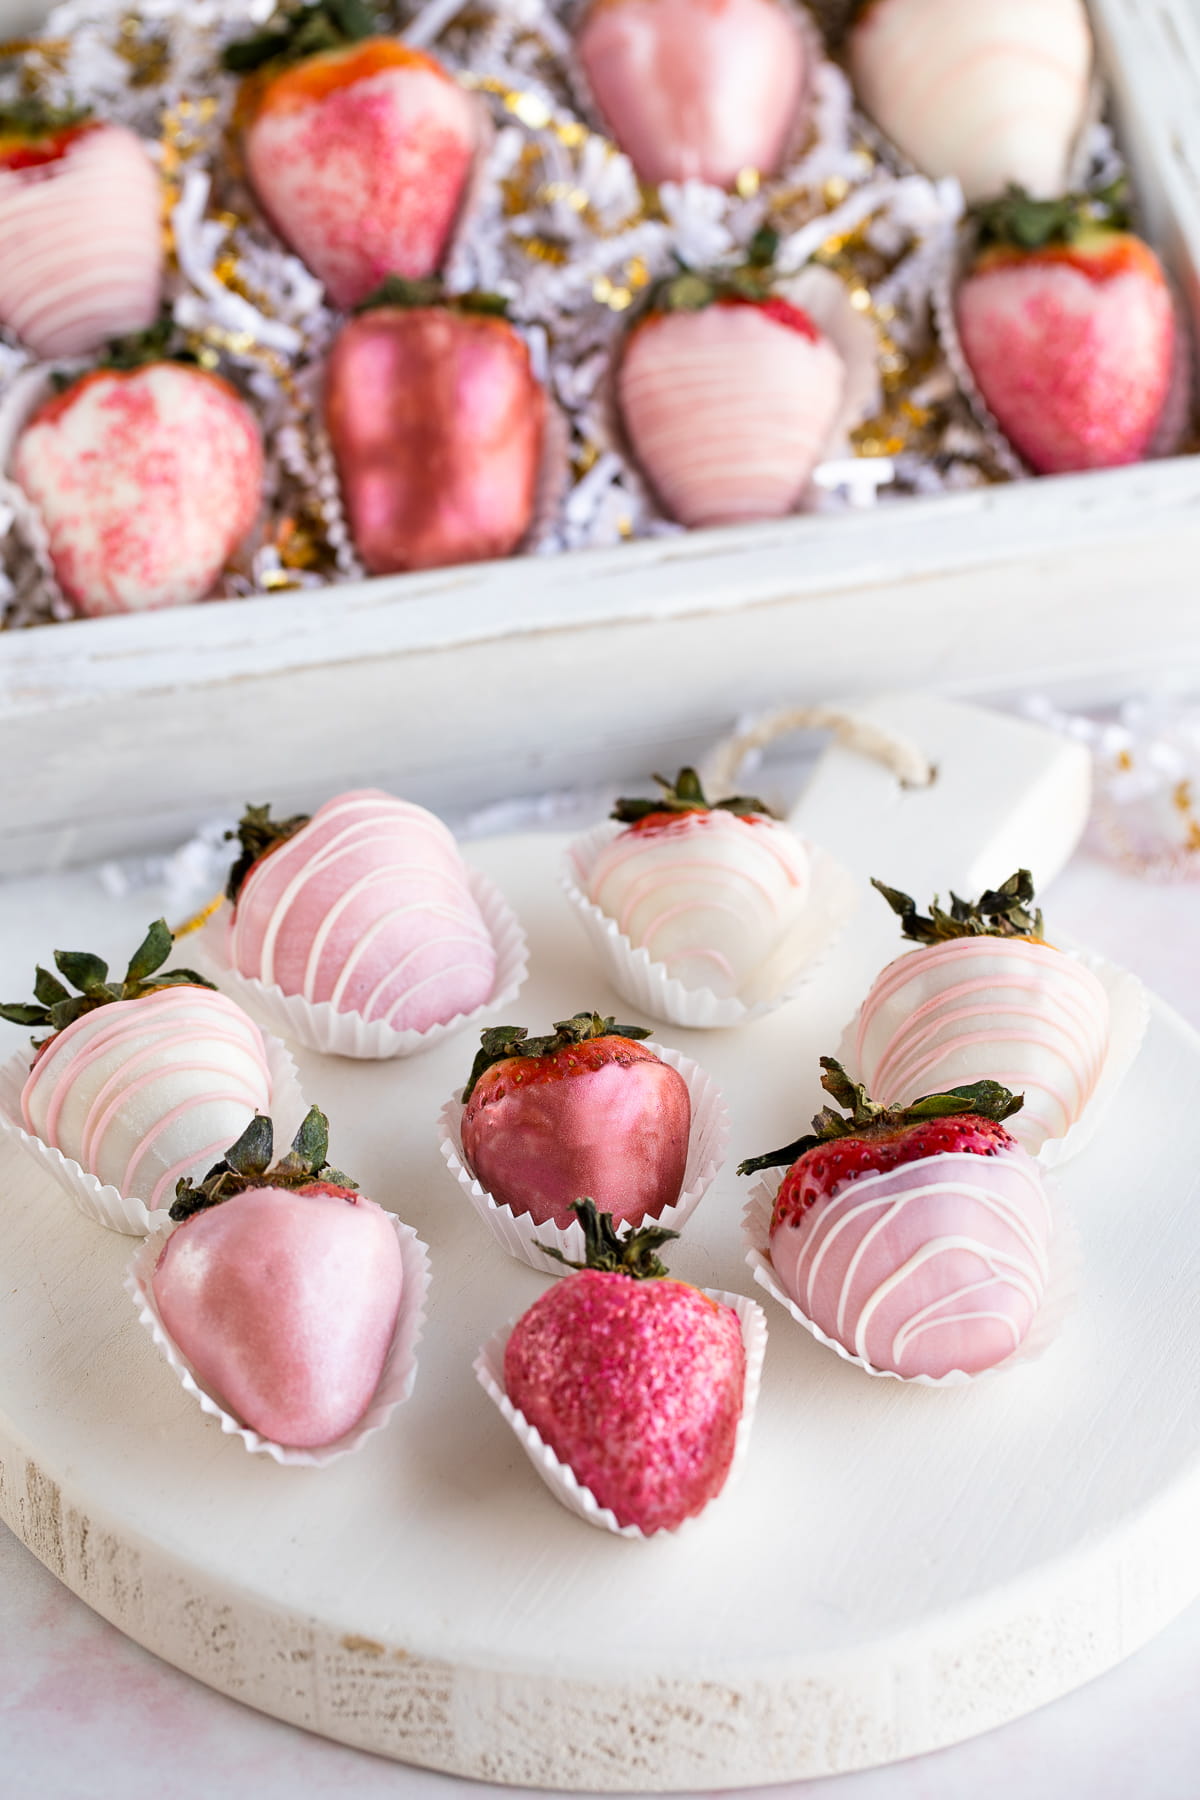
Sprinkles and Toppings: While the chocolate is still wet, add Valentine's sprinkles, heart confetti, edible glitter, crushed cookies, chopped candy, or sanding sugar. Gently press any larger decorations into the chocolate so they stick as it sets.
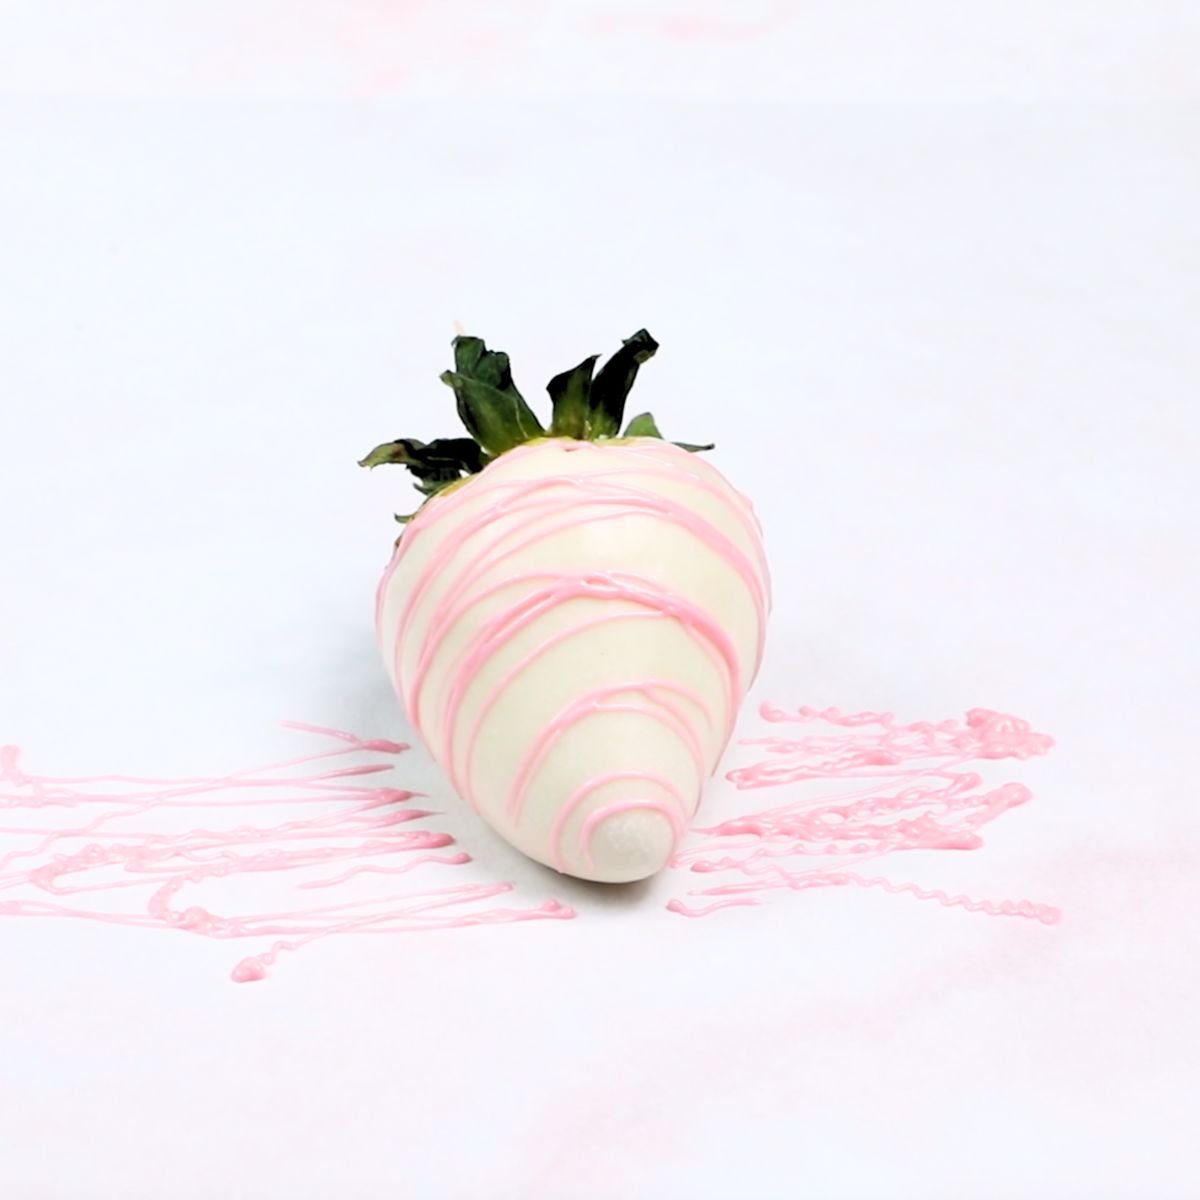
Chocolate Drizzles: Melt a contrasting color of candy melts and transfer it to a pastry bag or zip-top bag. Snip a small corner and drizzle thin lines over a dipped and dried strawberries for a classic Valentine's Day look. You can create straight lines, zigzags, or crisscross patterns for extra visual interest.
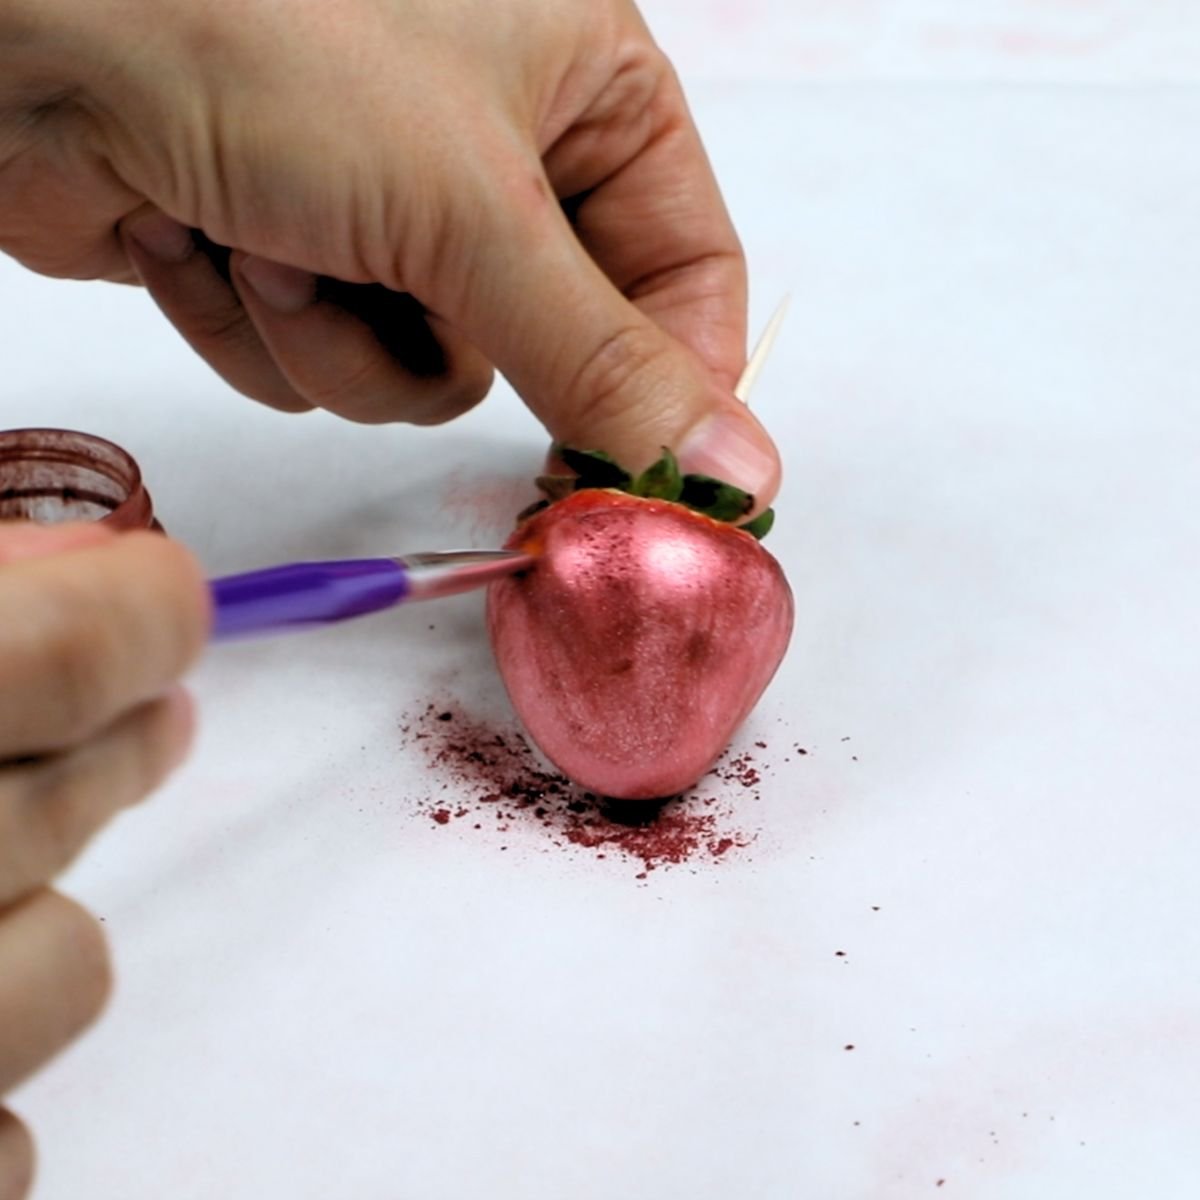
Edible Luster Dust: Once the chocolate has fully set, use a small food-safe brush to lightly dust the strawberries for a soft metallic glow. For a stronger shine, mix the dust with a few drops of clear alcohol or lemon extract and paint it on.
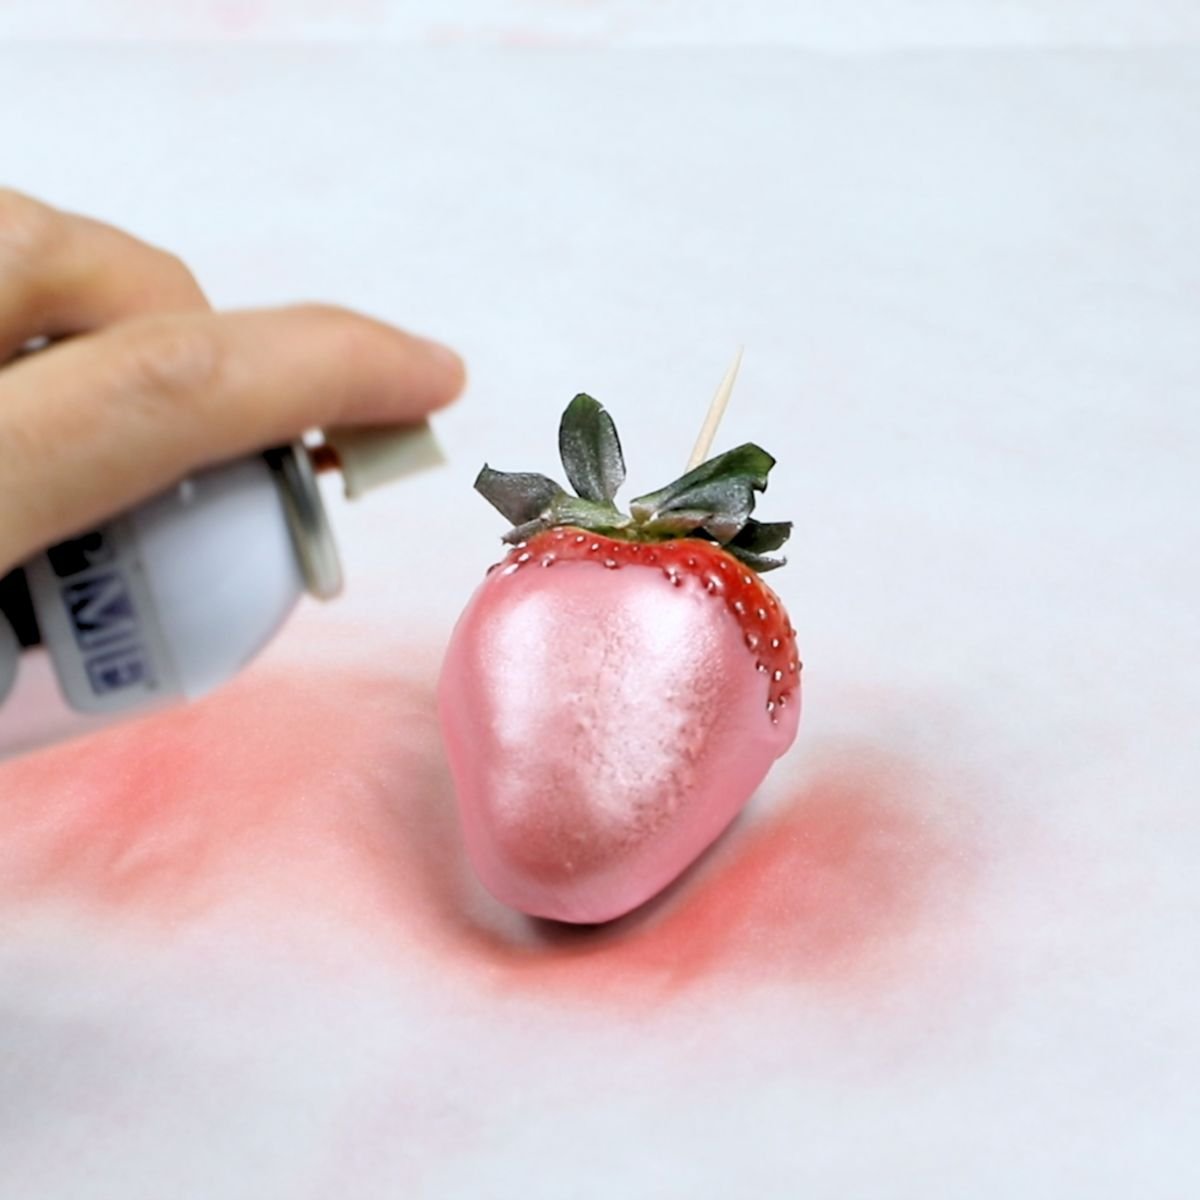
Edible Luster Spray: Place the strawberries on parchment paper, shake the spray well, and mist lightly from about 6-8 inches away for an even sparkle.
✨Tips and Tricks
- Dry Strawberries Completely: Any moisture will cause the chocolate to seize and not stick properly. Pat the strawberries dry and let them air-dry for a few minutes before dipping.
- Thin Thick Chocolate: If the melted candy melts feel too thick, stir in a small amount of vegetable shortening to create a smoother dipping consistency.
- At Sprinkles While Chocolate Is Wet: Add sprinkles and other toppings immediately after dipping so they stick properly before the chocolate sets.
- Use a Pastry Bag for Clean Drizzles: Transfer melted chocolate to a pastry bag or zip-top bag and snip a tiny corner for smooth, thin drizzles and neat designs (you can also you a spoon to drizzle for a more natural look).
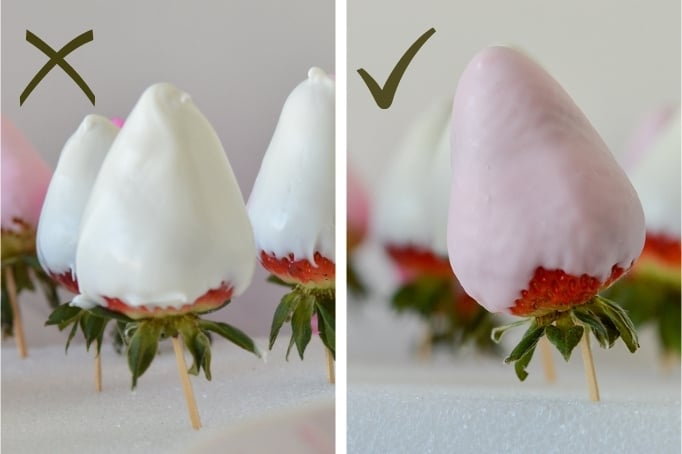
- Use a Styrofoam Board for Smooth, Round Strawberries: For perfectly round chocolate-covered strawberries, insert a toothpick into each berry and place it upright in a styrofoam board to dry. This prevents flat spots and helps the chocolate set evenly on all sides, unlike laying strawberries on parchment or wax paper.
Troubleshooting and FAQ
To keep the chocolate at the correct consistency, avoid overheating the candy melts. Overheating causes the chocolate to thicken, clump, and lose its smooth texture. Always follow the package instructions, and if using a microwave, heat in short 20-30 second intervals on medium power, stirring between each round.
If your chocolate does become too thick, you can thin it out by stirring in a small amount of vegetable shortening or coconut oil, about ¼ teaspoon at a time, until the texture is smooth and fluid again.
The ideal dipping chocolate should be thick enough to fully coat the strawberries without being overly drippy, but thin enough that any excess chocolate runs off smoothly and blends back into the coating. Test a few strawberries first and adjust the consistency as needed before dipping the full batch.
There are few reasons candy melts can get grainy:
Liquid. If the strawberries are not dry enough, they can get the chocolate rainy or cause it to size up
Adding Food coloring. If you want to dye the white chocolate, you must use candy colors not regular food coloring. Candy colors are oil base food coloring that is safe for coloring candy melts and chocolate and won’t cause it to seize up.
Yes, but regular chocolate needs to be tempered to set properly. If you don’t temper the chocolate, it melts very easily and has a dull, soft look and texture. Candy melts are easier because they don't require tempering and set up firm and glossy. As for chocolate chips, they often have additives that make them more difficult to melt to a dipping consistency.
Condensation on the chocolate will happen if the chocolate strawberries are set, or are stored in the refrigerator. It will go away once they come to room temperature.
Yes, but they're best enjoyed the same day. You can make them up to 24 hours in advance and store them in an airtight container in the refrigerator. The longer they sit, the more likely they are to start to leak strawberry juice.
Valentine’s Day Chocolate Covered Strawberries
Equipment
- Styrofoam Board optional
- Parchment Paper or wax paper
- Toothpicks or skewers
- Pastry Bags optional
INGREDIENTS
- 24 large Strawberries washed and dried
- 24 oz Chocolate Candy Melts pink and white
- Vegetable shortening optional
Instructions
- Wash and thoroughly dry your strawberries. They must be completely dry before you dip them in chocolate.
- Put toothpicks in the end of the strawberries. Lightly pull the stems back toward the toothpick so they don’t get into the chocolate.
- Melt your chocolate according to directions.
- Holding on to the toothpick, drip the strawberries in the chocolate, allowing excess chocolate to drip off or wipe off on the edges of the bowl.
- If adding sprinkles or other topping, add now while the chocolate is melted.
- Either place the berry on parchment paper or put the end of the toothpick into the styrofoam to allow the strawberries to dry upside down.
- Once dry you can continue to decorate with edible luster spray or edible luster dust. You can also add a different colored melted chocolate to a pastry bag and drizzle over the dried strawberries.
- Once completely dry, remove the toothpicks and enjoy.
Video
Notes
- Do not add liquid or gel food coloring to white chocolate or it will seize up and get grainy. If you want your strawberries a specific color be sure to buy chocolate melts in that color or use candy colors, which are oil based.
- Your strawberries must be completely dry before you dip them in chocolate. If there is any water it could cause the chocolate to seize. Plus, the chocolate will not stay as well on the strawberries.
- Depending on what type of chocolate you use, you might need to thin it to a dipping consistency, by adding shortening 1/4 teaspoon at a time and mixing until combined.
- If you don't want to bother using toothpicks and buying a styrofoam board, you can place the covered strawberries directly on parchment paper, wax paper, or a silicone mat to dry.
- For danything that needs to stick to the chocolate such as glitter, cookies, and candy, make sure to put it on the chocolate when it is wet.
- These are best the day they are made. But, they will last about 12 hours at room temperate out or 1-2 days in the fridge, although after 12-24 hours they can start to leak strawberry juice (but still taste fine).




Lyn Maxwell says
Great idea which I am using..
Jessica says
How did you get that shade of pink with your chocolate? Did you add white to it?
Thanks in advance
Sophia says
Hi Jessica, unfortunately you can’t add food coloring to white chocolate or it will seize, so you want to use chocolate melts in the colors you want your strawberries. For some of the pink chocolate I added a tiny bit of rose gold luster dust, which gave it a slightly different hue and the rest of the pink I covered in the same luster dust or sprayed with luster spray after they dried.
Shivani Raja says
These are TOO pretty! I especially love the ones coated in luster dust – how glam are they?!
Gloria | Homemade & Yummy says
These are super pretty. Perfect for Mother’s Day, bridal showers…and just to make something fancy and delicious as a take along to a party. Always a hit. Presentation perfect.
ali randall says
What pretty strawberries and perfect for a brunch or shower. Strawberries are coming into season soon and these would be ideal with fresh picked strawberries. Love this idea!
Dannii says
This is one of my favourite desserts and so easy to make too. I am craving them now!
Caroline says
Chocolate covered strawberries are such an easy and delicious treat – I love the different decorations you have here.