Also known as Russian buttercream, this easy sweetened condensed milk frosting uses only two ingredients and can be made in 15 minutes!
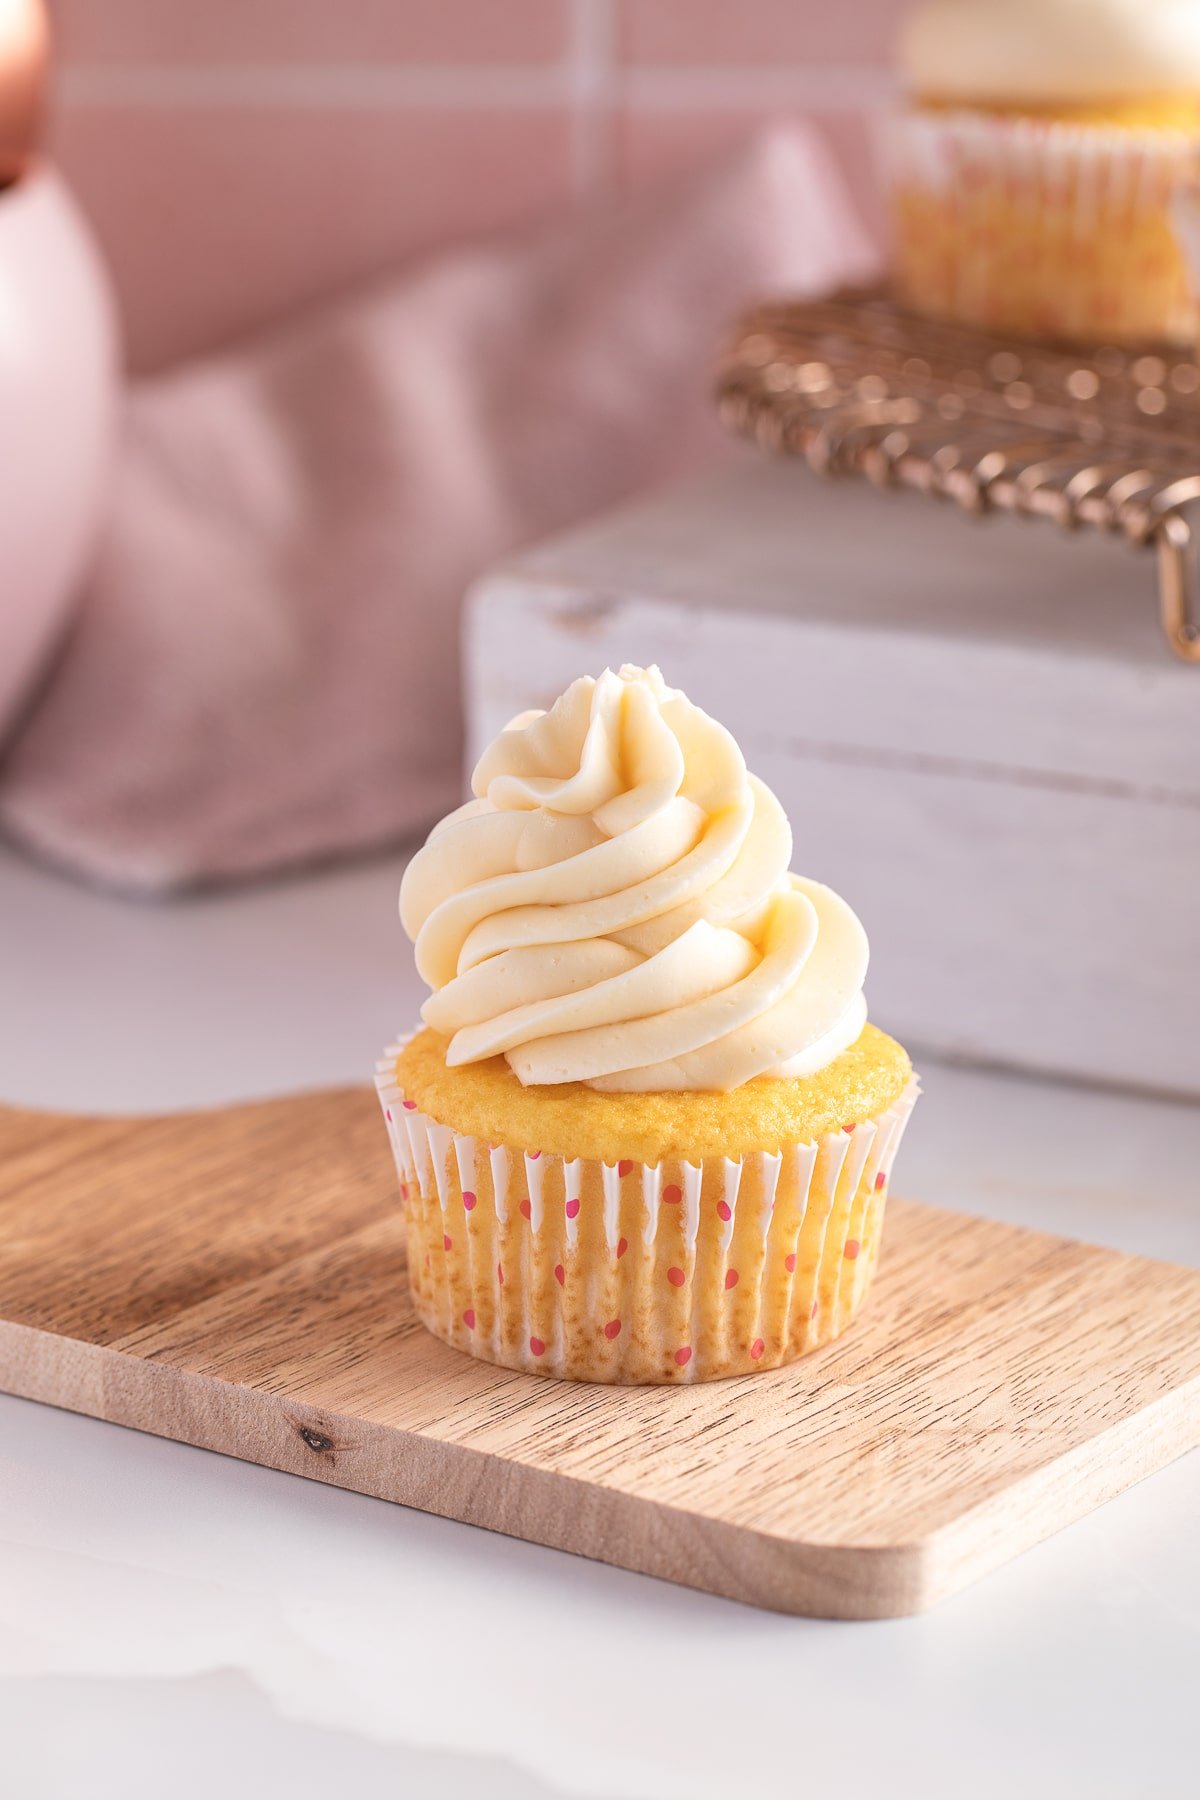
This frosting is so easy! Plus, it looks so decadent and silky. Because it uses sweetened condensed milk instead of powdered sugar, it has a rich whipped cream flavor very similar to Ermine Frosting. But, there is no flour in this recipe so it is gluten free.
And, while there are only a two main ingredients there are a few tips and trips to get perfectly silky smooth sweetened condensed milk buttercream, every time!
Ingredients
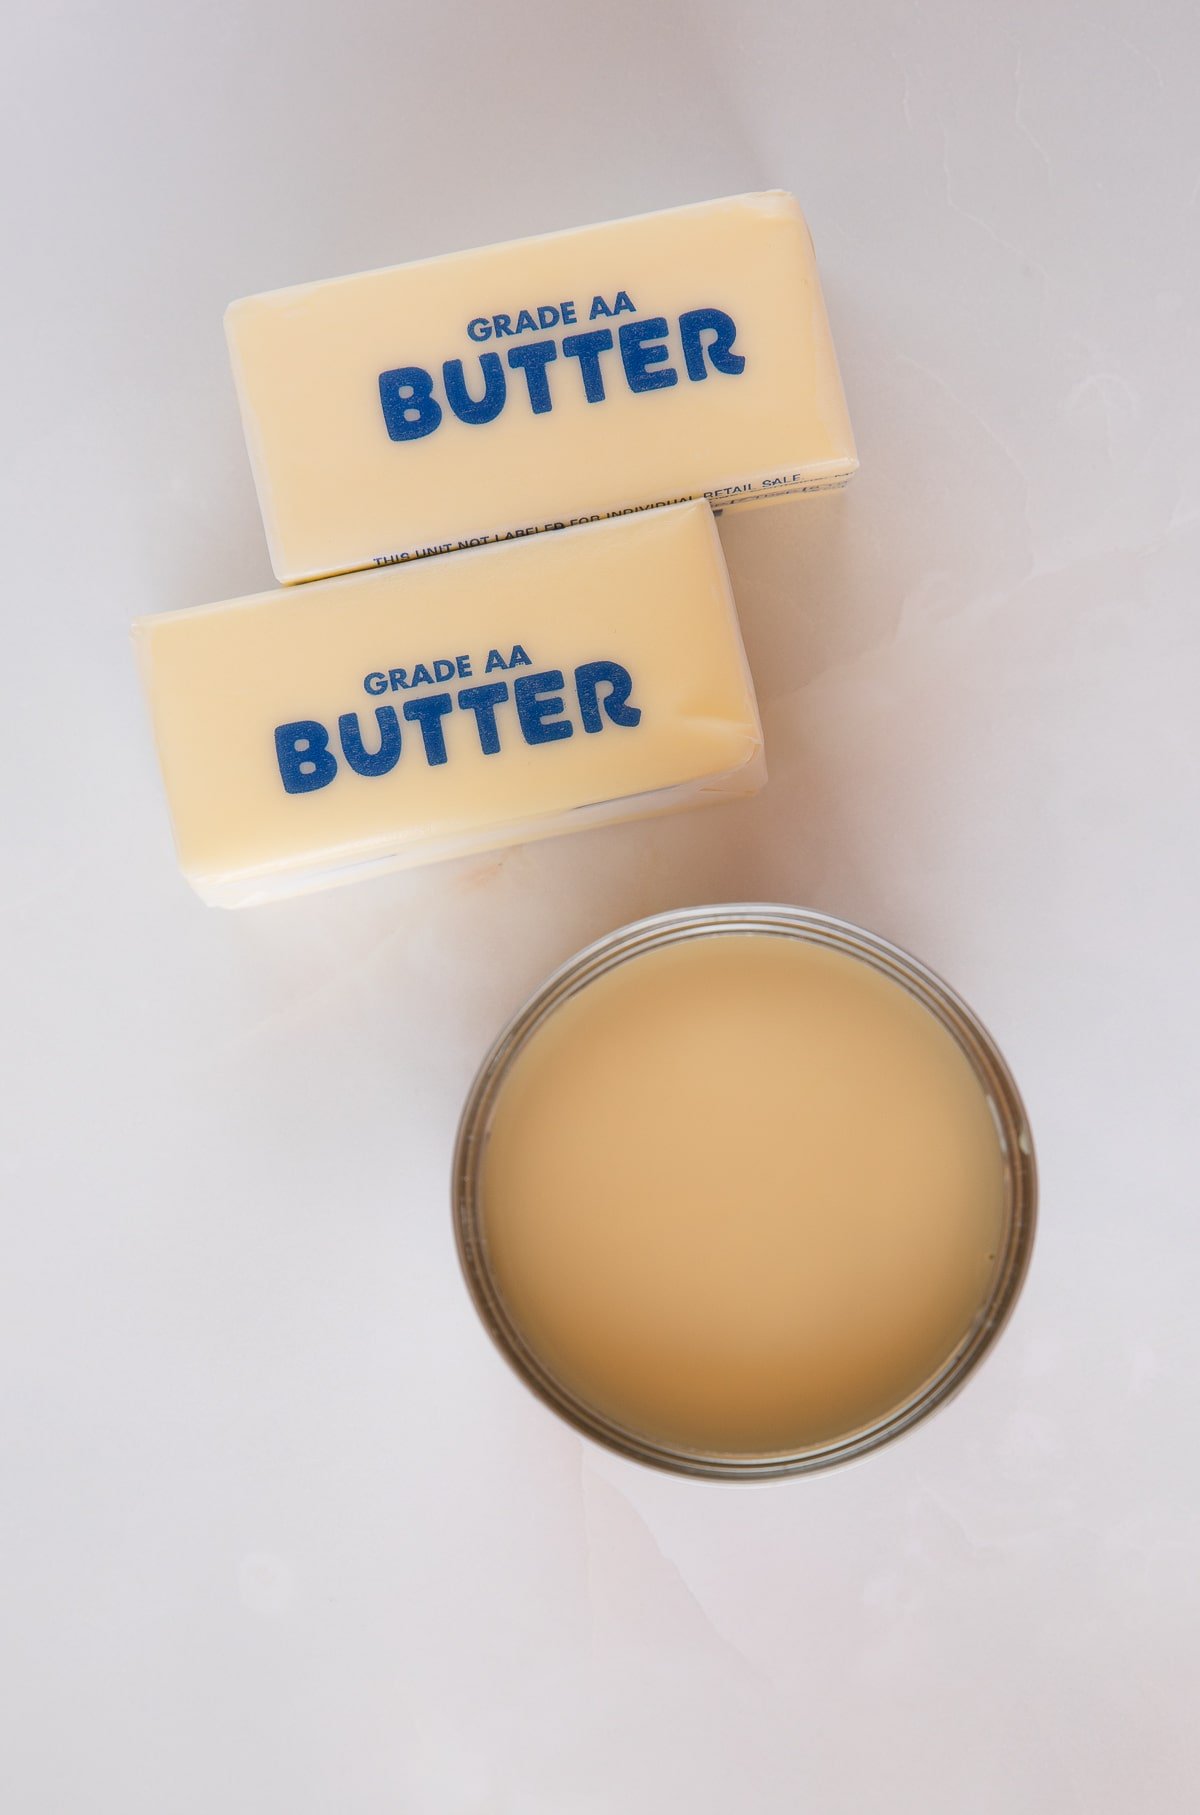
The main ingredients are sweetened condensed milk and unsalted butter. That's it!
But, you can add a pinch of salt, vanilla, or other flavorings to your liking. You can also use dulce de leche in place of the sweetened condensed milk for a more caramel frosting flavor. Delicious!
How to Make
Step 1: Whip Butter
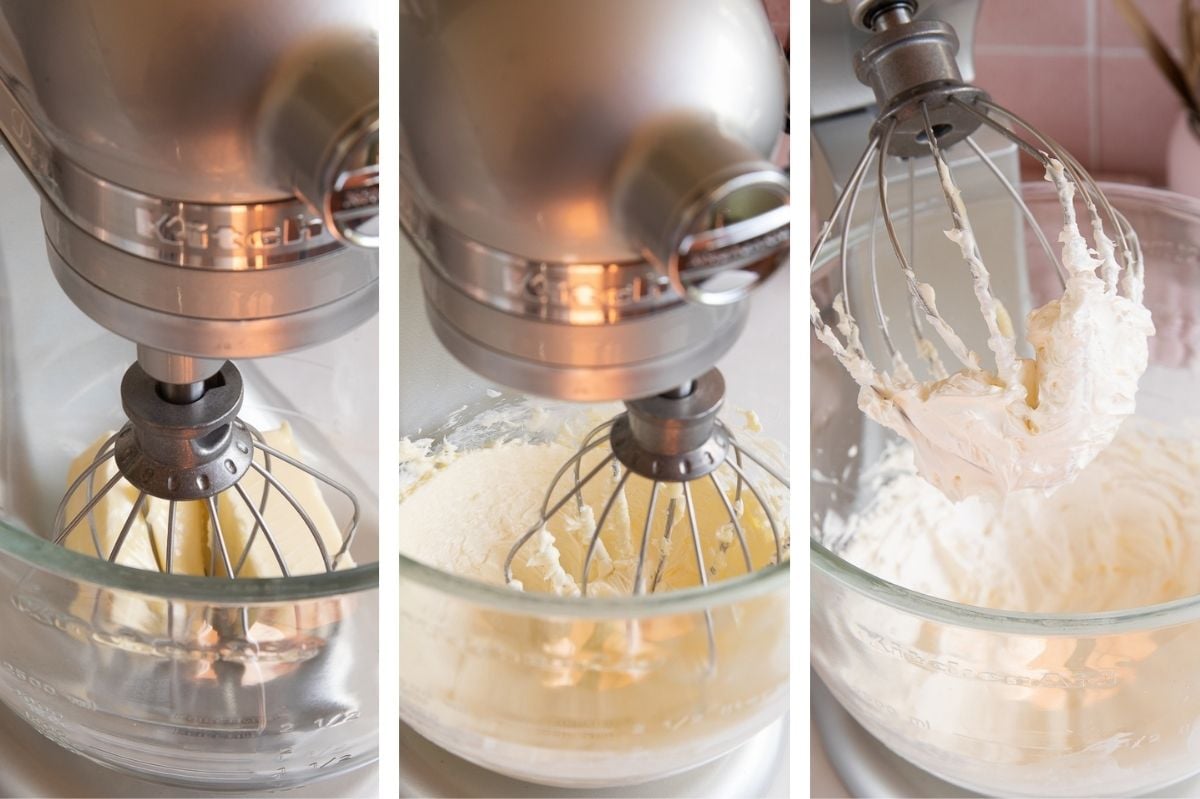
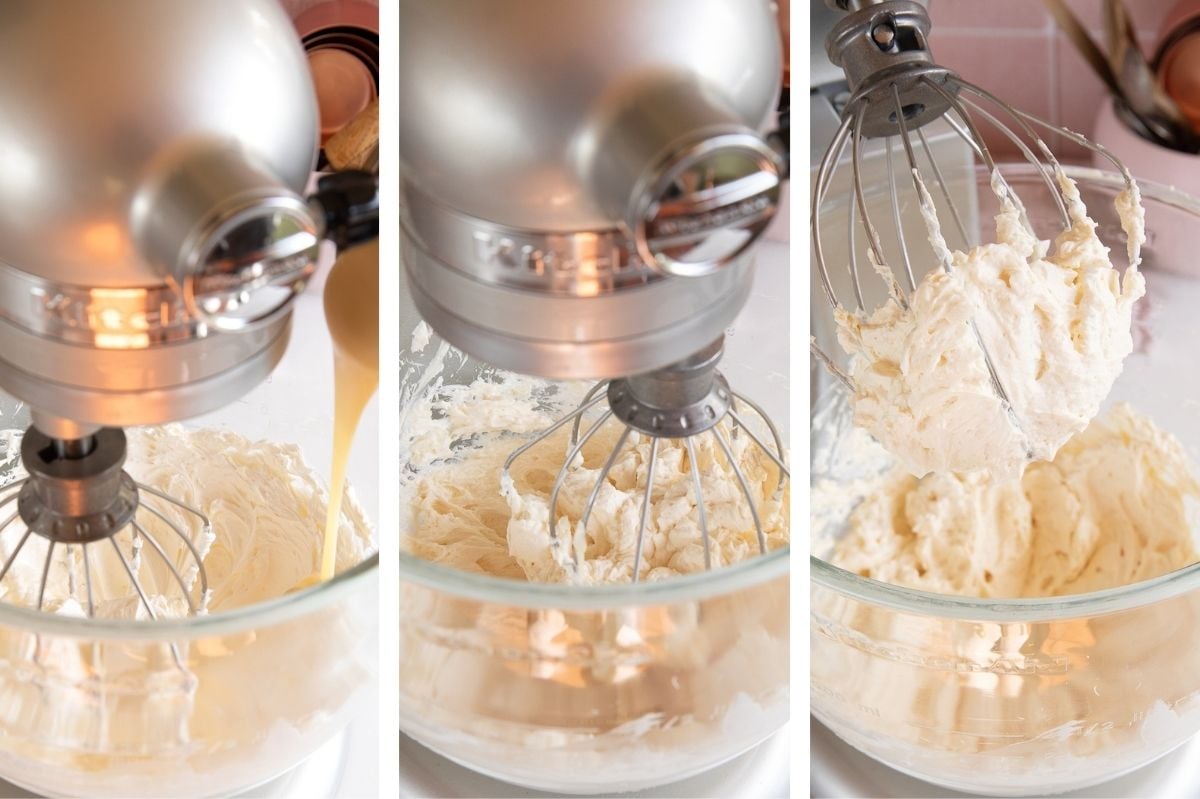
This frosting is so simple. First, beat the softened butter for about 8-10 minutes on high speed. If you’re using a standing mixer, crank it up to 8-10. This really helps get it fluffy. You can see below it will go from creamy and buttery to very light and pale, and almost triple in size.
Step 2: Slowly Add Sweetened Condensed Milk
Once the butter has been whipped, slowly add the sweetened condensed milk in 3 or 4 additions, mixing in between each addition. Then, add any optional salt and extracts and remix and you're ready to use this condensed milk frosting on your favorite desserts.
Tips for perfect sweetened condensed milk frosting, every time!
- Make sure your butter is at room temperature. You want it softened so it can properly incorporate the condensed milk.
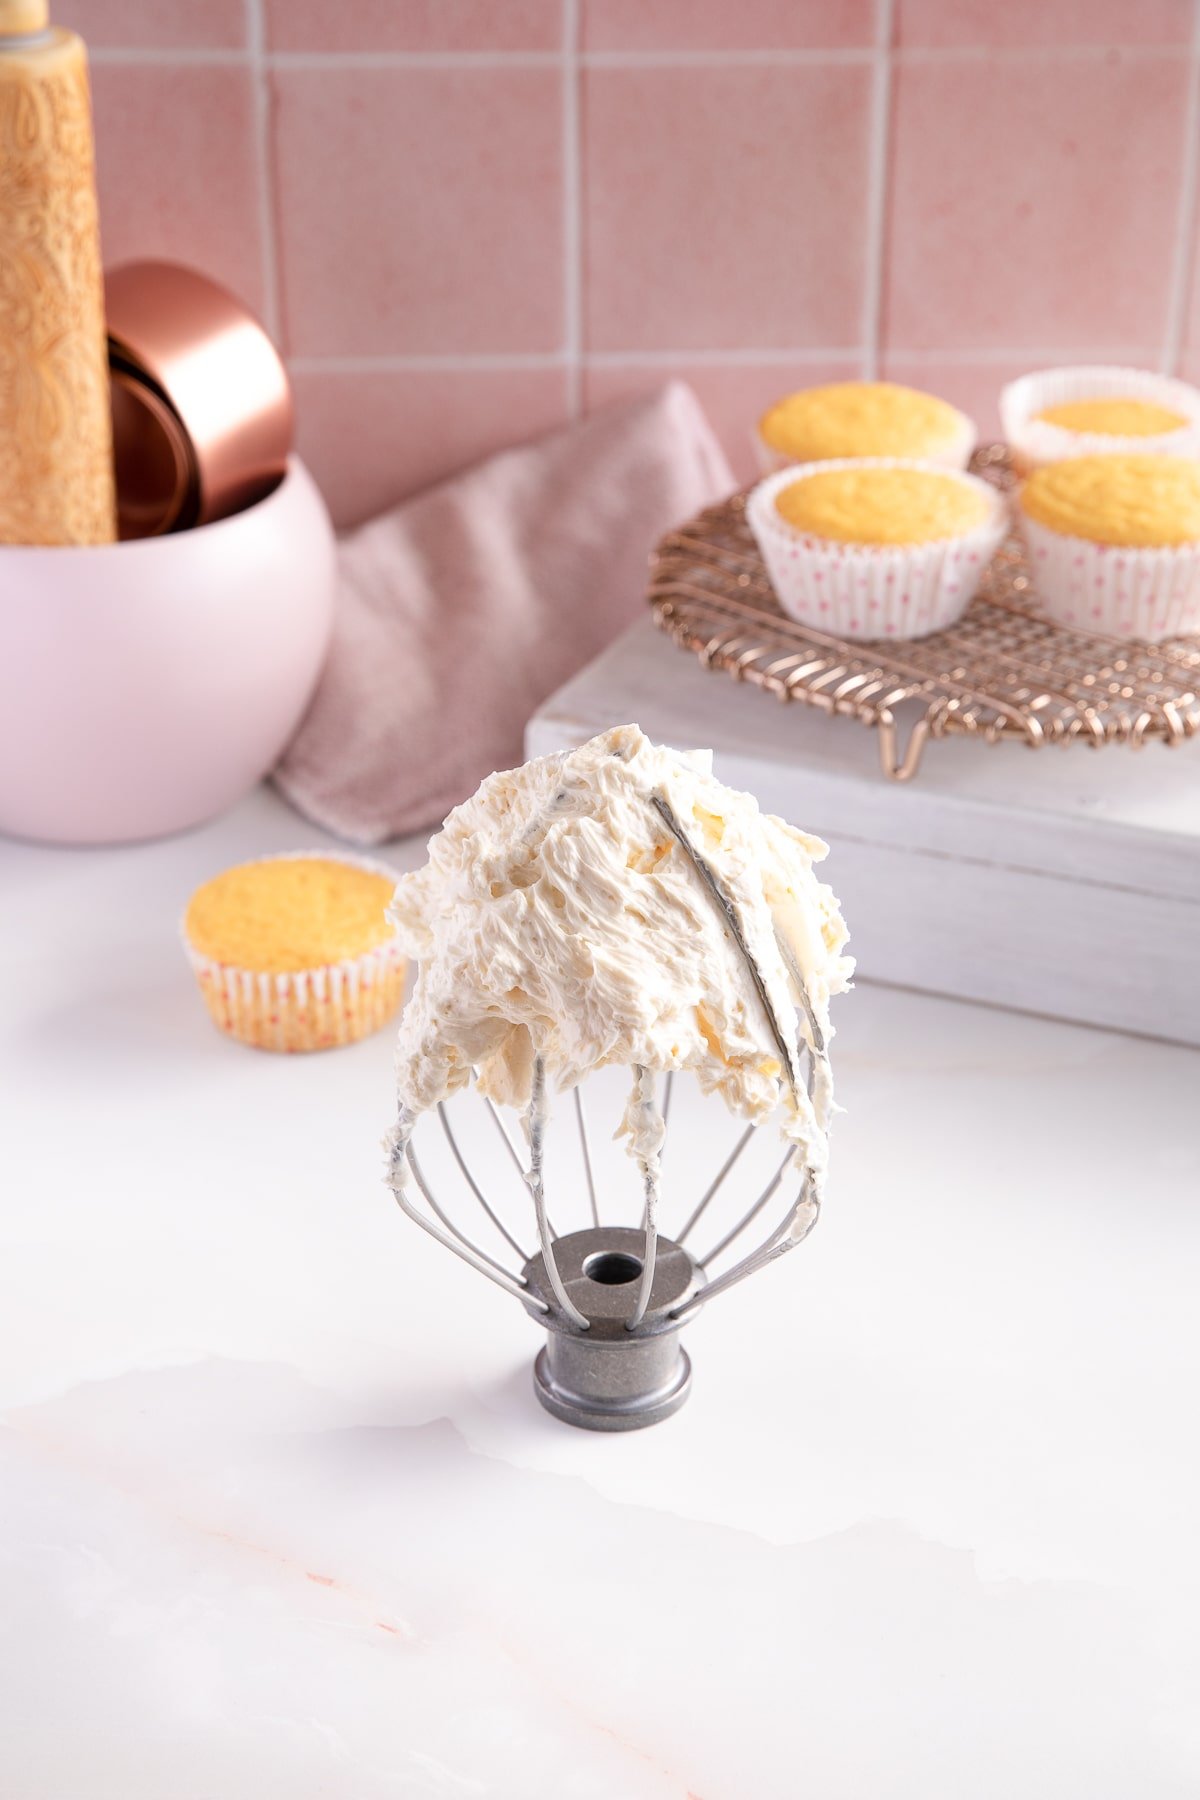
- Make sure to whip the butter for the full 8-10 minutes before adding the milk. You want it to be very pale and almost triple in size. If you don’t whip it long enough, it will get runny when adding the milk.
- Add the sweetened condensed milk slowly, in 3 or 4 batches, mixing in-between in addition.
- You do not need to add all 14 oz of Sweetened Condensed Milk. Just watch the frosting consistency and try the frosting for flavor. If you’re happy with it, you can stop (I stop sometimes with a few tablespoons left – which is great in coffee!)
- If the frosting starts to look separated or curdled, put in the fridge for 15-20 minutes, then rewhip. Similar to Swiss meringue buttercream, it should come back together into a smooth frosting.
- You can easily color this frosting with food coloring. I highly recommend gel food coloring for more vibrant colors that will not add any extra liquid to the buttercream.
- If piping the frosting on cakes and cupcakes, it can help to chill the frosting in the fridge 10-20 minutes before piping the frosting as you would cream cheese frosting.
FAQ
I’m not going to lie, having a standing mixer really helps for this recipe. If you do not have one, you can use a hand held mixer, but make sure you are mixing until the butter triples in size.
With a standing mixer that is about 10 minutes, and with a hand held mixer it could be closer to 15 or 20 minutes of mixing. So, you might need to take some breaks from holding the mixer if you need to! That’s fine, the butter is not going anywhere. Just make sure to whip until the butter is very pale, and almost tripled in size before you add the sweetened milk.
The reason this frosting doesn’t thicken up is because the butter wasn’t whipped long enough to begin with. You really, really need to make sure it is nice and fluffy and big. Big butter energy is what we are going for.
If it’s not whipped enough, it will not be able to incorporate the sweetened condensed milk. If you’re using a hand held mixer, see the FAQ above for tips to make sure it is whipped enough.
And know, you do not need to add all the sweetened condensed milk to the butter! If you’re happy with the consistency and flavor of the frosting, you can stop adding (sometimes I stop with a few tablespoons left of sweetened condensed milk. It’s totally fine and then you add the rest of the milk to a cup of coffee for a delicious treat!).
This can happen if the frosting gets too warm. But, there is an easy fix. Pop the bowl of frosting the fridge for 15 minutes to firm up. Then, remix and similar to Swiss Meringue Buttercream it will come back together (just keep mixing!)
Yes, this recipe is very freezer friendly. It will last up two months wrapped tightly or in an airtight container in the freezer.
Fun Variations
After you’ve mastered making sweetened condensed milk frosting, you can jazz it up in all sorts of ways:
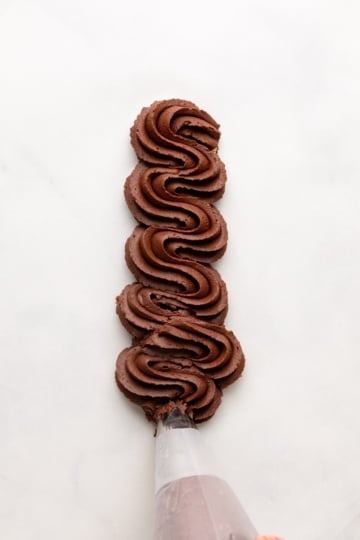
- Chocolate Russian Buttercream: Mix in 1/2 cup sifted cocoa powder or melted and cooled chocolate.
- Coffee Flavored: Mix 2 tsp espresso powder or instant coffee and 1-2 tsp hot water. Let cool and then mix into the frosting. The flavor goes great with sweetened condensed milk!
- Add-ins: Like traditional buttercream frosting, you can add all sorts of mix-ins like chopped Oreo Cookies, chocolate chips, coconut shreds, sprinkles, or fun extracts like birthday cake, almond, or orange, etc.
Storing Frosting
Russian buttercream is so easy to make, it's best the day it is made but it will last up to a week in the fridge in an airtight container or up to two months in the freezer.
If making ahead of time, let come to room temperature and then rewhip before using.
Frosting Cakes and Cupcakes
This recipe makes 2.5-3 cups frosting. This is enough to cover about 18-24 cupcakes (depending on how much frosting you use) or a 9×13 inch cake.
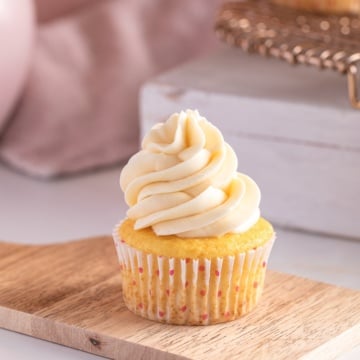
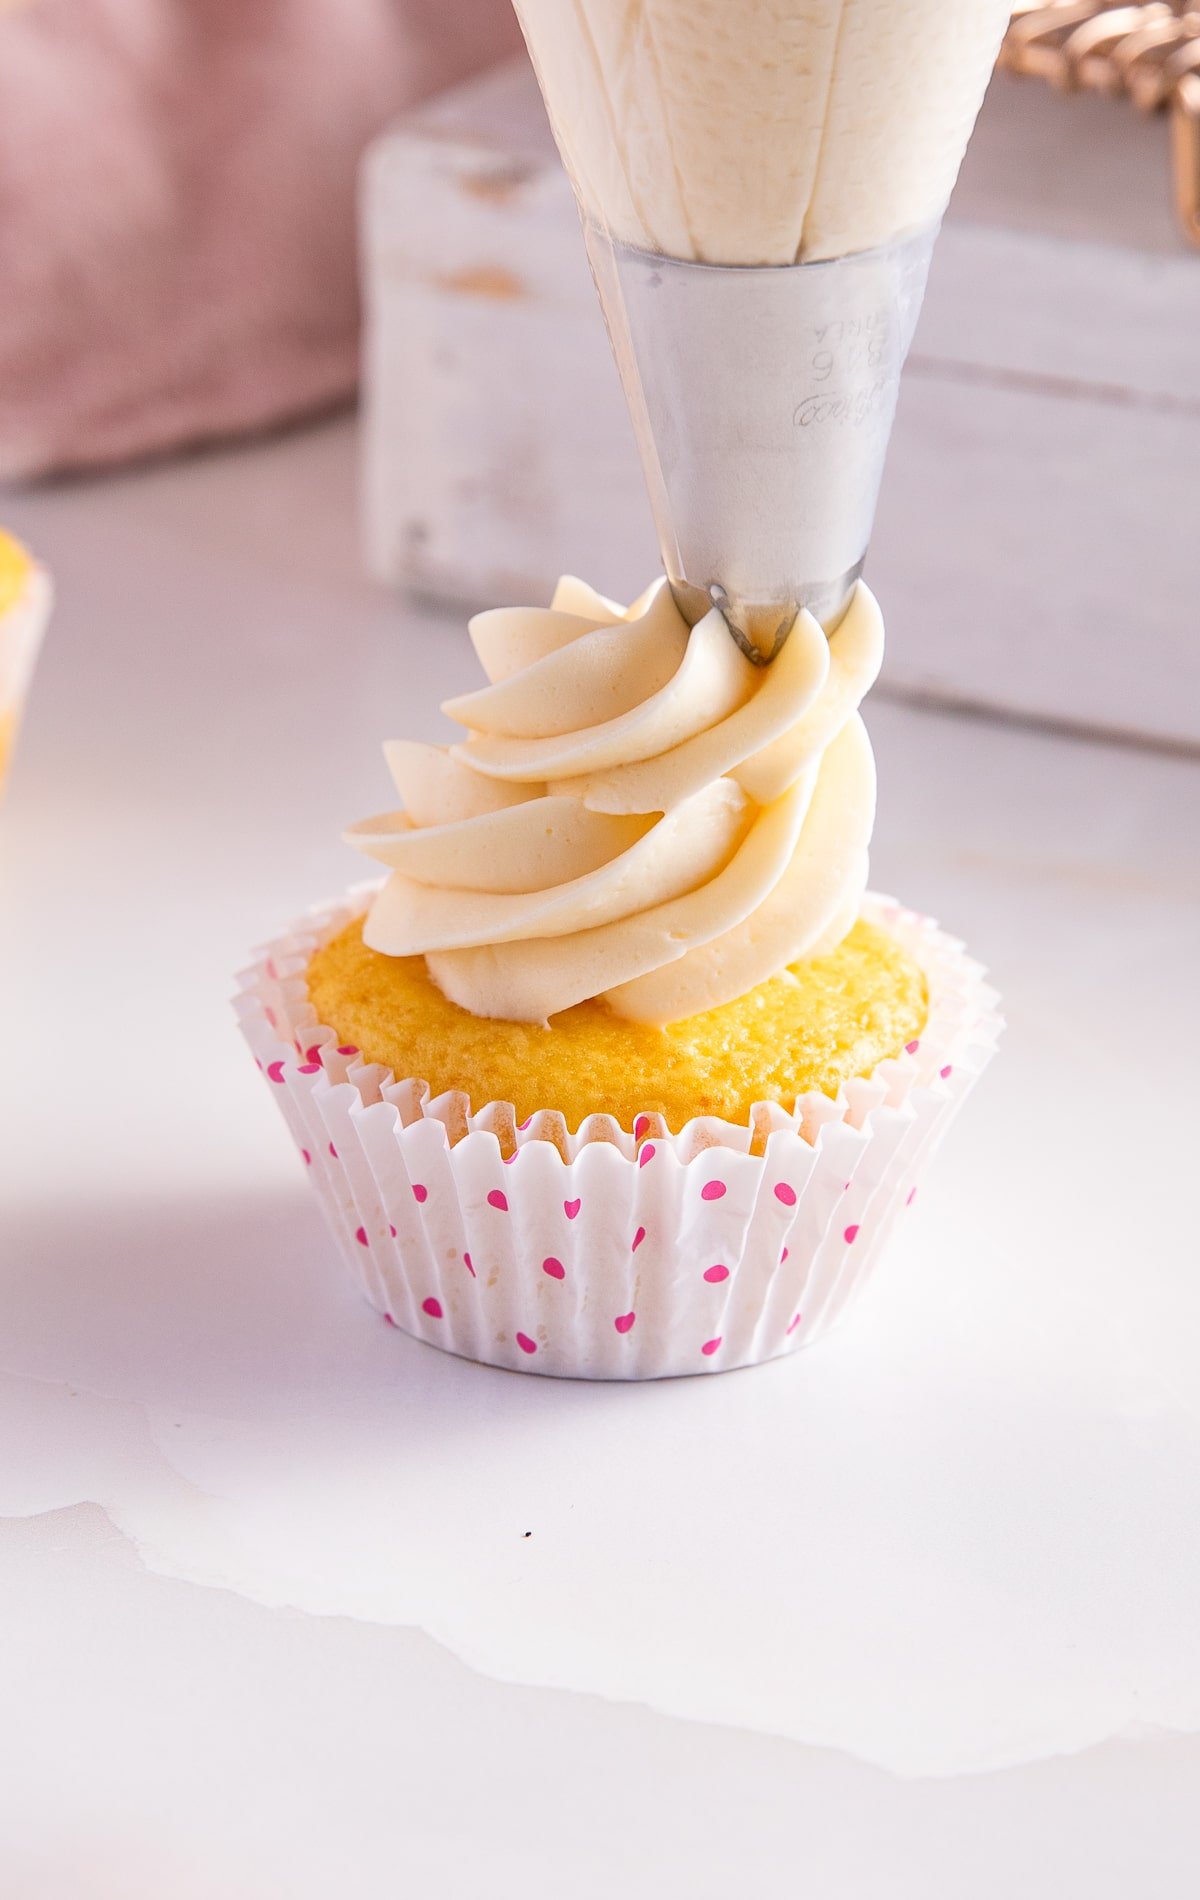
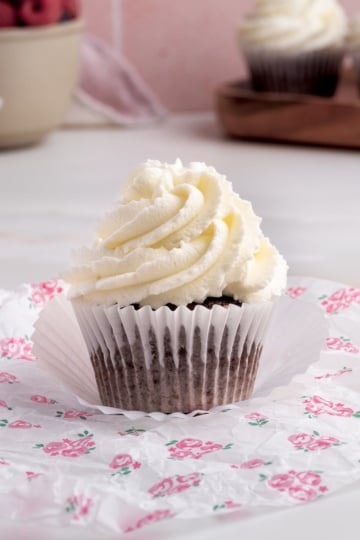
This frosting is very light and airy and as you can see it the pictures, it pipes beautifully without any powdered sugar.
But, if you do want a thicker frosting, you can add powdered sugar, ½ cup at a time, until your desired consistency.
Looking for more unique frosting recipes? Check these out!
- Mint Chocolate Chip Frosting
- Cake Batter Frosting
- Cookie Dough Frosting
- Chocolate Cream Cheese Frosting
Sweetened Condensed Milk Frosting (Russian Buttercream)
Equipment
- Standing or Hand Held Mixer
INGREDIENTS
- 1 cup unsalted butter room temperature, see notes if using salted butter
- 1 14 oz can sweetened condensed milk
- 1 tsp vanilla extract optional
- ¼ tsp salt optional
Instructions
- Using a whip attachment with a standing mixer or hand held mixer with a large bowl, whip softened butter on high for about 10 minutes until very pale and light and fluffy. It should almost triple in size. Scrape down the sides of the bowl with a rubber spatula as needed to ensure all the butter is whipped.
- Once the butter has been whipped, slowly add the sweetened condensed milk in 3 or 4 additions, mixing in between each addition, scraping down the bowl with a spatula as needed. Watch the consistency and try for flavor. You do not need to add the whole 14 oz can if you're happy with the flavor and consistency.
- If the buttercream looks separated or curdled, place in the fridge for 15-20 minutes and then re-whip. It should come back together to a smooth frosting.
- Mix in optional vanilla and salt and it's ready to use on your favorite cakes and cupcakes.
Notes
- If using salted butter, omit any extra added salt.
- Make sure your butter is at room temperature. You want it softened so it can properly incorporate the condensed milk.
- You can easily color this frosting with food coloring. I highly recommend gel food coloring for more vibrant colors that will not add any extra liquid to the buttercream.
- If piping the frosting on cakes and cupcakes, it can help to chill the frosting 10-20 minutes before piping the frosting.
- This recipe makes 2.5-3 cups frosting. This is enough to cover about 18-24 cupcakes (depending on how much frosting you use) or a 9×13 inch cake.
- Russian buttercream is so easy to make, it's best the day it is made but it will last up to a week in the fridge in an airtight container or up to two months in the freezer.
- If making ahead of time, let come to room temperature and then rewhip before using.
- Looking for more reviews? Most people find my site through Pinterest you can read 100s more reviews of this recipe on this PIN!


Susanne says
This!
This is my new go to. No fuss, no muss. I used Dulche de Leche condensed milk. O M G.
Amaaaaazing!
Thanks Sophia
Dm says
anyway to save it if it gets too thin/runny? tia
Adam says
New favourite frosting. Will use again. Didn’t measure, didn’t fully read recipe instructions, didn’t time, didn’t know how to use our standup mixer correctly…came out perfect!
Sophia says
haha love to hear this! so glad you liked it!
shanita says
Delicious! I used country crock vegan butter and it whipped up in about 8 minutes. Way better than American buttercream. Next time I may add cocoa powder or chocolate sauce for a chocolate version. Thank you.
Rafio says
This is so fluffy and delicious. I do think it helps to have a standing mixer. I put a timer on to go the full 10 minutes. That would be hard with an electric mixer. I also added the condensed milk very slowly. I split the frosting in half and added dutch processed cocoa to one half for the outside of the cake and lingenberry syrup to the other half for the inside of the cake. Neither one made the frosting too watery.
Marlene Bernardi says
Can I use a drip icing on this condensed milk frosting if I add the powdered sugars to it?
Rose says
Putting in the fridge before piping the icing, is it inside the piping bag already or simply in its container? Thanks so much! ❤️
Sophia says
either way works!
Ronel says
I find it’s better in a container. In the icing bag it gets pretty stiff quickly at the opening. If it’s in a container you can give at a quick stir and it will pipe better
Christina says
Followed tips and tricks. Nothing worked. Mealy, curdled, runny.
DeAnna says
I understand your frustration. It took me a number of cakes before I got it right. You really have to let that butter go until it’s whipped nice and fluffy. I started whipping around 5 minutes and ended up with a mess. Now I whip almost a full ten minutes and get a great result. I never gave up because I think this icing beats American buttercream by a mile. So yummy!
DmB says
any way to salvage if turns out too thin/runny? tia