This tutorial will give you step by step instructions on how to make your own Instagram worthy mini bento lunchbox cake at home!
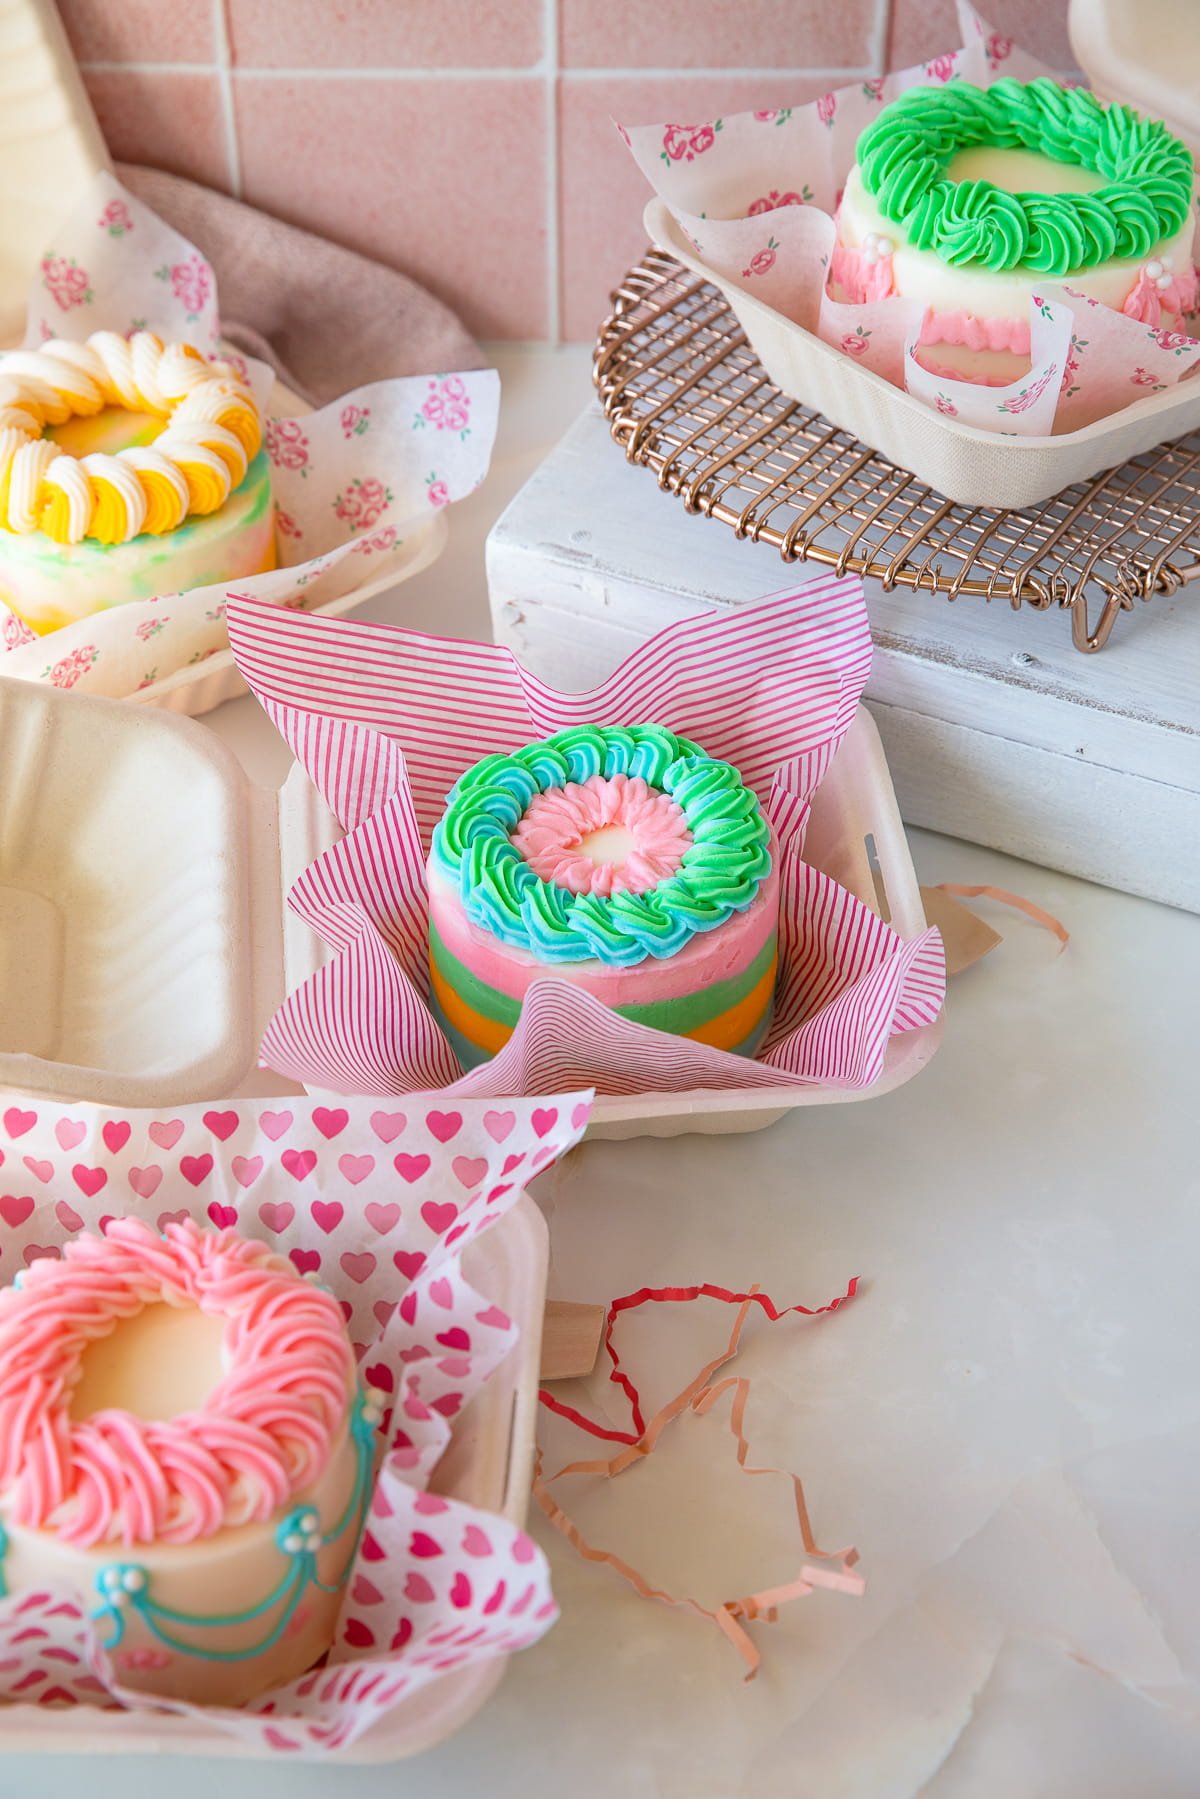
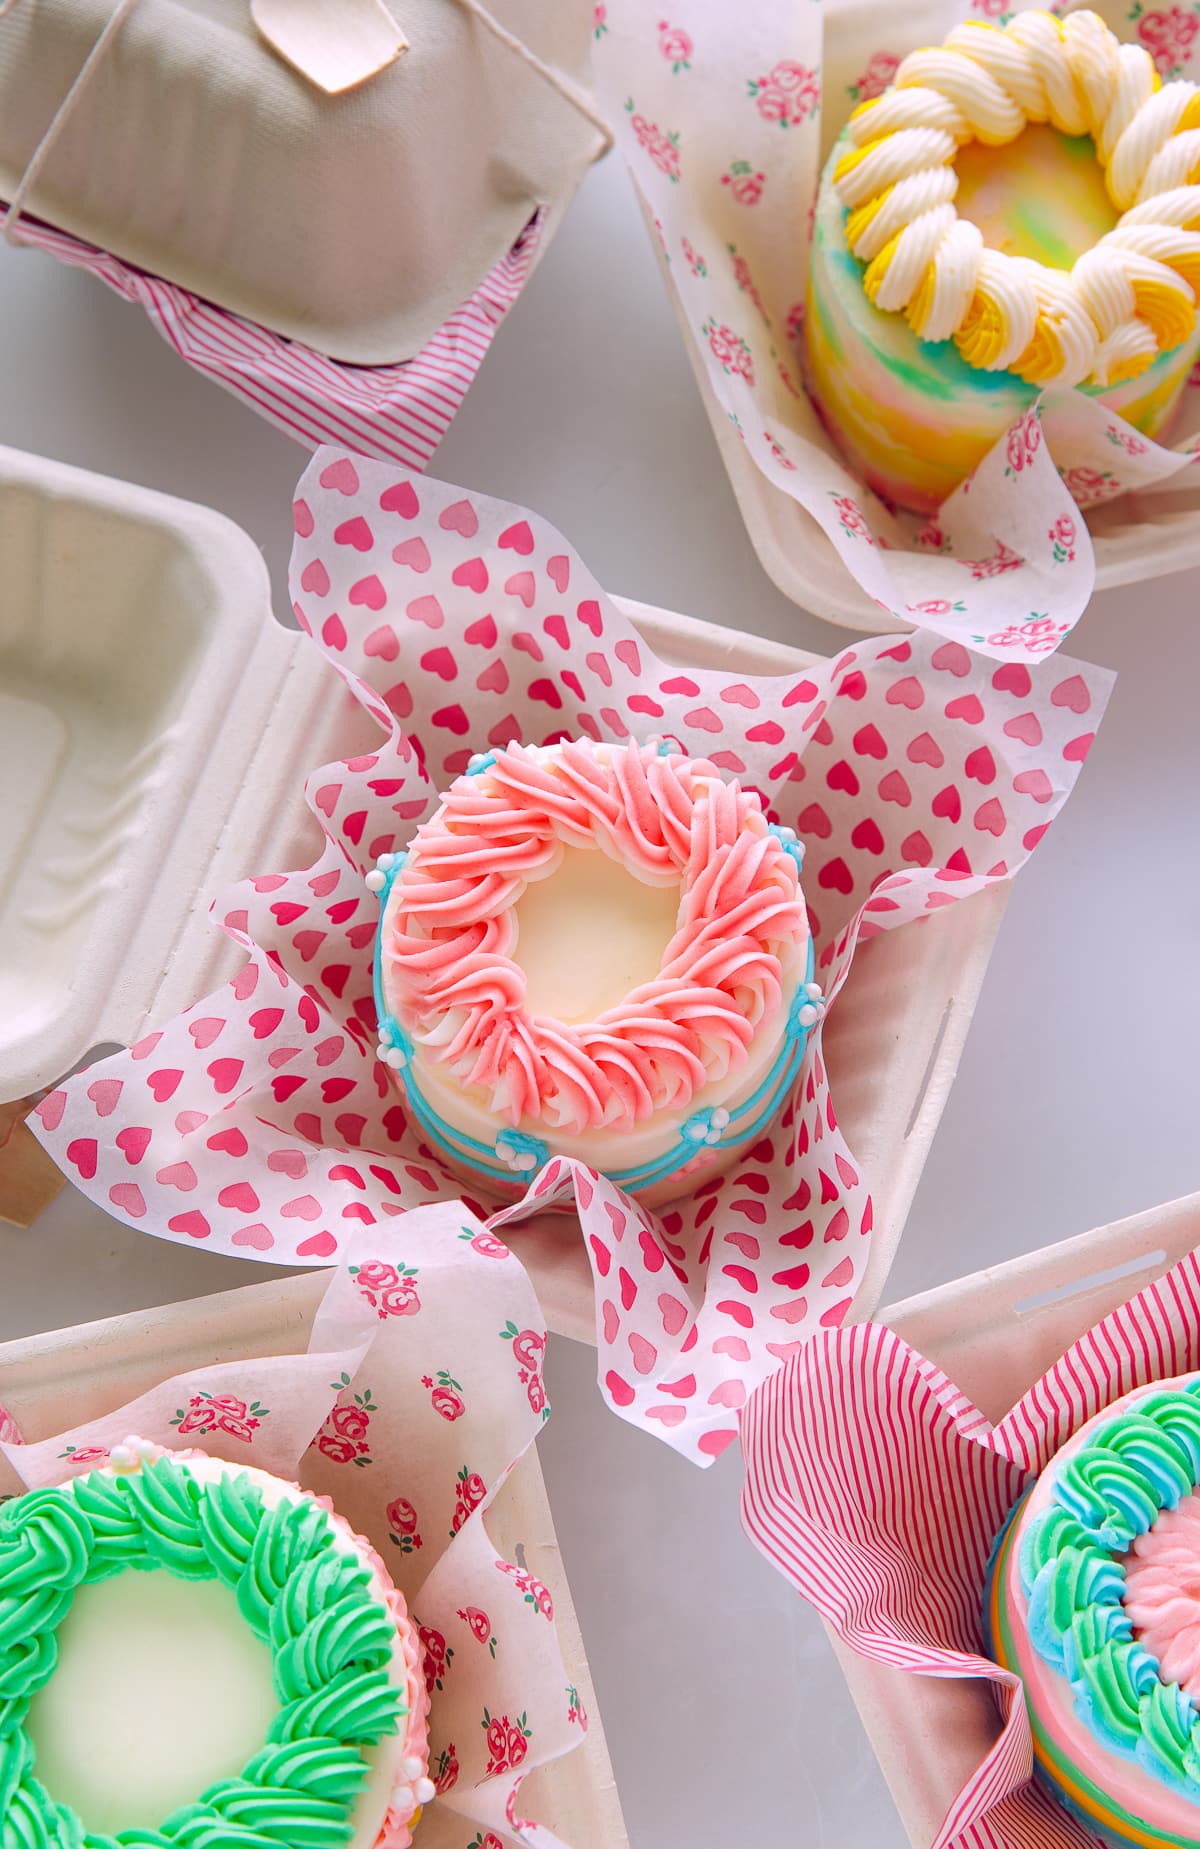
These adorable cakes are completely customizable and picture perfect – probably why they’re all over Instagram and Pinterest!
Because of their size and the fact they're so portable, these make great gifts. Birthdays, Christmas, anniversaries, weddings or showers – they're a cute and customizable treat for your next event. Plus, they’re super fun to make and you can get as basic or elaborate in making them as you want!
Tools and Ingredients
Ingredients:
- Cake: this works with your favorite cake recipe as long as it’s baked in a large flat pan or mini cake pans. Easy devil’s food chocolate cake, vanilla cake, strawberry cake, champagne cake, it all will work!
- Frosting: you can also use your favorite frosting recipe. I recommend 1.5 to 2 batches of frosting per large pan of cake.
Tools:
- Rimmed Baking Pan or Mini Cake Pans
- Non-Stick Baking Spray
- Regular or Decorative Parchment Paper
- Clamshell Containers
- Knife, Spatula, or Bench Scraper
Optional:
- Cake Turn Table: helps with frosting a smooth layer cake with even sides
- Shelf-liner: If using a cake turntable, shelf liner or some type of non-stick pan keeps the parchment from sliding all around the cake turntable
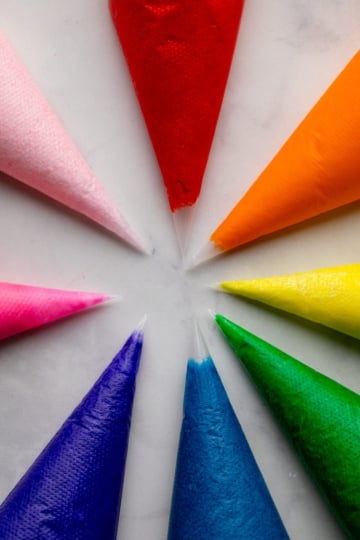
- Food Coloring: for frosting. I recommend gel food coloring for more vibrant colors
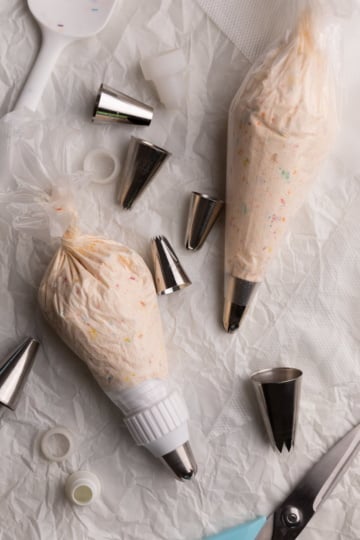
- Pastry Bags and Tips: for adding extract decorations on the cakes
- Circle Cookie Cutters: For cutting the cake if baking in a large pan. These are my favorite because they come in all different sizes so they will be sure to fit whatever size clamshell container you get. You can also cut the cake with a knife around a homemade stencil or cup.
- Sprinkles and Cake Decorations: for added decorations. See cake decorating section for more ideas.
- To-go Spoons or Forks: for serving
- Ribbon, Twine, or Tape: to tie up the spoons
Size of Lunch Box Cakes
The size of these little bento lunchbox cakes can totally vary! I like to make mine personalized, so only about 3-4 inches wide and tall. They fit perfectly into these clamshell containers which are the size of a burger container.
But, you can really customize them as much as you want.
While I made mine smaller, in Korean bakeries they can also be 6 or even 8 inches. So really, it's totally up to you and whatever size you want to make them and whatever size to-go containers you get!
When making these cakes yourself, the secret to getting perfectly cute cakes that look great in your bento box is to measure the width and height of the size of your to-go containers to make sure your cake will fit inside. While the above container said 6×6 it was actually a bit smaller on the bottom.
And remember, once the frosting and decorations are on the cakes they'll be bigger – typically ½-1 inch in circumference and ¼-1 inch on top depending on how thick of a frosting layer you do and what type of decorations you add.
So, make sure you account for that extra space when cutting out your cake layers or buying your mini cake pans and to-go containers.
Types of Frosting
Vanilla Buttercream or stabilized whipped cream frosting are the most common but you really can use any type of frosting you want! Here are some fun recipes to try:
- Chocolate Buttercream
- Swiss Meringue Buttercream
- Lemon Buttercream
- Strawberry Buttercream
- Whipped Ganache
- Marshmallow Frosting
I recommend two batches of frosting per pan of cake. Depending on the size of your cakes and the number of layers you do you'll probably get 4-6 cakes per pan of cake.
HOW TO MAKE LUNCHBOX CAKES
Bake Cake and Cut layers
The number and size of the layers typically depends on the size of pan you bake your cake in. A 10x 15 inch or 12 x 17 inch jelly roll pan will be thinner and typically give you a three layer cake. Using a 9×13 inch pan will provide a thicker cake so you might only get two layers.
Just make sure to adjust baking time. I recommend checking cakes baked in a jelly roll pan after about 10 minutes, a 9×13 inch pan after 16 minutes. You know they’re done when you can put a toothpick or knife in the middle of the cake and it comes out clean.
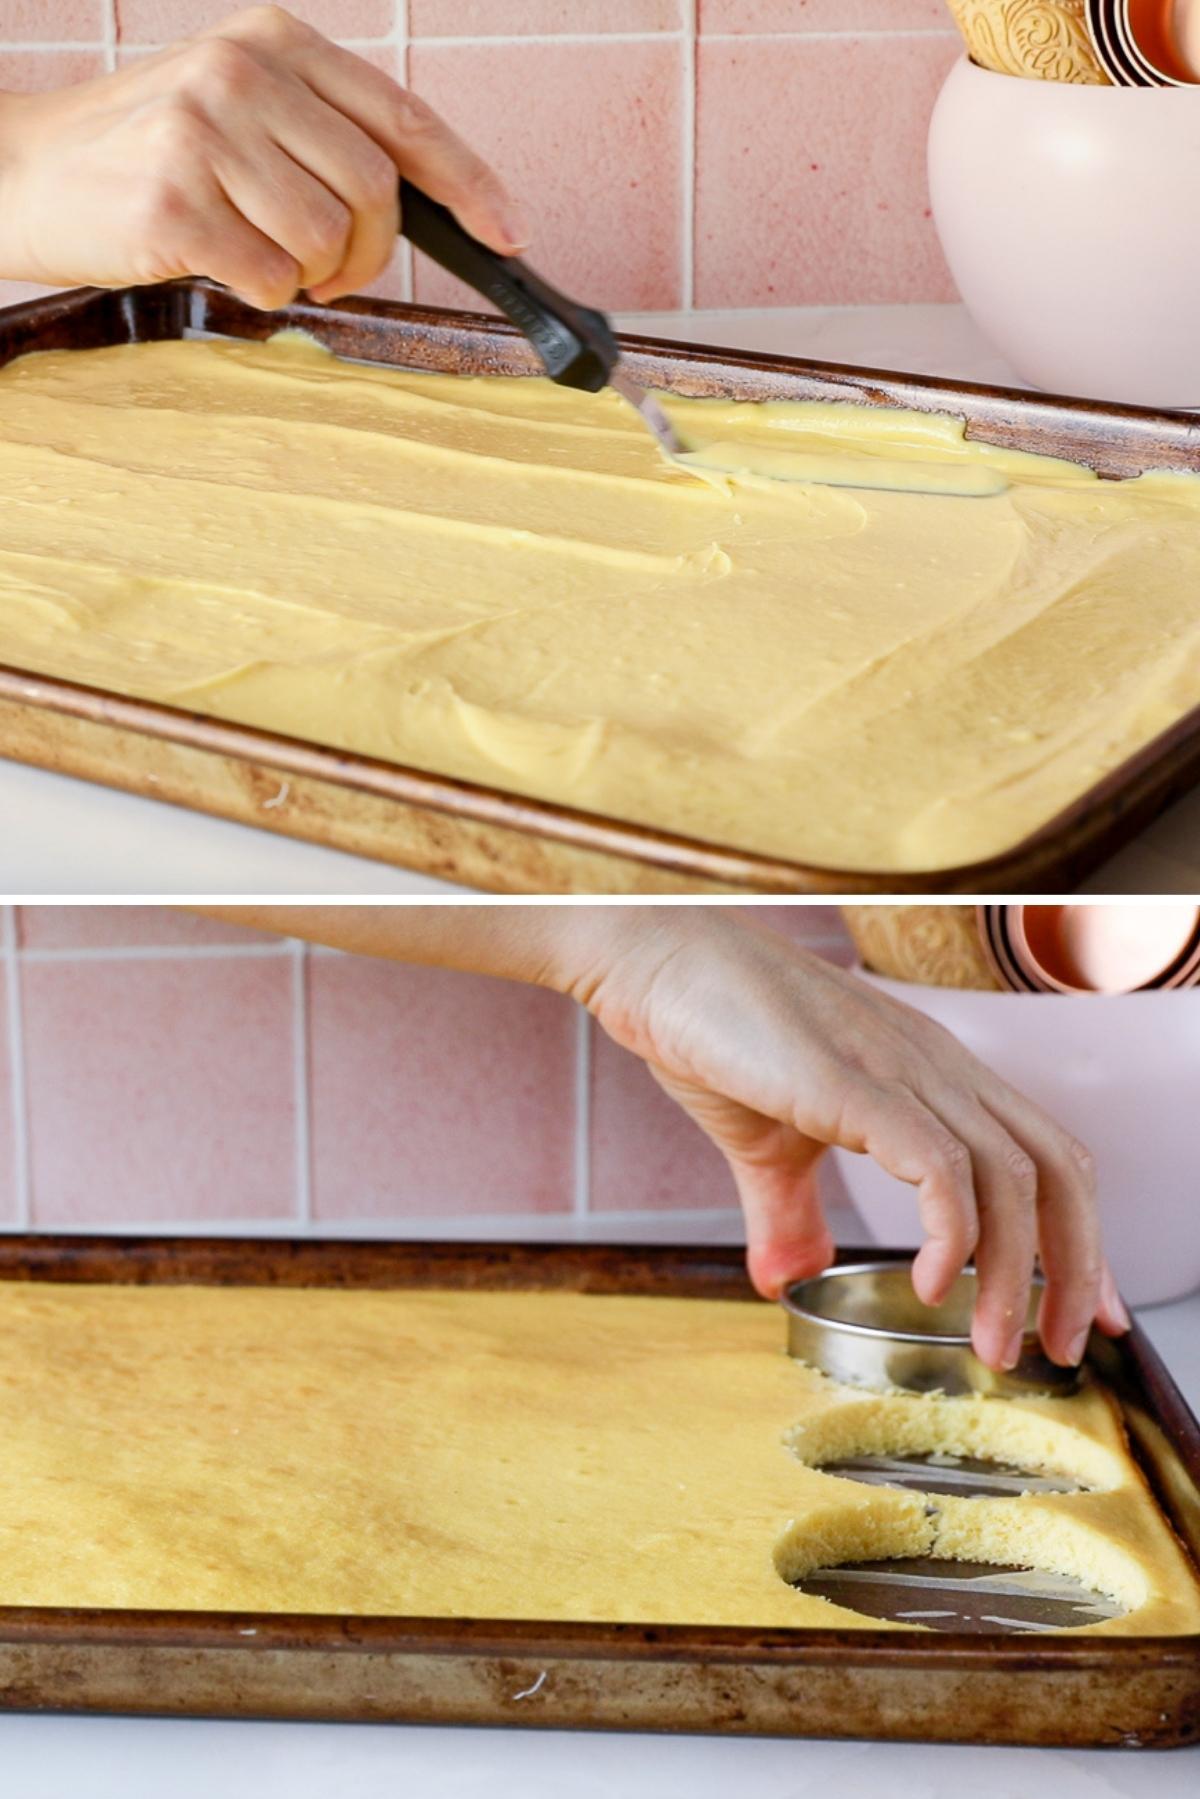
After baking as directed, let the cake cool completely and cut out circles using cookie cutters. If the cake is particularly moist or sticky, you can dip the cookie cutters in powdered sugar or flour before cutting the cake to keep the cake from sticking. You can also bake your cakes in mini cake pans.
Assembling the Mini Layer Cakes
I use exactly the same method if frosting these mini cakes as I do in this cake frosting tutorial. The basics are the same but since these cakes are much smaller they tend to slide around a bit more so it helps to go slower.
- Cut parchment or wax paper to desired size
- If using a cake turntable, place a large non-stick pad or shelf liner under the entire piece of parchment. I've found this really helps the cake from sliding around.
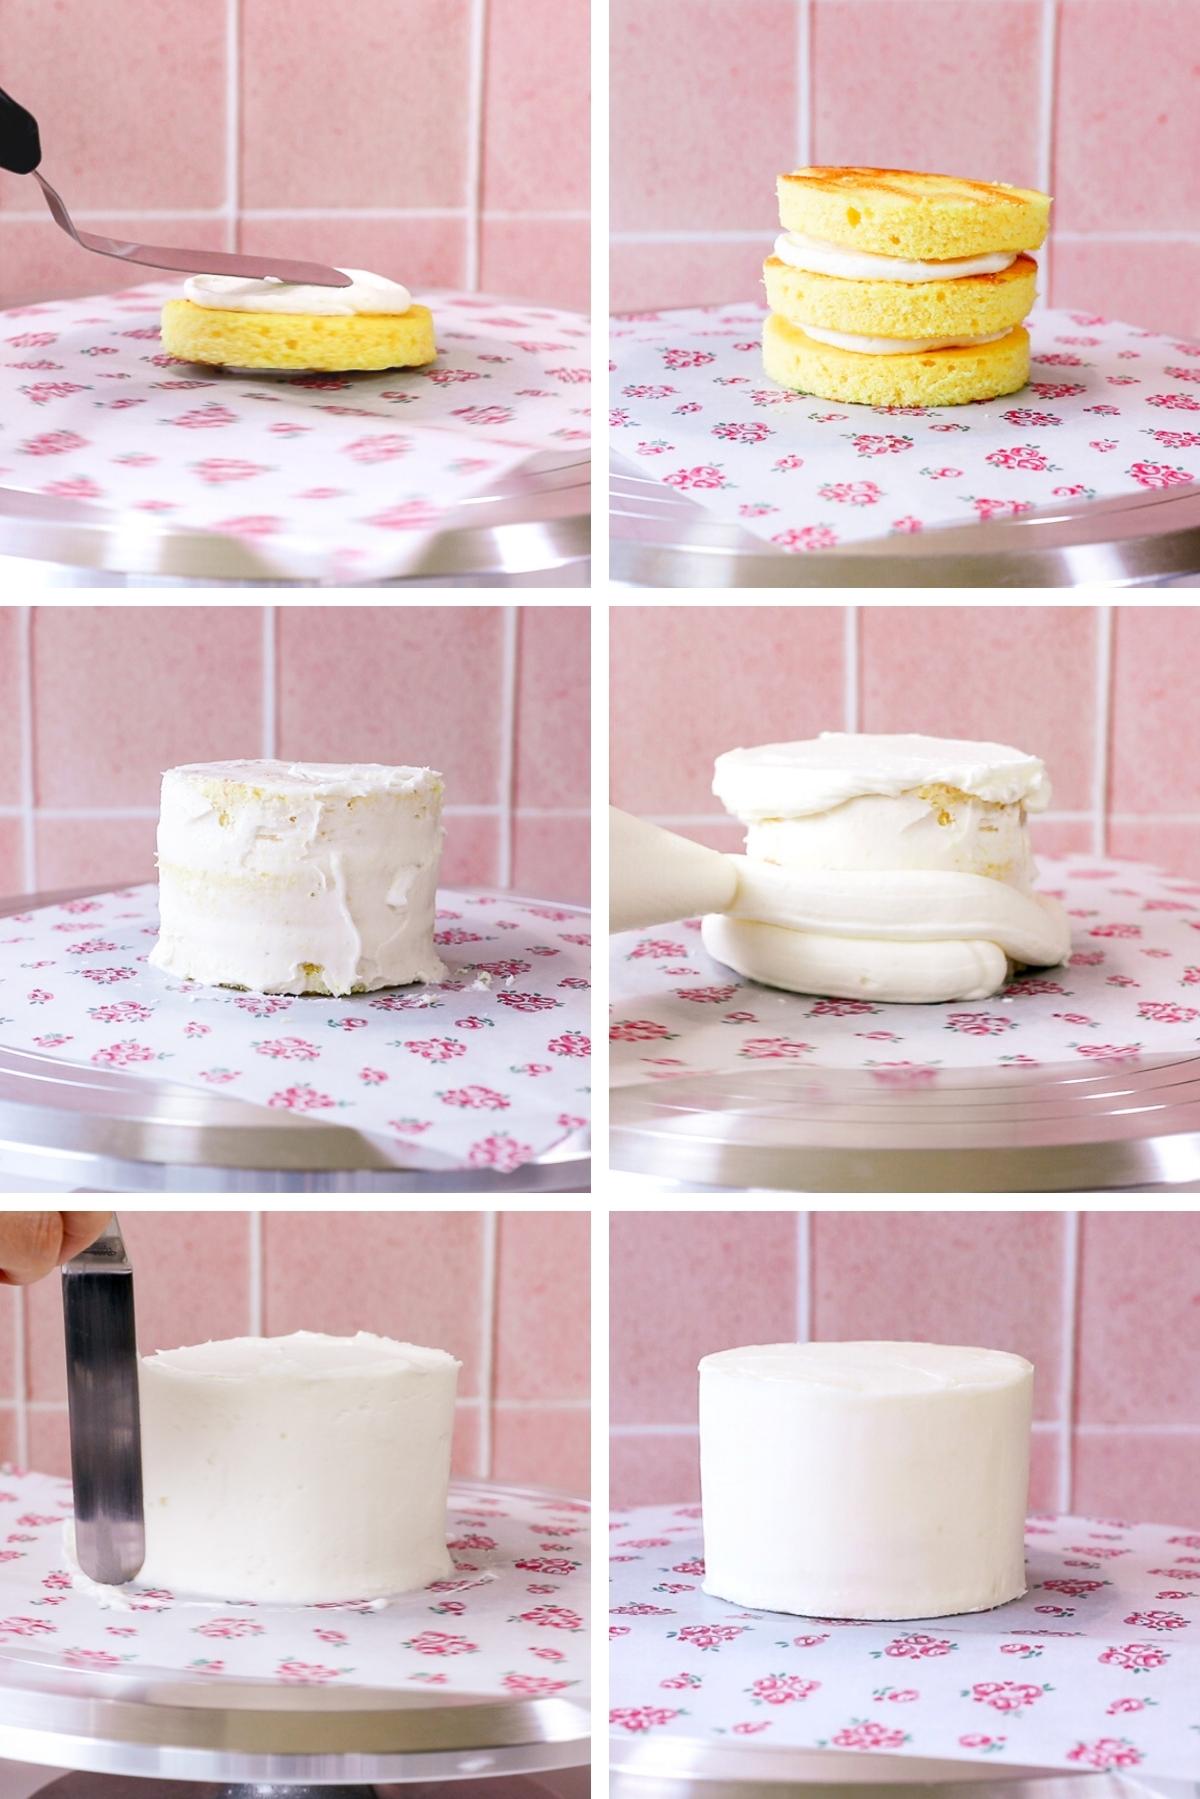
- Place a dab of frosting on parchment and then add the first layer of cake and add the frosting on top. Add the second layer of cake on top and then repeat step 5 and 6 if doing a 3rd layer of cake.
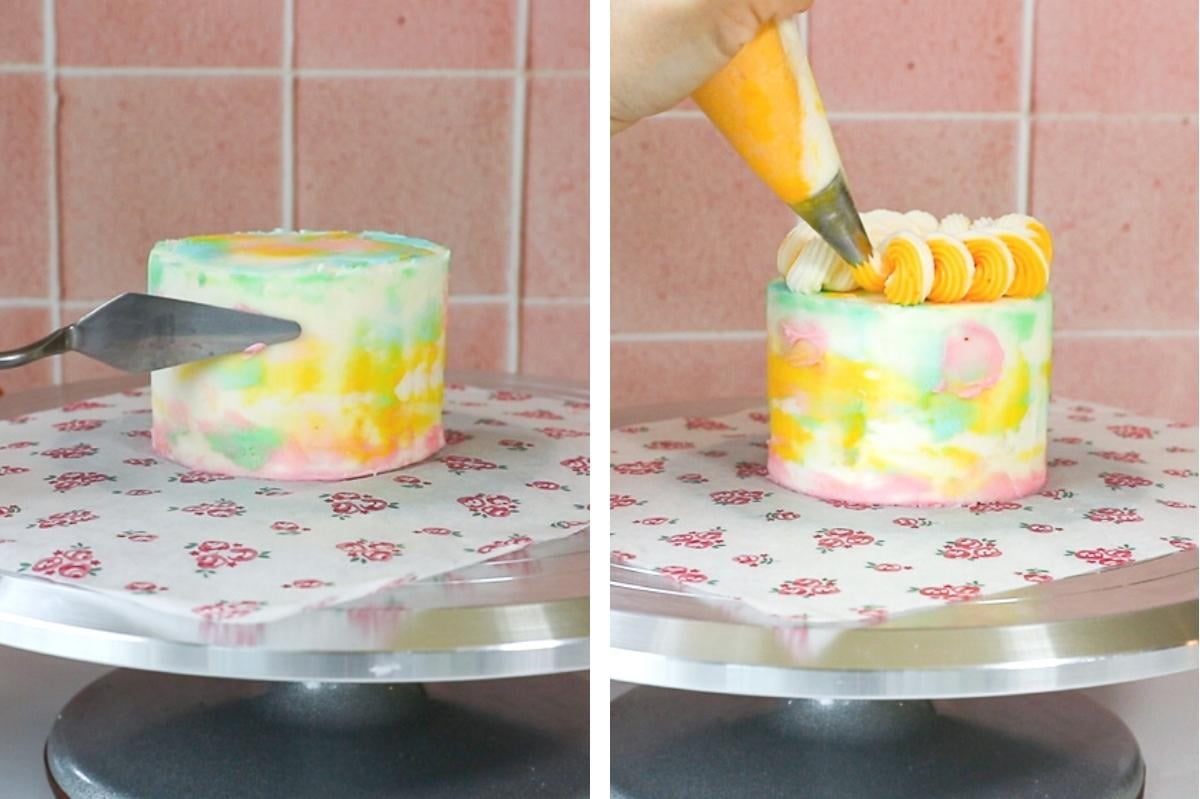
- Make sure the cake layers are even and then add a crumb coat of frosting by smooth a thin layer of frosting around the entire mini cake.
- Chill cake for 20-30 minutes or until the frosting has firmed up.
- Once it’s firm, add a thicker layer of frosting around the cake.
- Using a bench scraper, offset spatula, or a plain knife smooth the frosting around the cake until it is even. Check out this post on the exact method of frosting a layer cake.
- Let chill and then decorate the cake if desired. You can also switch out the parchment to a new piece if the parchment has gotten a bit messy. Just make sure the cake is well chilled before removing it from the old parchment.
Decorating Lunch Box Cakes
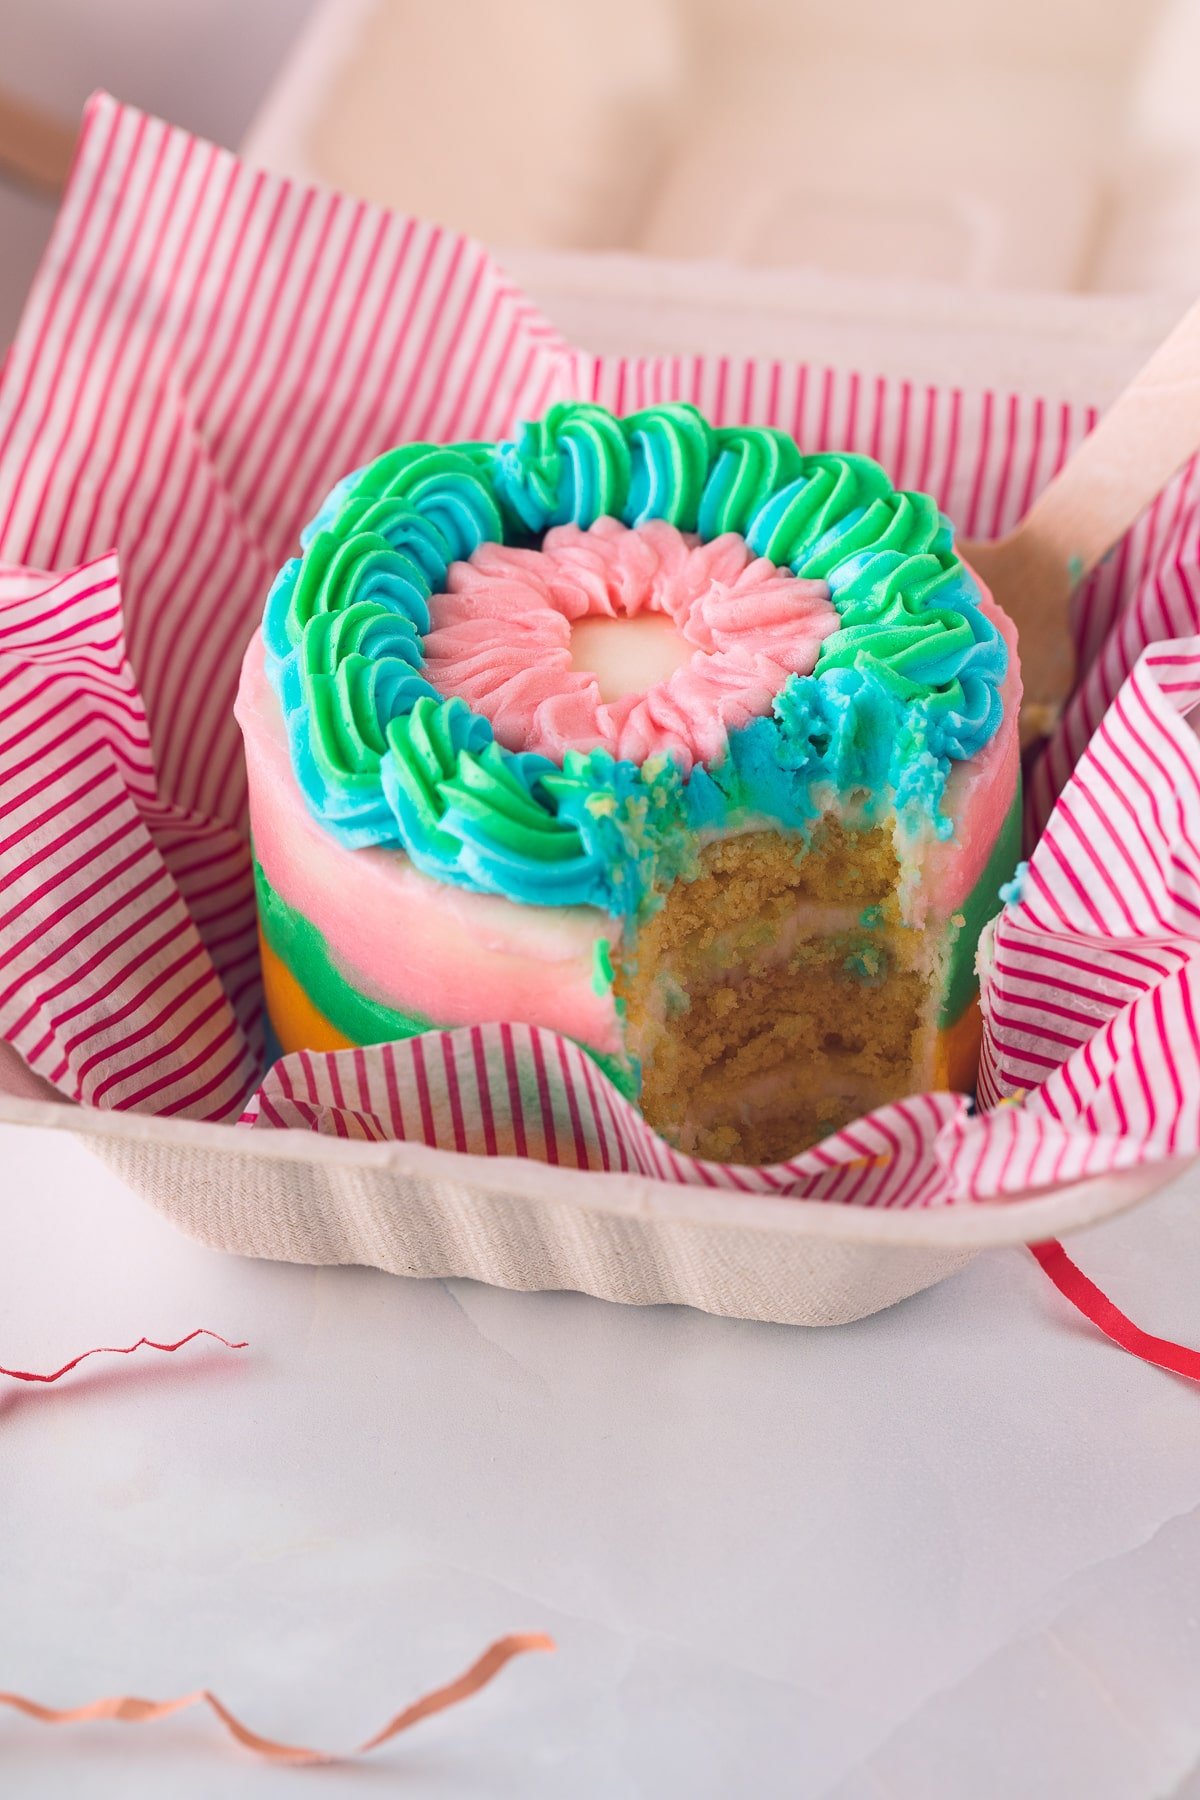
These lunchbox cakes are so fun to decorate! It's pretty common to focus on the top of the cakes since you can't see the sides too much in the lunchboxes but really, they're completely customizable and you can go wild!
In addition to regular piping using frosting, piping bags, and piping tips here are some ideas:
Gifting or Serving
Once the cake is decorated I recommend letting the cakes chill it the refrigerator for at least 30 minutes before placing in the to-go container. That way, the cakes firm up a bit and they're less likely to get damaged when placing in the container.
If you want you can add a cute spoon and tie up the boxes with ribbon or twine. I've seen the spoons taped to the top inside container or you can tie to the top like shown above.
Then you're ready to serve or gift these adorable and portable mini layers cakes!

Korean Lunchbox Cakes
Equipment
- Rimmed baking pan or Mini Cake Pans
- Non-Stick Baking Spray
- Clamshell Containers
- Knife or Bench Scraper
- Cake Turn Table optional
- Shelf-liner or Non-Stick Pad optional
- Food Coloring optional
- Pastry Bags and Tips optional
- Circle Cookie Cutters optional
- Sprinkles and Cake decorations optional
- To-go Spoon/Fork optional
- Ribbon, Twine, or Tape optional
INGREDIENTS
- 1 box prepared cake mix, unbaked or favorite cake recipe, prepared but unbaked
- 4 cups prepared buttercream frosting plus more for decorating if needed
Instructions
Bake Cake
- Prepare cake batter as directed.
- Grease baking pan with baking spray, butter, or vegetable shortening. Lay parchment paper along the bottom and re-spray or grease.
- I recommend a 10x15 or 12 x17 inch rimmed jelly-roll pan, 9x13 inch pan, or something similarly large and flat. Alternatively, you can bake your cakes in mini cake pans.
- Add cake batter and bake according to recipe instructions, being sure to check if the cake is done after about 8-10 minutes for the jelly roll pans. Baking times will vary depending on upon the cake and pan. Mine was done after about 10 minutes in a 12 x 17 inch pan.
- The cake will be done when you can pierce with a toothpick or knife and it comes out clean.
- Let the cake cool completely before moving on to next step.
Cutting Cake Layers
- Once your cake has cooled and you’re ready to frost, cut out cake layers using a cookie cutter, or a stencil and knife. You can also use a knife and trace around the bottom of a cup as long as the cup fit comfortably inside your to-go box. I used a 4 inch circle cookie cutters for my cakes.
- If your cake is particularly moist or sticky, you can dip the cookie cutters in powdered sugar or flour before cutting the cake to keep the cake from sticking.
- Be sure to measure the size of your bento to-go box and make sure that your cookie cutter/cake layers will fit. You want the cake layers to be smaller than the bottom of the box as the cakes will be bigger once you frost them. And keep in mind decorations and piping will all add to width and height.
- Depending on your recipe and how thick the baked cake is, you can make either a two or three lawyer cake, depending on preference and what fits in your cake box.
Assembling Cake
- Cut parchment or wax paper to desired size to fit into your to-go container.
- If using a cake turntable, place a large non-stick pad or shelf liner under the entire piece of parchment. This will help the cake from sliding around.
- Place a dab of frosting on parchment and add first layer of cake.
- Spread frosting or filling onto the first layer of cake using a knife, offset spatula, or pastry bag filled with frosting.
- Add second layer of cake. Repeat step 5 and 6 if doing a 3rd layer of cake.
- Make sure the cake layers are even and then add a crumb coat of frosting by smoothing a thin layer of frosting around the entire mini cake to lock in any stray crumbs.
- Chill cake for 20-30 minutes or until the frosting has firmed up.
- Add a thicker layer of frosting around the cake.
- Using a bench scraper, offset spatula, or a plain knife smooth the frosting around the cake until it is even. See notes for more tips on frosting layer cakes.
Decorating and Serving
- At this point you can add any optional decorations such as extra piping, sprinkles, or a chocolate drip.
- Place the entire cake, parchment included, into the to-go container. You can also chill the cake for 20-30 minutes prior to placing in the box. This will help ensure the cakes don't get damaged when placing into the container.
- If desired, add a fork to the box using decorative tape or ribbon and these adorable cakes are ready to be served, gifted, or just enjoyed!
Video
Notes
- Nutrition facts are estimates and will vary depending on size and type of cake and frosting.
- I used a box of yellow cake mix and about two batches of this vanilla frosting but you can use your favorite cake recipe or frosting recipe.
- The number of layers and number of mini cake you'll get will vary depending on the size you make your cakes and the pan you bake the cake in - a 9x13 in pan will typically give two layer cakes, jelly roll pans can give up to three layers.
- The extra cake scraps are perfect for cakesicles.
- If you want more tips for frosting layer cakes, check out this post on how to frost a layer cake.

Radwa says
These cakes are so delicious, and the instructions are super easy to follow!
medital says
thanks for inforamtion
Amy Casey says
These cakes are absolutely adorable! I made them for one of my personal chef clients and they were a hit! Thanks for sharing 🙂
Claire says
I made one of these for my stepdaughter to take to school to share with her best friends at lunchtime. She said it was the best treat ever and all the teachers commented how adorable it was!
Thank you for the super stepmom points 🙂
Sophia says
So glad you liked them!!
Tayler Ross says
These cakes are a work of art! I love the mini size and can’t wait to make them with my daughter over the weekend!
Sara Welch says
These are like little bites of heaven! Excited to give these a try; looks too good to pass up, indeed!
Emily says
These lunchbox cakes are delicious and adorable! It was my nieces’ birthday yesterday and they were thrilled to see these cute little cakes that I brought with me to the party. Next time we’ll make them together 🙂
Ashley says
These look so cute! I can’t wait to try this out 🙂
Tara says
Such beautiful little cakes! I absolutely love the layers and piping. My daughter would especially love making these cakes with me.