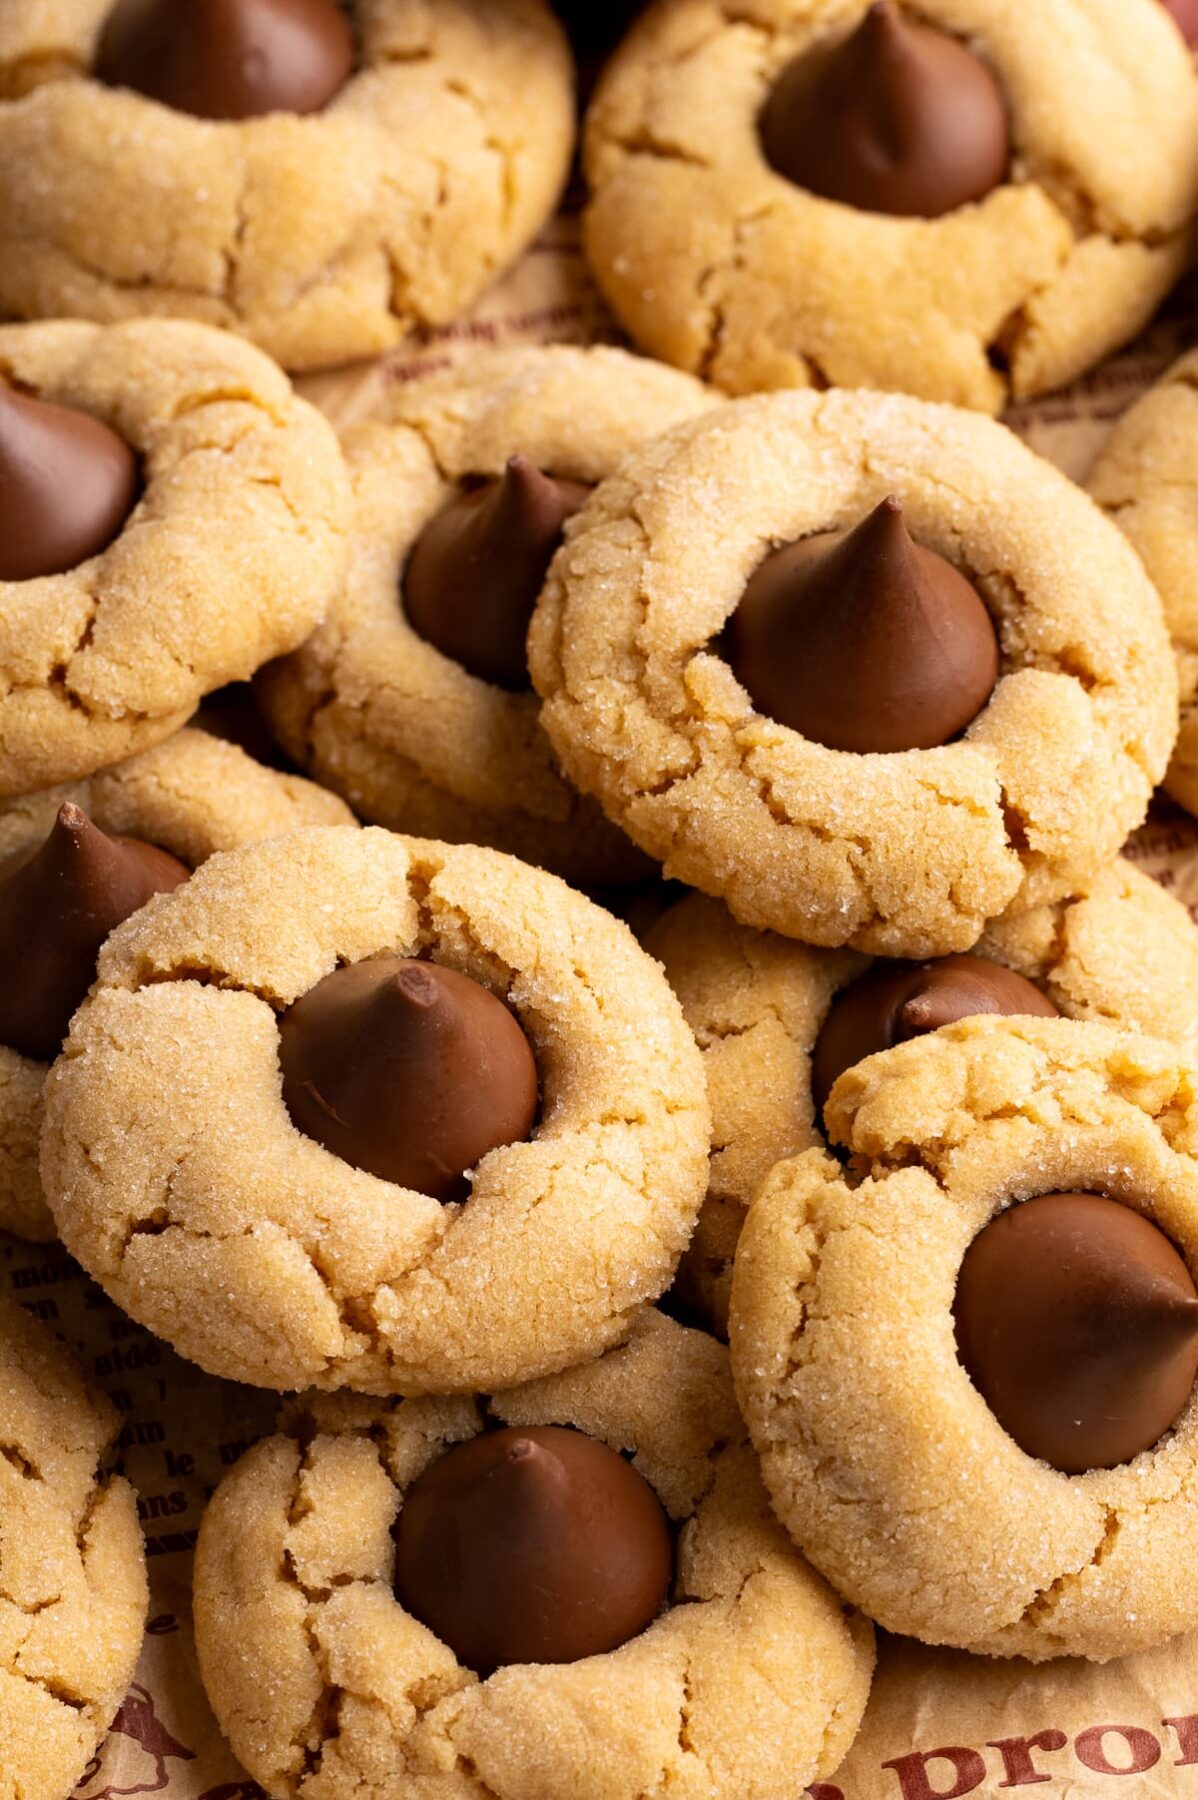
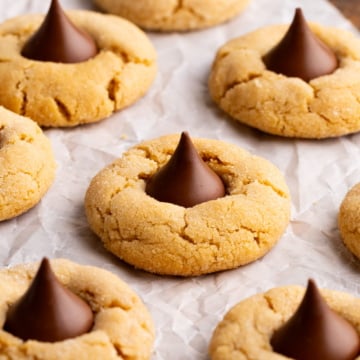
Peanut Butter Blossom cookies, also known as Peanut Butter Kiss Cookies, are a delicious and classic peanut butter cookie topped with a Hershey’s Kiss!

This peanut butter blossom cookie recipe is a holiday staple, and for good reason! Similar to these Peanut Butter Heart Cookies, you just can't go wrong with a super soft and chewy peanut butter cookie with a Hershey Kiss pressed right in the middle!
And, while these are found in almost every Christmas cookie tray, they are so simple they're a great treat all year round! Why you'll love them:
- Easy: These are a super simple drop cookie with a 15-minute prep time!
- Delicious: Peanut butter and chocolate is such a classic and delicious combination!
- Festive: Not only are these cookies adorable, but they're super easy to jazz up for every occasion. Check out the variations section for fun ideas!
Ingredients
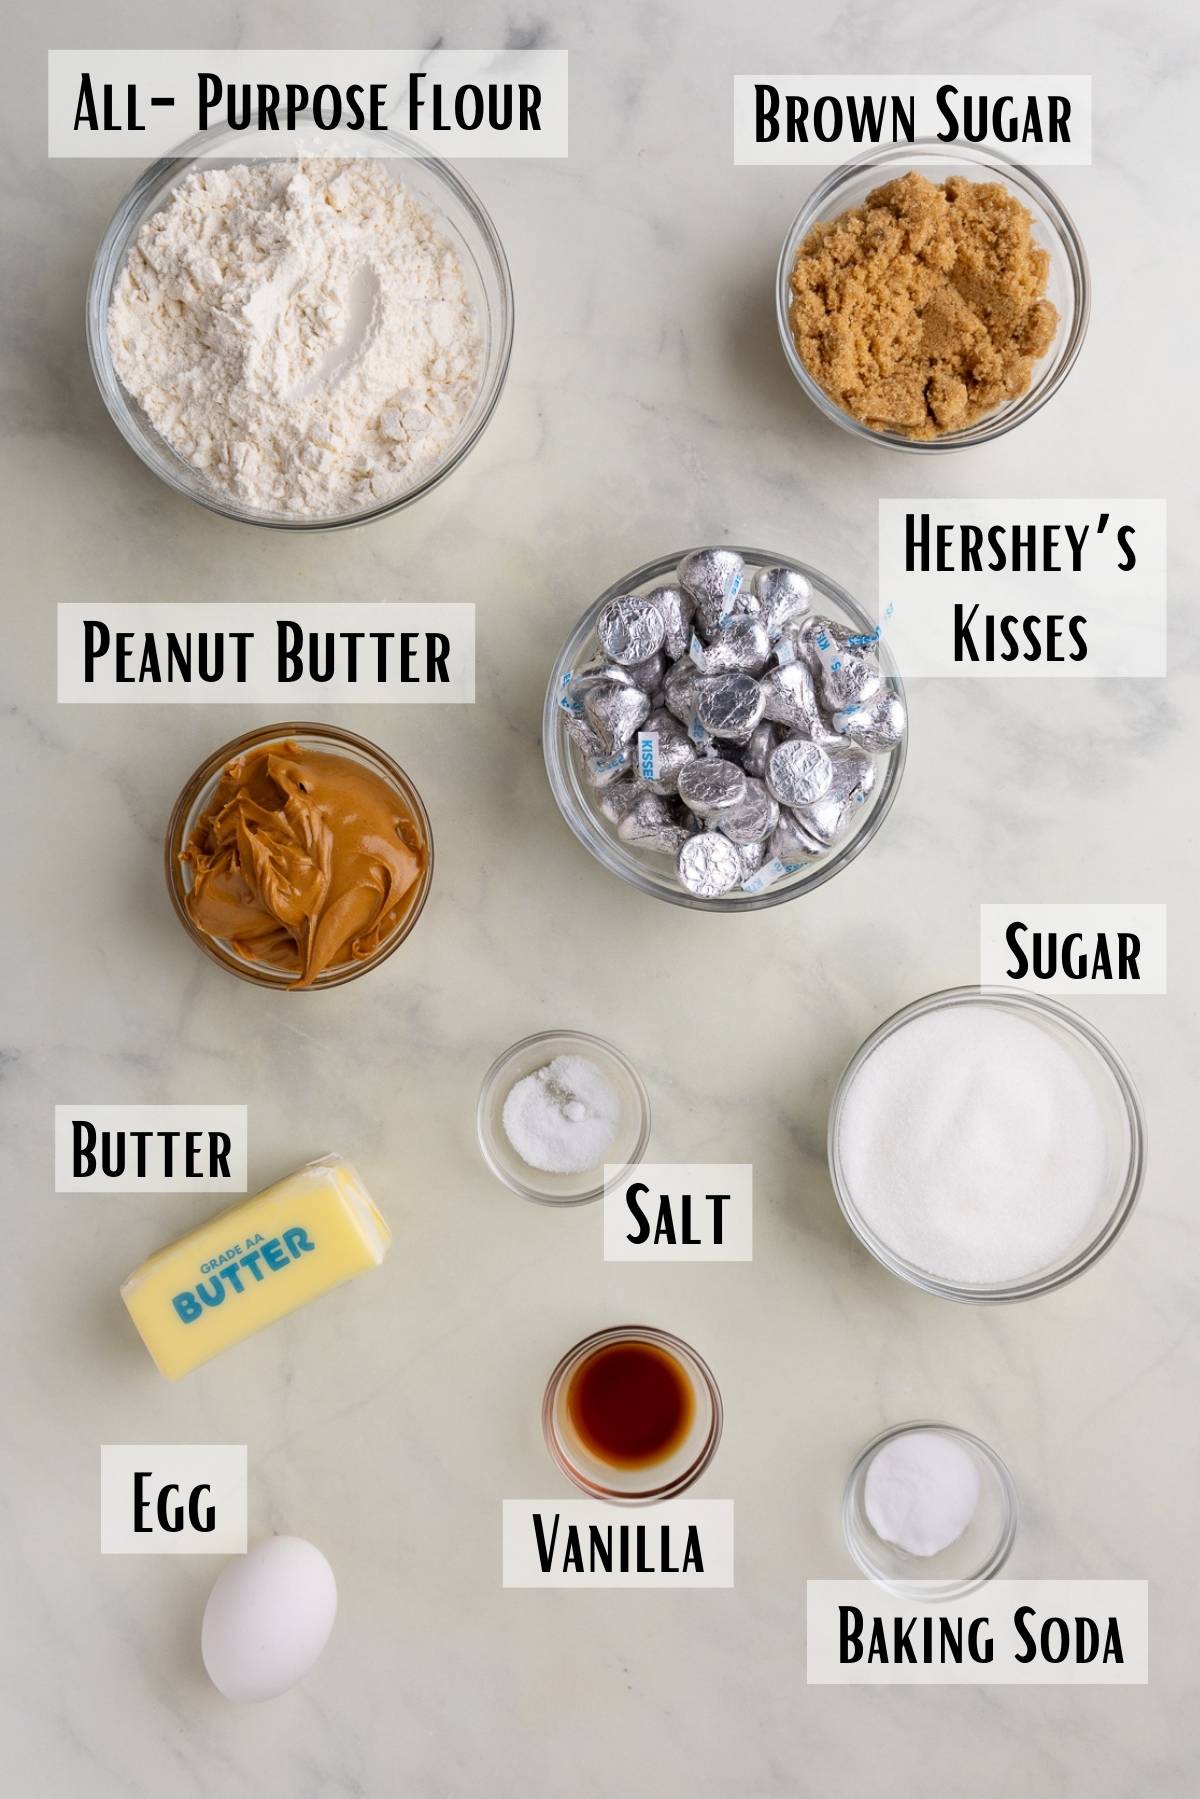
- Peanut Butter: For the best texture, I recommend smooth peanut butter life JIF or Skippy.
- Hershey’s Kisses: You can use your favorite Hershey Kisses, mini peanut butter cups or other small chocolates.
- All-purpose flour: make sure the flour is weighed using a kitchen scale or measured using the spoon and level method so you don't get too much flour in the recipe (if you do, the cookies will not be soft and chewy!).
- Unsalted Butter: This recipe calls for unsalted butter, but you can substitute salted butter by cutting the added salt to ¼ tsp.
- Brown Sugar: This recipe calls for light brown sugar, but you can substitute dark brown sugar if desired.
How to Make
Step 1: Make Cookie Dough
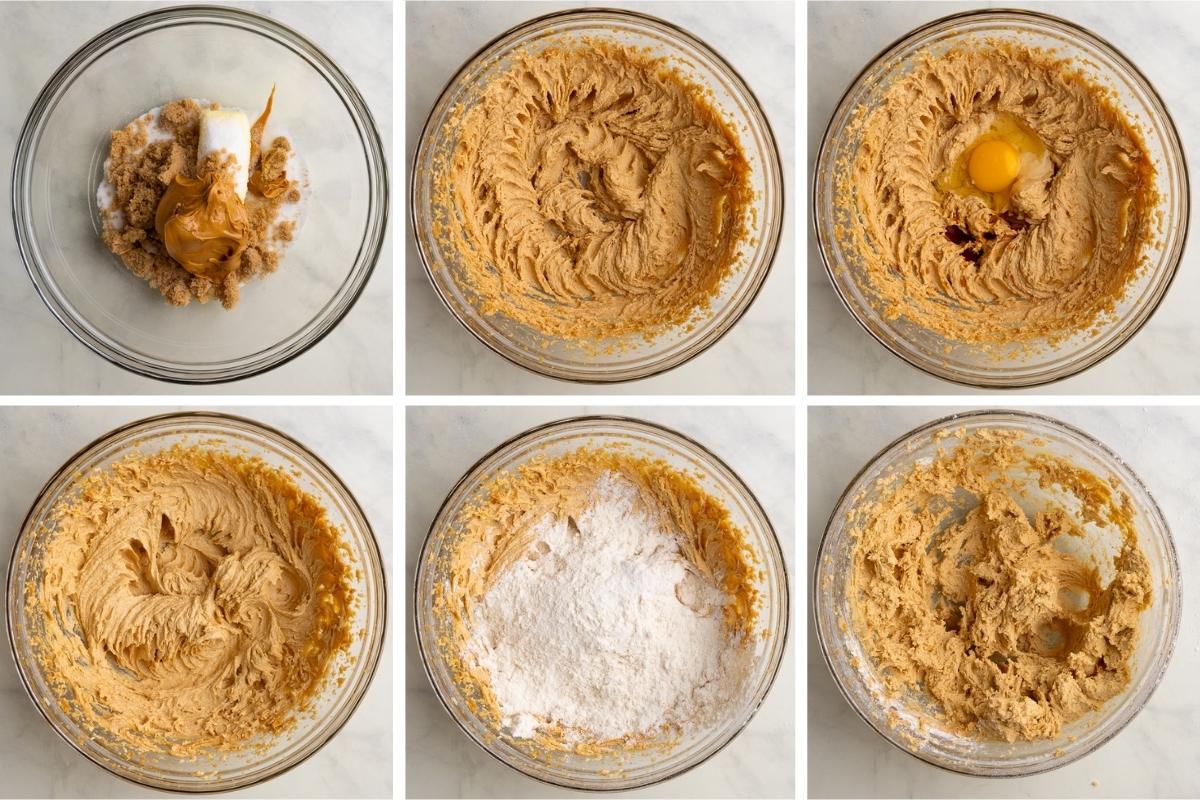
Whisk Flour, Salt, and Baking Soda: In a medium bowl whisk together the flour, baking soda, and salt. Set aside.
Cream Butters and Sugars: Add the peanut butter, softened butter, brown sugar, and granulated sugar to a large bowl or standing mixer. Mix on medium for 2-3 minutes until the mixture is super light and creamy.
Add wet ingredients: Mix in the egg and vanilla extract until combined, scraping down the sides of the bowl with a spatula as needed.
Add dry ingredients: Add flour mixture, and mix until just combined, being sure not to overmix the cookie dough.
Step 2: Chill Dough then Coat in Sugar

Chill dough: Cover the bowl of cookie dough with plastic wrap and place in the refrigerator for 30 minutes. While the dough is chilling, preheat the oven to 350℉ and unwrap your chocolate Kisses.
Roll in Sugar: Once the dough has chilled, scoop tablespoon-sized portions of dough and roll them into balls. Then, roll each dough ball in a bowl of granulated sugar to coat. Place the coated cookie dough balls onto a baking sheet lined with parchment paper, keeping them at least 2 inches apart.
Step 3: Bake
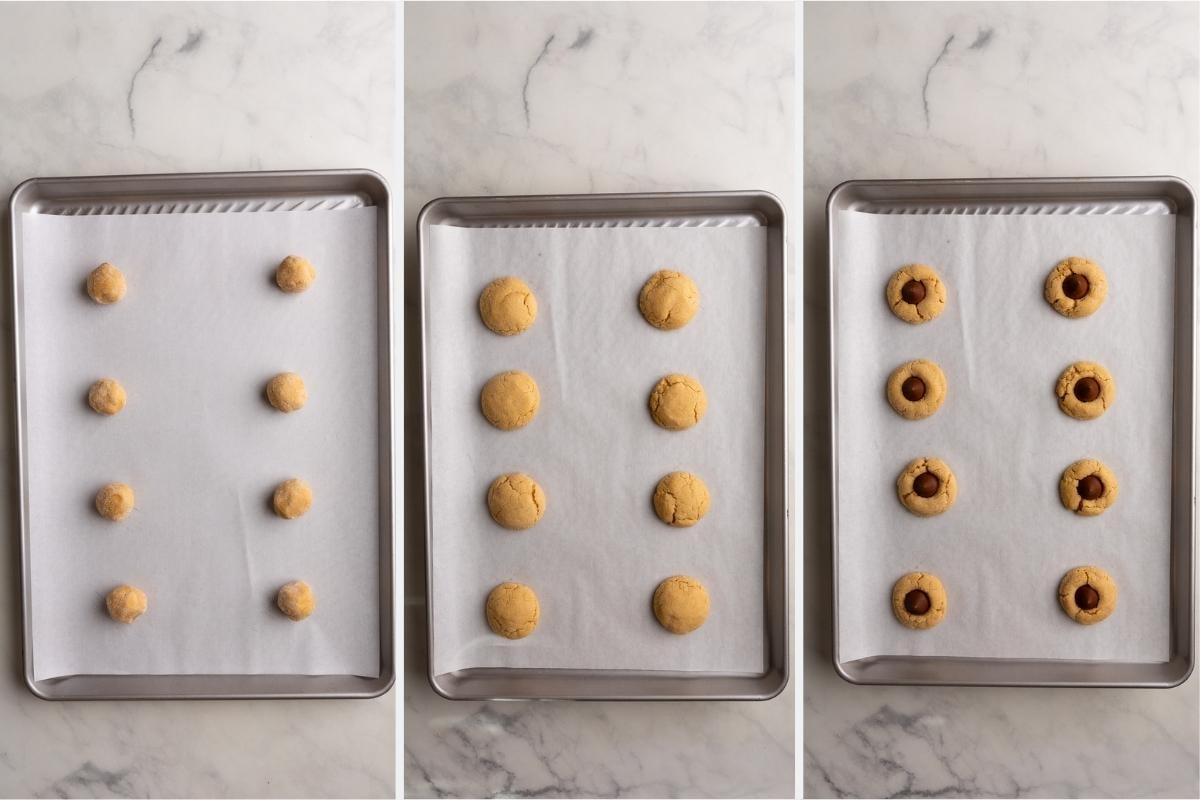
Bake: Bake one baking sheet at a time in the middle rack of the preheated oven for 8-10 minutes, or until the edges just start to brown and there is some slight cracking.
Add kiss: Remove from the oven and immediately press an unwrapped chocolate kiss into the center of each cookie. You must add the cookies right when they get out of the oven and before they firm up.
Cool: Let the cookies cool on the baking sheet for 5-10 minutes. Once slightly firm, transfer to a cooling rack to finish cooling.
Repeat: Repeat with remaining cookie dough. Once the cookies are cool and the chocolate firm, enjoy!
Tips and Tricks
- Make sure all your ingredients are at room temperature.
- Measure out the flour using a scale or the spoon and swipe method of fluffing up the ingredients and then spooning into the measuring cups. Then, swipe the excess flour off the top of the cup with a knife. If you dip the measuring cup directly into the flour it can pack down and you will add too much flour to the recipe.
- An ice cream scoop works great for getting even-sized cookies.
- Make sure to unwrap your candy before the cookies come out of the oven! This way you can quickly press them into the cookies.
Variations to Try
- Dark Chocolate Kisses: Swap the milk chocolate kisses for dark chocolate kisses or Hershey Hugs for a fun twist.
- Peanut Butter Cups: Use mini peanut butter cups instead of kisses for a double dose of peanut butter chocolate.
- Holiday Sprinkles: Roll the dough balls in colored sanding sugar or sprinkles to match the season!
FAQ
Technically, you can. The Hershey’s Kisses do hold their shape when baking but the very tip of the Kiss will burn and the cookies tend to spread more, so I do not recommend adding them before baking.
The main reason the chocolate doesn't stay in the cookie is because it was added after the cookie had started to cool and therefore doesn't fully melt into the cookie.
It's important to have all the chocolate unwrapped and ready to go, so you can quickly press the chocolate into the cookie right when it comes out of the oven. That way, it will melt and stay in.
These are both super common for this recipe. If you're using regular Hershey Kisses, you do not need to freeze them as they will not lose their shape when added to the cookie. While I don't recommend it, you can actually add them before baking and they will still look like a Kiss (see FAQ question above) so freezing is unnecessary, and I actually think makes the cookies and chocolate texture worse as you want the chocolate to fully melt into the cookie. If you’re using a different type of Kiss or chocolate (especially the Peppermint Kisses or any type of white chocolate) freezing the chocolate for 10-15 minutes can help keep it from totally melting.
The other common method is to remove the cookies after 6-8 minutes in the oven, add the chocolate, and put the cookies back in the oven for 2 minutes to finish baking. This will melt the chocolate into the cookie even more, and some people swear it gives the chocolate and cookie a better texture. I personally think that as long as the Kiss is room temperature when added to the hot cookies, it melts into the cookie just fine and tastes great, so I don’t bother with the extra step of adding it back to the oven. But, it really is a matter of time and preference if you want to make them that way!
This is because the chocolate bloomed! You can read more about chocolate blooming on Wikieapeida (they have a whole page about it!).
This can happen if the chocolate melts and then resolidifies too fast or there is too much moisture around it, such as putting the cookies in the fridge to firm up quickly instead of having them firm up at room temperature. You can try to fix it by remelting the chocolate with a hair drying on a low heat. But know, the chocolate is still edible! It is just not as pretty.
Storing and Making Ahead
- Storing: Keep the baked cookies in an airtight container at room temperature for up to 5 days.
- Freezing: Baked and cooled cookies can be frozen in an airtight container up to two months.
Looking for more holiday cookie recipes? Check these out!

Peanut Butter Blossoms
Equipment
- Baking Sheet
- Mixer
INGREDIENTS
- 1 3/4 cups all-purpose flour (218 g) weighed or spooned and leveled
- 1 teaspoon baking soda
- 1/2 teaspoon kosher salt or 1/4 tsp table salt
- 1/2 cup unsalted butter 1 stick, softened
- 1/2 cup smooth peanut butter (130 g)
- 1/2 cup firmly packed light brown sugar (100 g)
- 1/2 cup granulated sugar (100 g), plus 1/4 cup more for rolling
- 1 large egg room temperature
- 1 teaspoon vanilla extract
- 36-48 Hershey Kisses unwrapped, see notes
Instructions
- In a medium bowl whisk together the flour, baking soda, and salt. Set aside.
- Add the peanut butter, softened butter, brown sugar, and granulated sugar to a large bowl or standing mixer.
- Mix on medium for 2-3 minutes until the mixture is super light and creamy.
- Add the egg and vanilla extract and mix until combined, scraping down the sides of the bowl with a spatula as needed.
- Add the prepared flour mixture, and mix on medium for until just combined, about 1-2 minutes. Do not overmix the cookie dough.
- Cover the bowl of cookie dough with plastic wrap and place in the refrigerator for 30 minutes.
- While the dough is chilling, preheat the oven to 350℉ and unwrap your chocolate Kisses.
- Once the dough has chilled, scoop out 1 tablespoon-sized portions of dough and roll them into balls (a small ice cream scoop works great for this!).
- Roll each cookie dough ball in a small bowl of granulated sugar to coat and place the coated cookie dough balls onto a baking sheet lined with parchment paper, keeping them at least 2 inches apart.
- Bake one baking sheet at a time in the middle rack of the preheated oven for 8-10 minutes, or until the edges just start to brown and there is some slight cracking.
- Remove from the oven and immediately press a chocolate kiss into the center of each cookie. You must add the cookies right when they get out of the oven and before they firm up.
- Let the cookies cool on the baking sheet for 5-10 minutes, and then move to a cooling rack to finish cooling. Repeat with remaining cookie dough. Once cool, Enjoy!
Notes
- Measure out the flour using a scale or the spoon and swipe method of fluffing up the ingredients and then spooning into the measure cups and swiping the excess off the top with a knife. If you dip the measuring cup directly into the flour it can pack down and you will add too much flour to the recipe and it will be dry and crumbly rather than a smooth cookie dough.
- An ice cream scoop works great for getting even sized cookies.
- Make sure to unwrap your candy before the cookies come out of the oven, so you can quickly press them into the cookies.
- This recipe typically makes 3-4 dozen cookies The nutrition facts are calculated based on 36 cookies per batch.

Sophia Assunta says
This is one of my favorite holiday cookies and I hope you enjoy it as much as I do! You can see more reader reviews of this recipe on this Peanut Butter Blossom Pinterest Pin! Enjoy and happy baking!