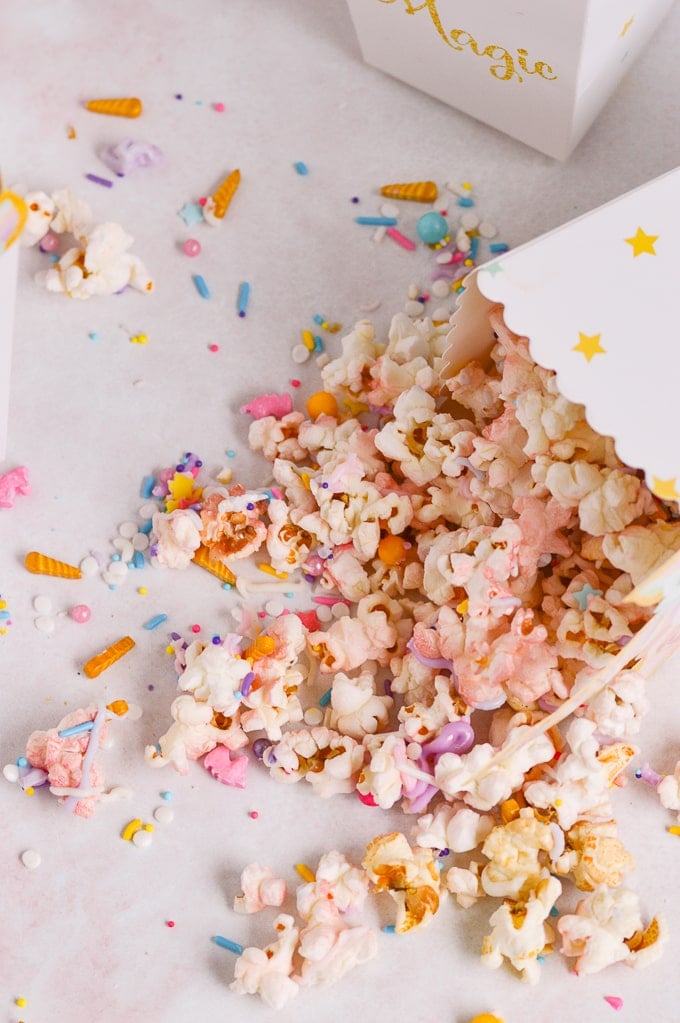
This Unicorn Popcorn tutorial shows you how to make this fun kids treat using white chocolate, sprinkles, and any other fun topping ideas you can think of! Be sure to try this easy recipe for your next unicorn or magical themed party.
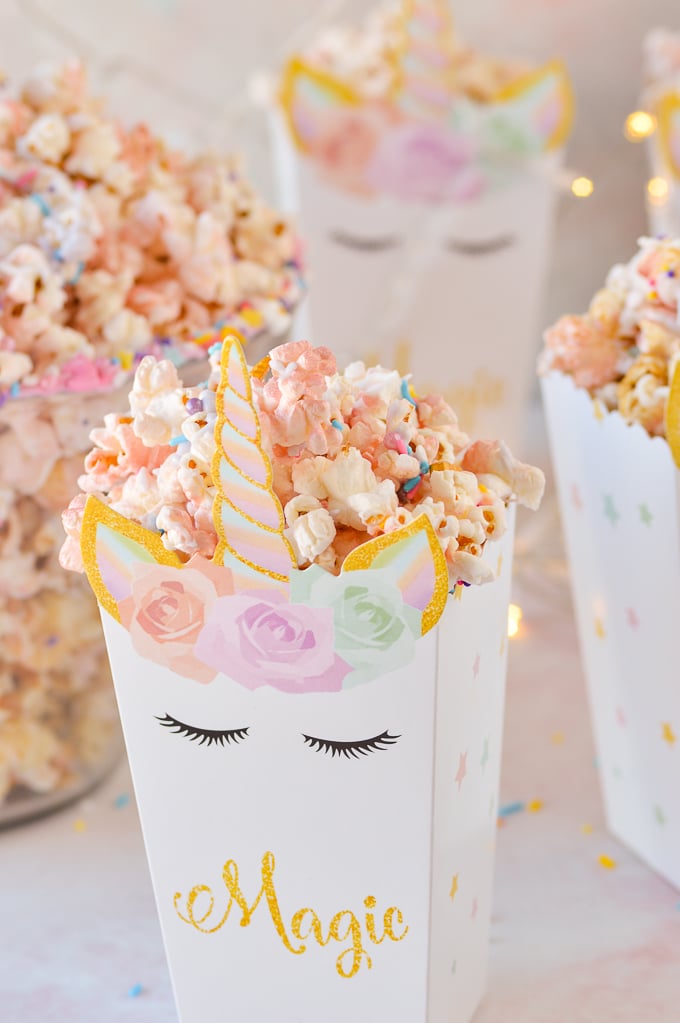
It seems like Unicorn Popcorn is everywhere! It’s the perfect DIY treat or snack for unicorn themed parties or event.
You can buy it pre-made from Popcornopolis, or on Amazon. I've heard you can even buy it at Costco. But, why buy it when you can make it yourself for much cheaper and healthier! Plus, if you make it yourself you can customize it exactly how you want it.
Ingredients
Popcorn
You can use any type of popcorn you like! And, you can always spray the popped popcorn with edible luster spray to give it fun color if using regular popcorn. Here are some common ideas for your popcorn base:
- Air Popped
- Microwave Popcorn
- Bagged Popcorn like sea salt or kettle corn
- Rainbow Popcorn
Melted Chocolate
This is what helps the toppings stick to the popcorn. I personally prefer candy melts in your color of choice but you can also use regular white chocolate and candy colors, which are oil based food coloring that works with white chocolate. You can read more about melting and decorating with chocolate here.
Toppings Ideas
Here is the fun part! The sky is the limit for how you choose to decorate your popcorn.
How to make unicorn popcorn
Unicorn popcorn is so easy to make and as mentioned, you can tailor the colors, flavors, and topping to exactly how you want. You can even have it match your popcorn boxes, bags, and other party decor.
Step 1: Prepare popcorn
Make your popcorn according to your desired method. If you're using bagged or pre-made popcorn, you're already good to go!
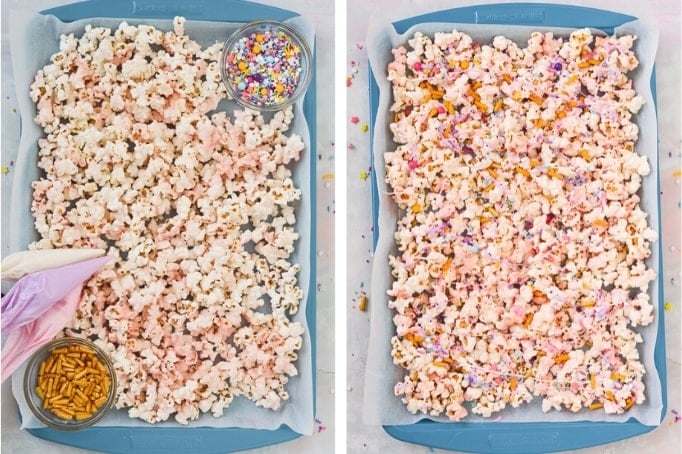
Once the popcorn is popped, lay it flat on a piece of parchment paper. I personally like to put the parchment on a baking sheet so it's easy to move around.
Optional: If you want to add a color to your popped popcorn, try spraying with edible luster spray before adding your chocolate and toppings!
Step 2: Adding Chocolate and Toppings
Melt the chocolate according to the instructions on the package. You can read more about melting and decorating with chocolate here.
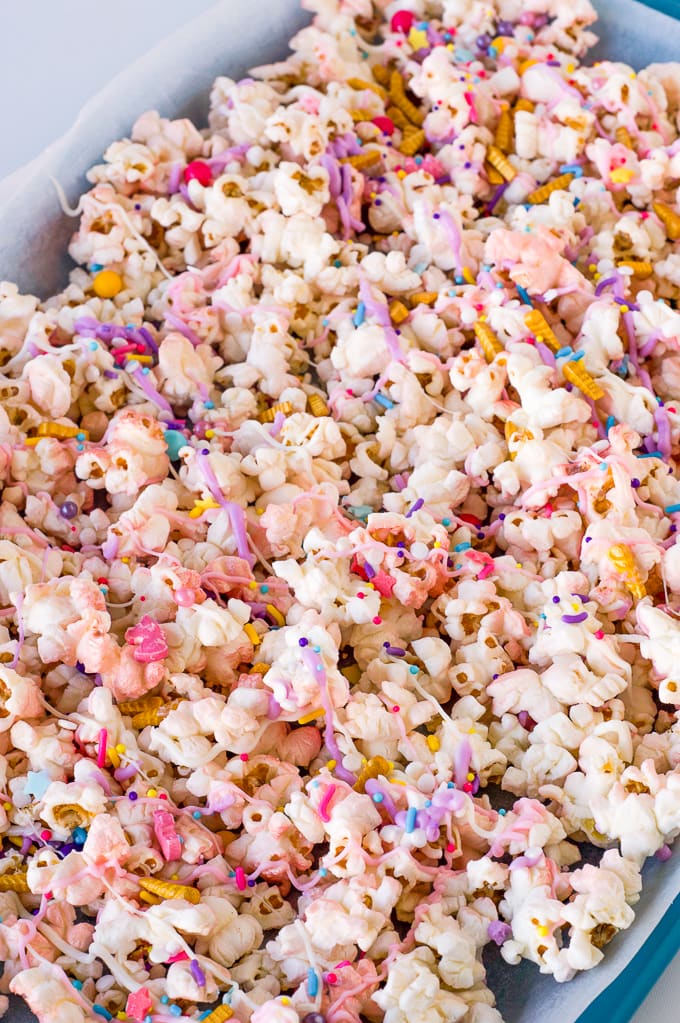
Once melted add to a pastry bag and drizzle over the popcorn. You can also drip it over the popcorn using a spoon.
While the chocolate is still melted, sprinkle on your desired toppings so they stick.
Step 3: Let dry, Mix, and Repeat
After adding the toppings, let the chocolate harden. Once the chocolate has set, mixed it up, breaking up the chocolate popcorn pieces.
Then, spread it out again on the parchment lined baking sheet, and add more melted chocolate and toppings. This helps to ensure that not just one side of the popcorn is covered in chocolate.
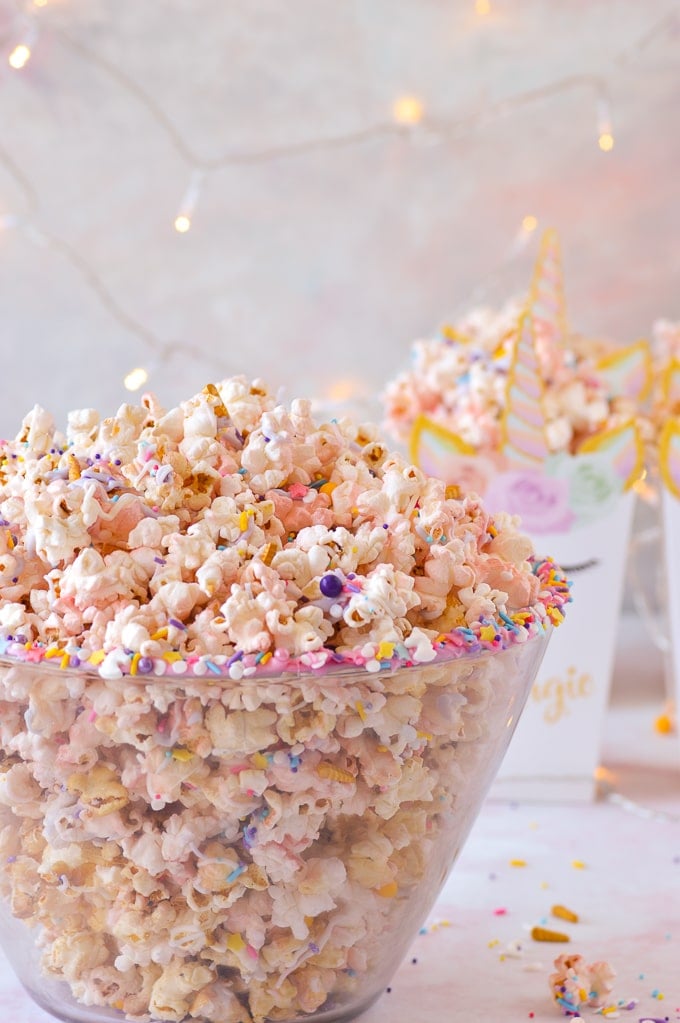
I think about 3 times is good, but you can do this as many times as you want to ensure the popcorn is really full of chocolate and sprinkles. Then, once it's dry for the last time, break it up and it's ready to serve!
Tips for Making Unicorn Popcorn
- Use colored chocolate melts in the colors you want or buy candy food coloring, which is oil based and won't cause your white chocolate melts or white chocolate to separate. You can not add regular or gel food coloring to white chocolate or it will get grainy.
- For each color I used about 1/2 cup of candy melts. But, the amount of chocolate will vary depending on how much popcorn you're making, how many different colors you're using, and how many times you decide to mix up and re-cover the popcorn with chocolate and toppings.
- Why stop at unicorn popcorn – try making galaxy popcorn with dark purple and black candy melts and galaxy sprinkles, or mermaid popcorn with blue, purple, and green candy melts and sprinkles like this!
- This will last 1-2 days in an airtight container at room temperature, to ensure the popcorn doesn't get stale.
WANT TO JOIN THE PARTY? Subscribe to my newsletter and follow on Pinterest, Instagram, and Facebook for all the latest recipes!

Unicorn Popcorn
Equipment
- Baking pan
- Parchment or wax paper
INGREDIENTS
- 1 Bag Popcorn sea salt or kettle corn
- Candy Melts color of your choice
- Sprinkles
Optional
- Luster Spray
- More Sprinkles
- Marshmallows
- Candy
Instructions
- Put a piece of parchment or wax paper onto a baking pan
- Spread out popcorn evenly on the parchment so it is in a single layer.
- If using luster spray, spray over the popcorn.
- Melt your candy melts according to directions. Using three colors, I used about ½ cup of each color per bag of popcorn.
- Using either a pastry bag or spoon, drip the melted chocolate all over the popcorn.
- White the chocolate is still wet, add sprinkles any other toppings you desire.
- Let dry completely.
- Optional: mix up the popcorn and spread evenly over the parchment again. Repeat with adding more melted chocolate and toppings.
Notes
- Use colored chocolate melts in the colors you want or buy candy food coloring, which is oil based and won’t cause your white chocolate melts or white chocolate to separate. You can not add regular or gel food coloring to white chocolate or it will get grainy.
- You can read more about melting and decorating with chocolate here.
- The amount of chocolate will vary depending on how much popcorn you’re making, how many different colors you’re using, and how many times you decide to mix up and re-cover the popcorn with chocolate and toppings.
- Why stop at unicorn popcorn - try making galaxy popcorn with dark purple and black candy melts and galaxy sprinkles, or mermaid popcorn with blue, purple, and green candy melts and sprinkles like this!
- This will last 1-2 days in an airtight container at room temperature, to ensure the popcorn doesn’t get stale.

jennifer says
How many cups of popcorn fit in each of those cute unicorn boxes you show in your photos? They are adorable!
Jack says
This popcorn is so pretty! I love it!
Anjali says
I recently made this for my daughter’s birthday and it was a HUGE hit with all the kids who attended!!
Tonje says
This is such a cute idea! I can imagine it being a big hit at kid’s birthday parties.
Colleen says
There are some kids in my life that are going to be wowed by this recipe! Thanks for sharing.
Anita says
These are so pretty! They will be perfect to serve for a birthday party. 🙂