This homemade stabilized whipped cream recipe an easy way to keep your whipped cream firm and long lasting. No melty weeping whipped cream here!
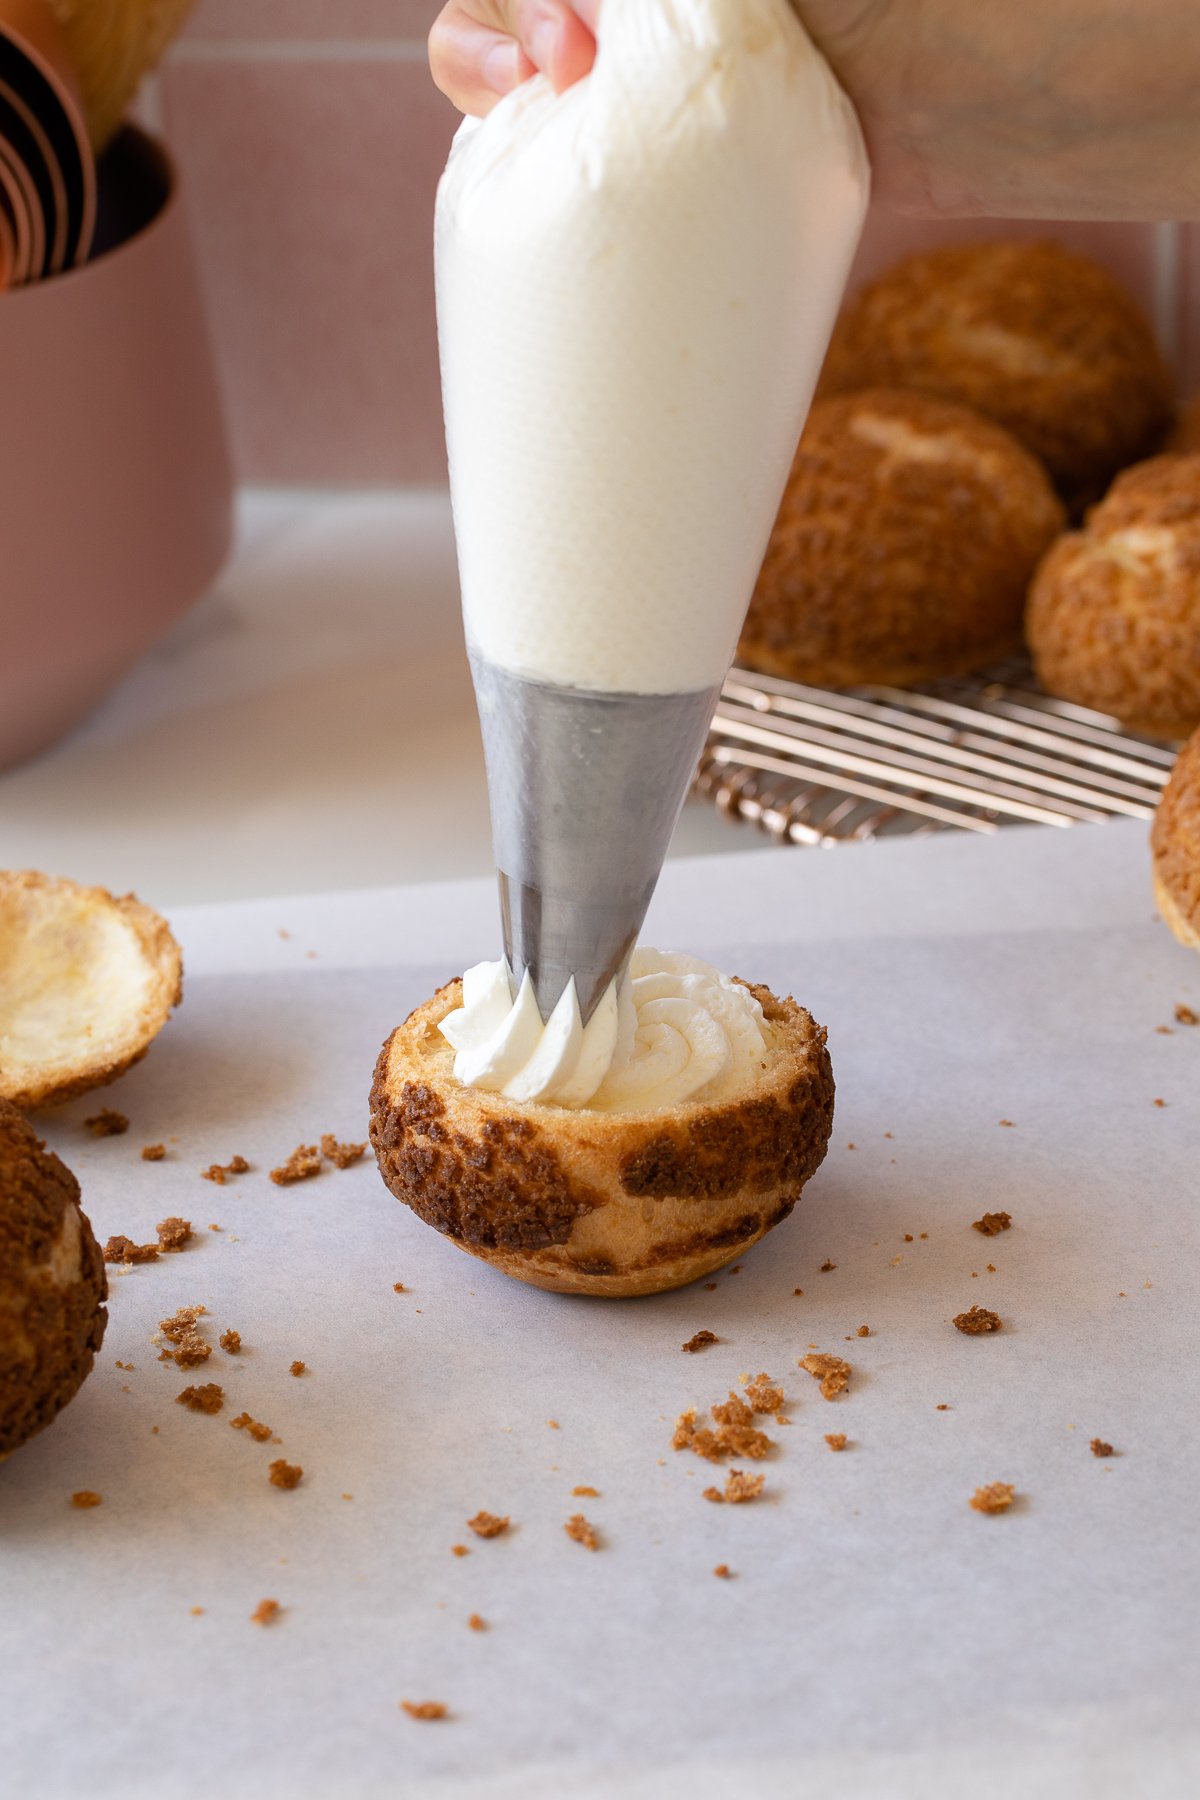
Let's talk whipped cream. It's a delicious and easy topping for pie, ice cream, cakes and other desserts. You can flavor it an endless amount of ways and it only takes about 5 minutes to make. But, the main problem with homemade whipped cream is it can lose it whipped texture pretty soon after making it.
Basically it can turn into a weeping, watery mess. Sometimes, this isn't an issue. If you're adding some to the top of a pie or ice cream, it's not going to matter as much. If you’re trying to frost a cake with whipped cream, it will.
And while we're all familiar with canned whipped cream because of how easy it is or cool whip for desserts that need a thicker more stable texture, did you know you can make your own whipped cream that actually sets up and lasts just like the store bought kind?
Yup, it's true. Stabilized whipped cream is just that. And while there are many different ways to try to stabilize whipped cream, I've found using gelatin to set the whipped cream is the most consistent and best tasting method. It has no flavor, therefore the real whipped cream flavor and texture shines through. You won't know it's stabilized other than the fact it stays firm up to 24 hours!
And, it only has one extra ingredient and step to make!
INGREDIENTS
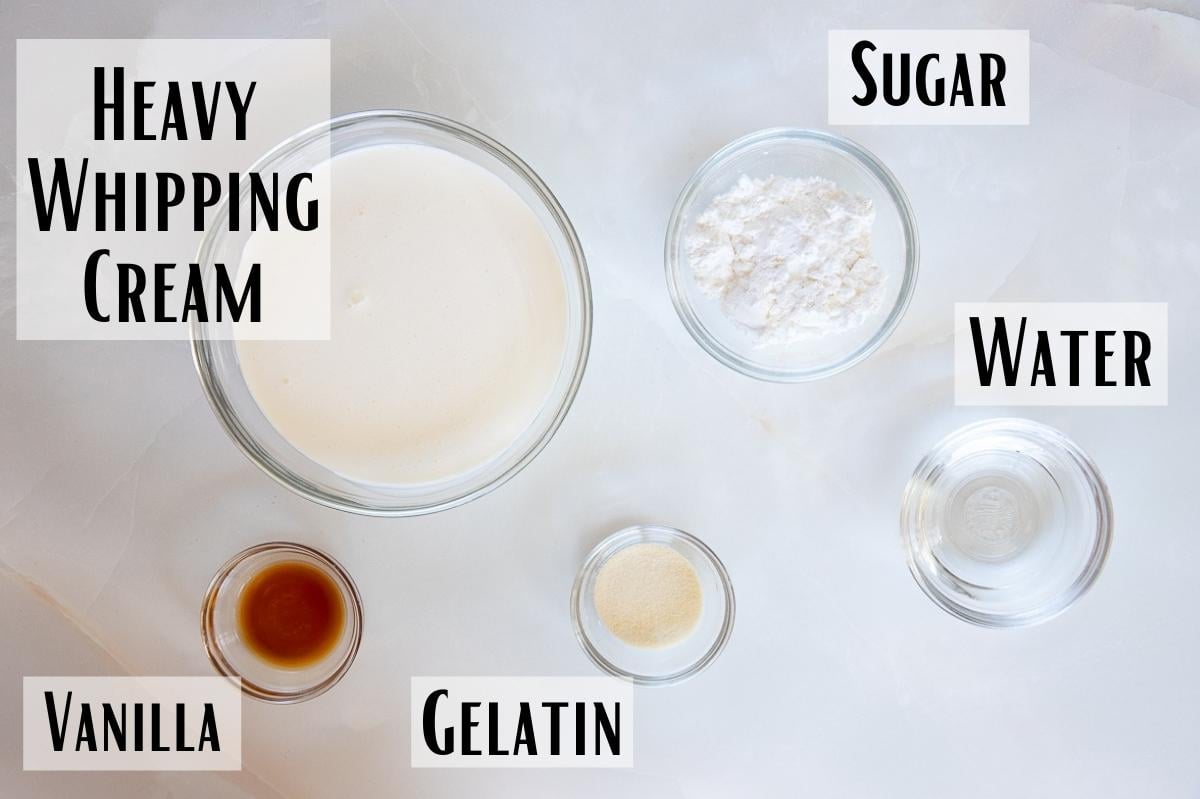
- Heavy Whipping Cream: you must use heavy whipping cream. You can also use regular whipping cream. Just know milk or half and half will not work.
- Gelatin: this is what sets the whipped cream. You only need a small amount. I used Knox brand and it works great.
- Powdered Sugar: I personally prefer powdered or confectioner sugar but you can also use granulated sugar
- Vanilla: Vanilla extract, whole vanilla beans, or vanilla bean paste are the most common additions but you can add any flavor you like!
How to Make
Step 1: Bloom, Heat, and Temper Gelatin
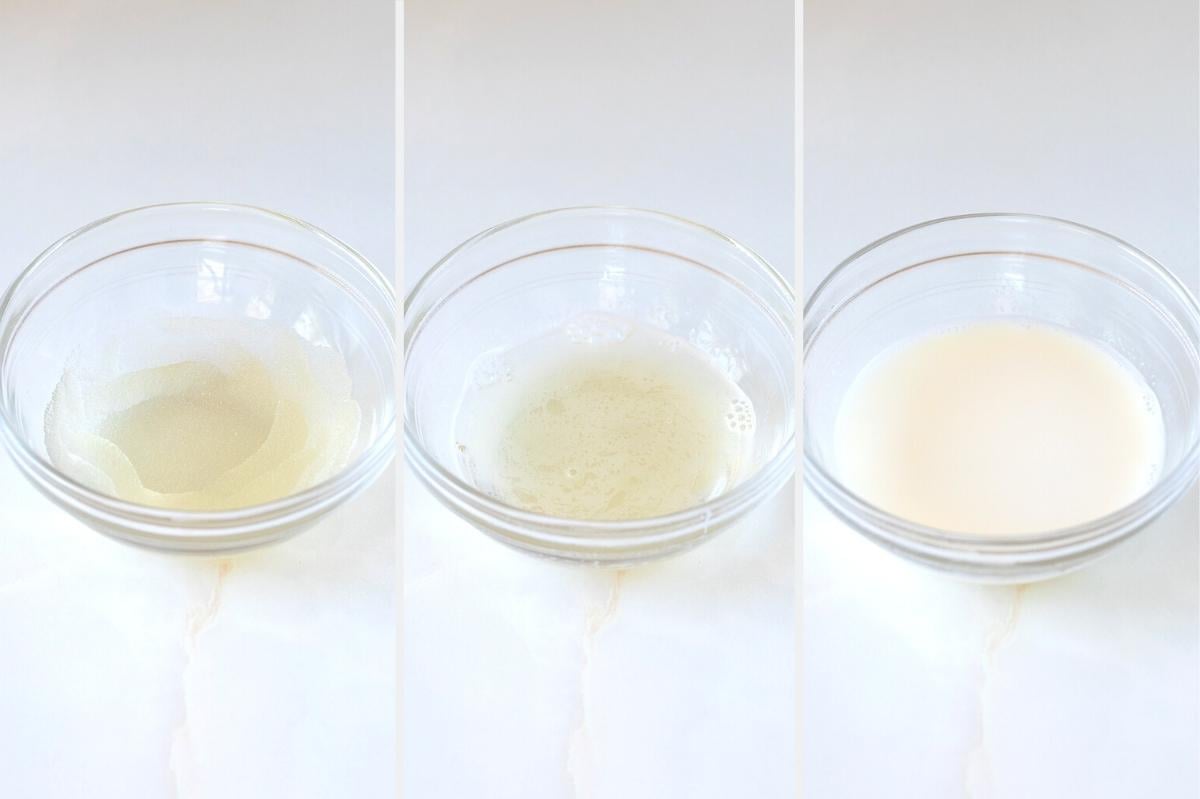
Bloom the gelatin by sprinkling the gelatin over water and letting sit for about 5 minutes. You can see below it gets gel like.
Once it's bloomed, heat in the microwave for 5-10 second intervals until it has totally dissolved. Do not over cook the gelatin, or it can lose its setting ability. You want it just dissolved. It's will normally take less than 30 seconds.
Once the gelatin has dissolved, remove from the microwave and stir in the extra cream to temper it. The cream should cool down the mixture and also makes it so you don’t get unmixed pieces of gelatin in the whipped cream.
Step 2: Whip Cream and Add Gelatin
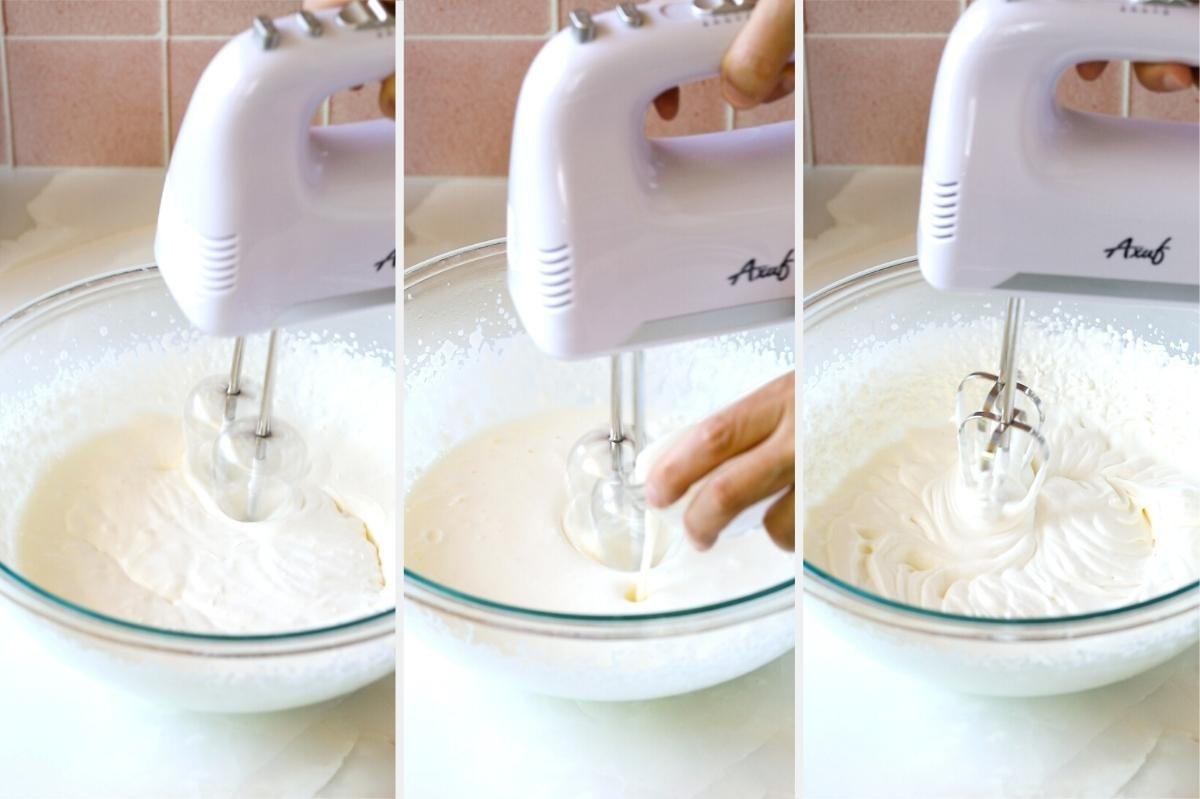
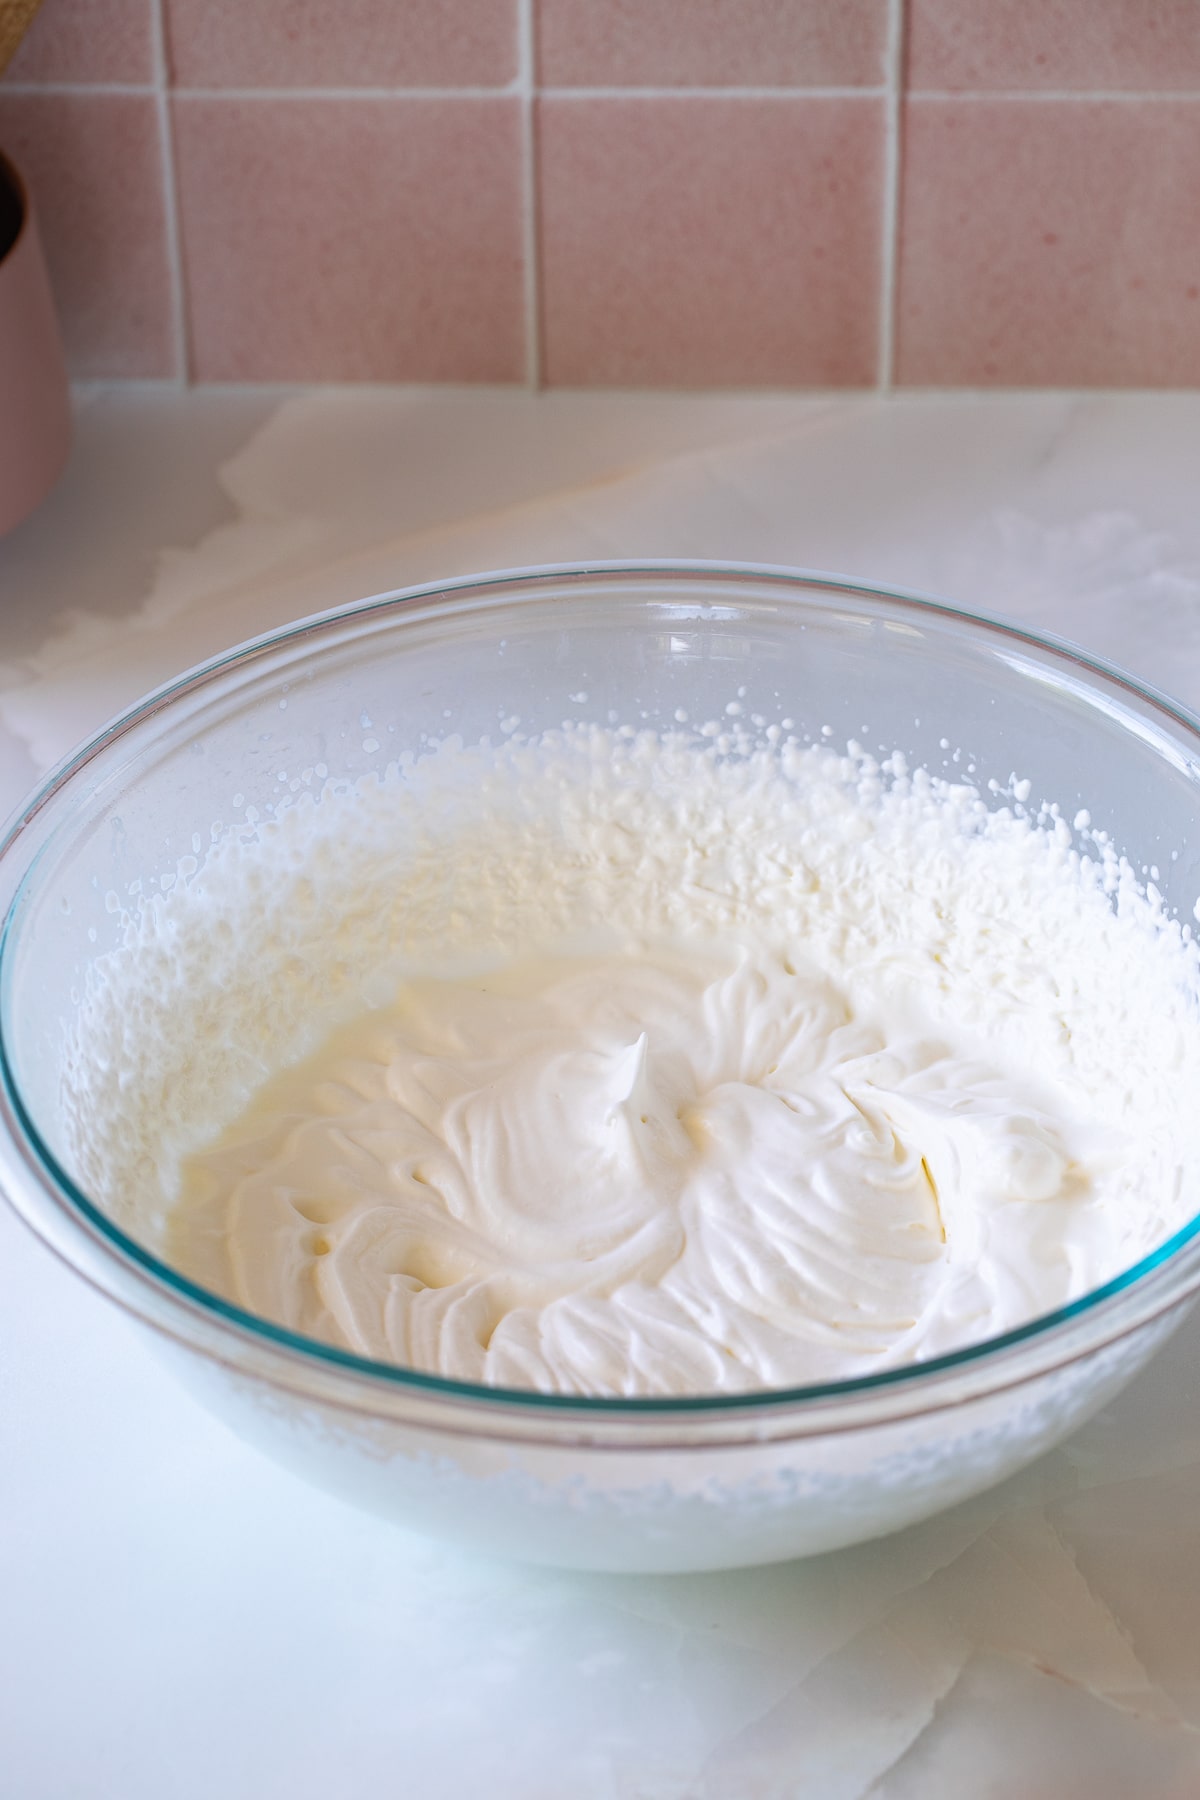
Add sugar, whipping cream, and vanilla in a bowl. Making sure that the whipping cream is very cold. Using a chilled bowl can also help the whipped cream whip up nicely. Mix on low until it starts to thicken and soft peaks form. Slowly add the gelatin mixture and continue beating until soft firmed peaks form.
Do not over beat the mixture or it can start to get lumpy or break.
Once it's whipped, pipe or use immediately on your dessert. You can also keep it 1-2 days in the fridge, but it will lose the soft whipped cream like texture and be harder to spread or pipe once the gelatin sets. But, it will still taste exactly the same as normal whipped cream.
Tips for perfect stabilized whipped cream
- Be sure to temper the gelatin with extra cream. If you don't you could get lumpy unmixed pieces of gelatin in the whipped cream.
- Keep the whipping cream and bowl very cold until you're about to use. This helps the whipping cream whip up.
- Do not overmix the whipped cream or it can split. You want nice soft peaks.
- Mix up the flavors! Chocolate espresso whipped cream? Maple Bourbon whipped cream? Why not! You easily can stabilize your favorite whipped cream recipe by adding the gelatin mix while you whip.
Troubleshooting and Q&A
Can I color the Whipped Cream?
Yes, add the food coloring to the heavy whipping cream before you start beating.
Does this need to be refrigerated/How long can it sit out?
Because it is dairy it is best to be kept in the fridge or freezer until ready to serve. But, it can sit out at room temperature for an hour or two.
How long will it last?
This will hold it shape in the fridge for 24-48 hours. I personally find it helps to pipe or use it in your dessert soon after whipped. Once the gelatin sets, it can be a bit more difficult, but it will still look and taste delicious.
Can you Freeze?
Yes! This is freezer-friendly. The whole dessert or piped whipped cream will last in the freezer tightly wrapped for up to 2 months.
What to use with stabilized whipped cream
Stabilized whipped cream is perfect for anything that calls for whipped cream but needs to be piped and made in advance or sit out for a few hours.
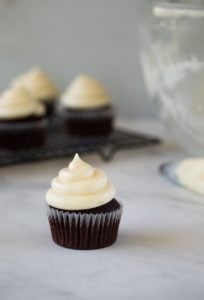
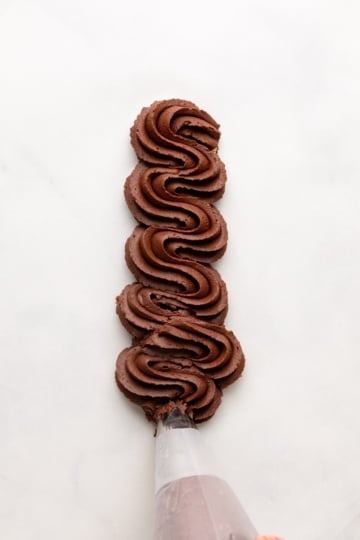
So, if you're bringing a gingerbread cake to your holiday party or piping frosting on basic yellow cupcakes with whipped cream rather than buttercream frosting, or if you want to make a trifle a day in advance so the flavors melt, stabilized whipped cream is the way to go. You can also make a chocolate version but adding the gelatin to this chocolate whipped cream recipe.
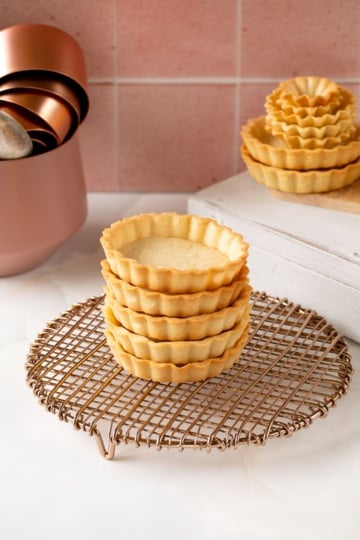
It is also mixed with vanilla pastry cream to create diplomat cream a delicious filling for choux pastry cream puffs or tartlets.
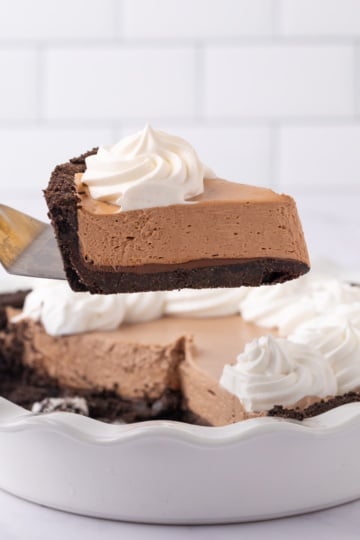
Looking for more toppings similar to whipped cream? Check these out!
WANT TO JOIN THE PARTY? Subscribe to my newsletter and follow on Tik Tok, Pinterest, Instagram, and Facebook for all the latest recipes!
Stabilized Whipped Cream
INGREDIENTS
- 1 cup heavy whipping cream cold, for whipping
- 1 tsp granulated gelatin
- 1 tbsp water
- 1 tbsp heavy whipping cream for tempering
- 2 tbs powdered sugar more or less to taste
- ½ tsp vanilla extract
Instructions
- Optional but helpful is to chill your mixing bowl before whipping.
- Bloom the gelatin by sprinkling the gelatin over water and letting sit for about 5 minutes.
- Once it’s bloomed, heat in the microwave for 5-10 second intervals until it has totally dissolved (about 20-30 seconds total). Do not over cook the gelatin, or it can lose it’s setting ability.
- Once it’s dissolved, remove from the microwave and stir in the extra cream. The cream should cool down the mixture. If the mixture starts to set before using, reheat until melted again. Just make sure it’s cooled down a bit before adding to the whipping cream.
- Add sugar, whipping cream, and vanilla in a preferably cold bowl.
- Mix on low until it starts to thicken and soft peaks form. Slowly add the gelatin mixture and continue beating until firmer peaks start to form. Once you get firm peaks stop mixing. Do not overbeat the mixture or it can start to get lumpy or break.
- Pipe or use on your dessert and enjoy!
Notes
- Be sure to temper the gelatin with extra cream. If you don’t you could get lumpy unmixed pieces of gelatin in the whipped cream.
- Keep the whipping cream and bowl very cold until you’re about to use. This helps the whipping cream whip up.
- Do not overmix the whipped cream or it can split. You want to beat until stiff peaks form.
- Mix up the flavors! You easily can stabilize your favorite whipped cream recipe by adding the gelatin mix while you whip.
- The stabilized whipped cream will hold its shape 24-48 hours in the fridge.
- This recipe makes about 2 cups of whipped cream and can be halved or doubled as needed.



Wanda says
I love the idea tempering the gelatin with the cream. How much cream do you add to the gelatin?
Pamela Schmidt says
1 tablespoon